Step 1: Add & configure a CSV source system (tutorial)
In this step, we'll add a CSV source system based on the HR500 dataset, and then configure its data model.
Add the CSV source system
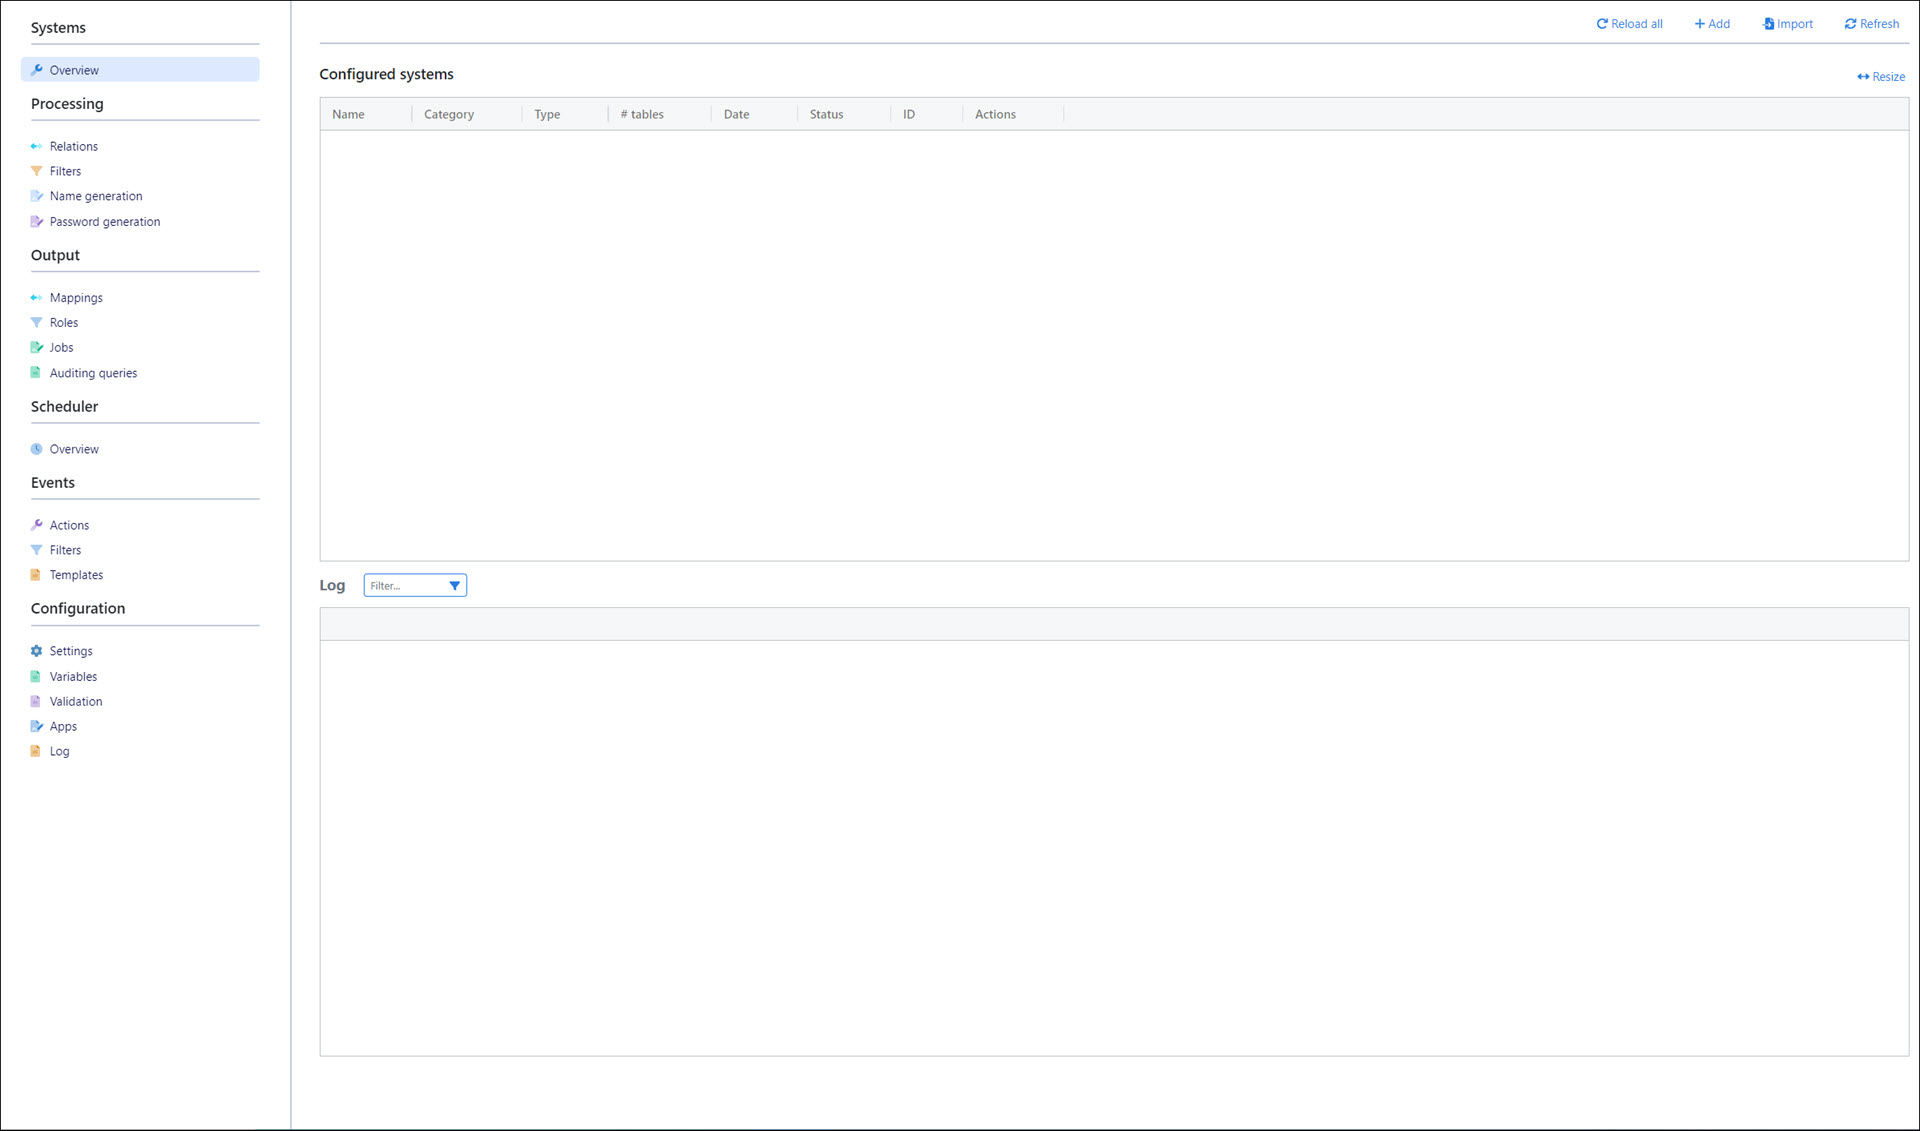
Go to Systems > Overview.
Click Add.
Select CSV-File for System Type.
Enter a System Name.
For this example,
HR500.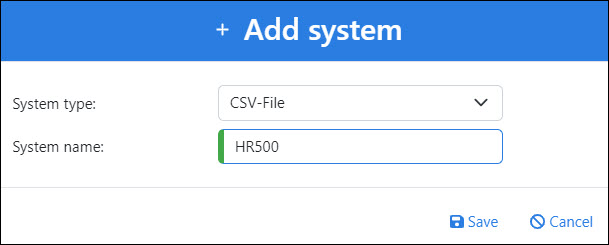
Click Save.
The new system is added to the Configured Systems pane.
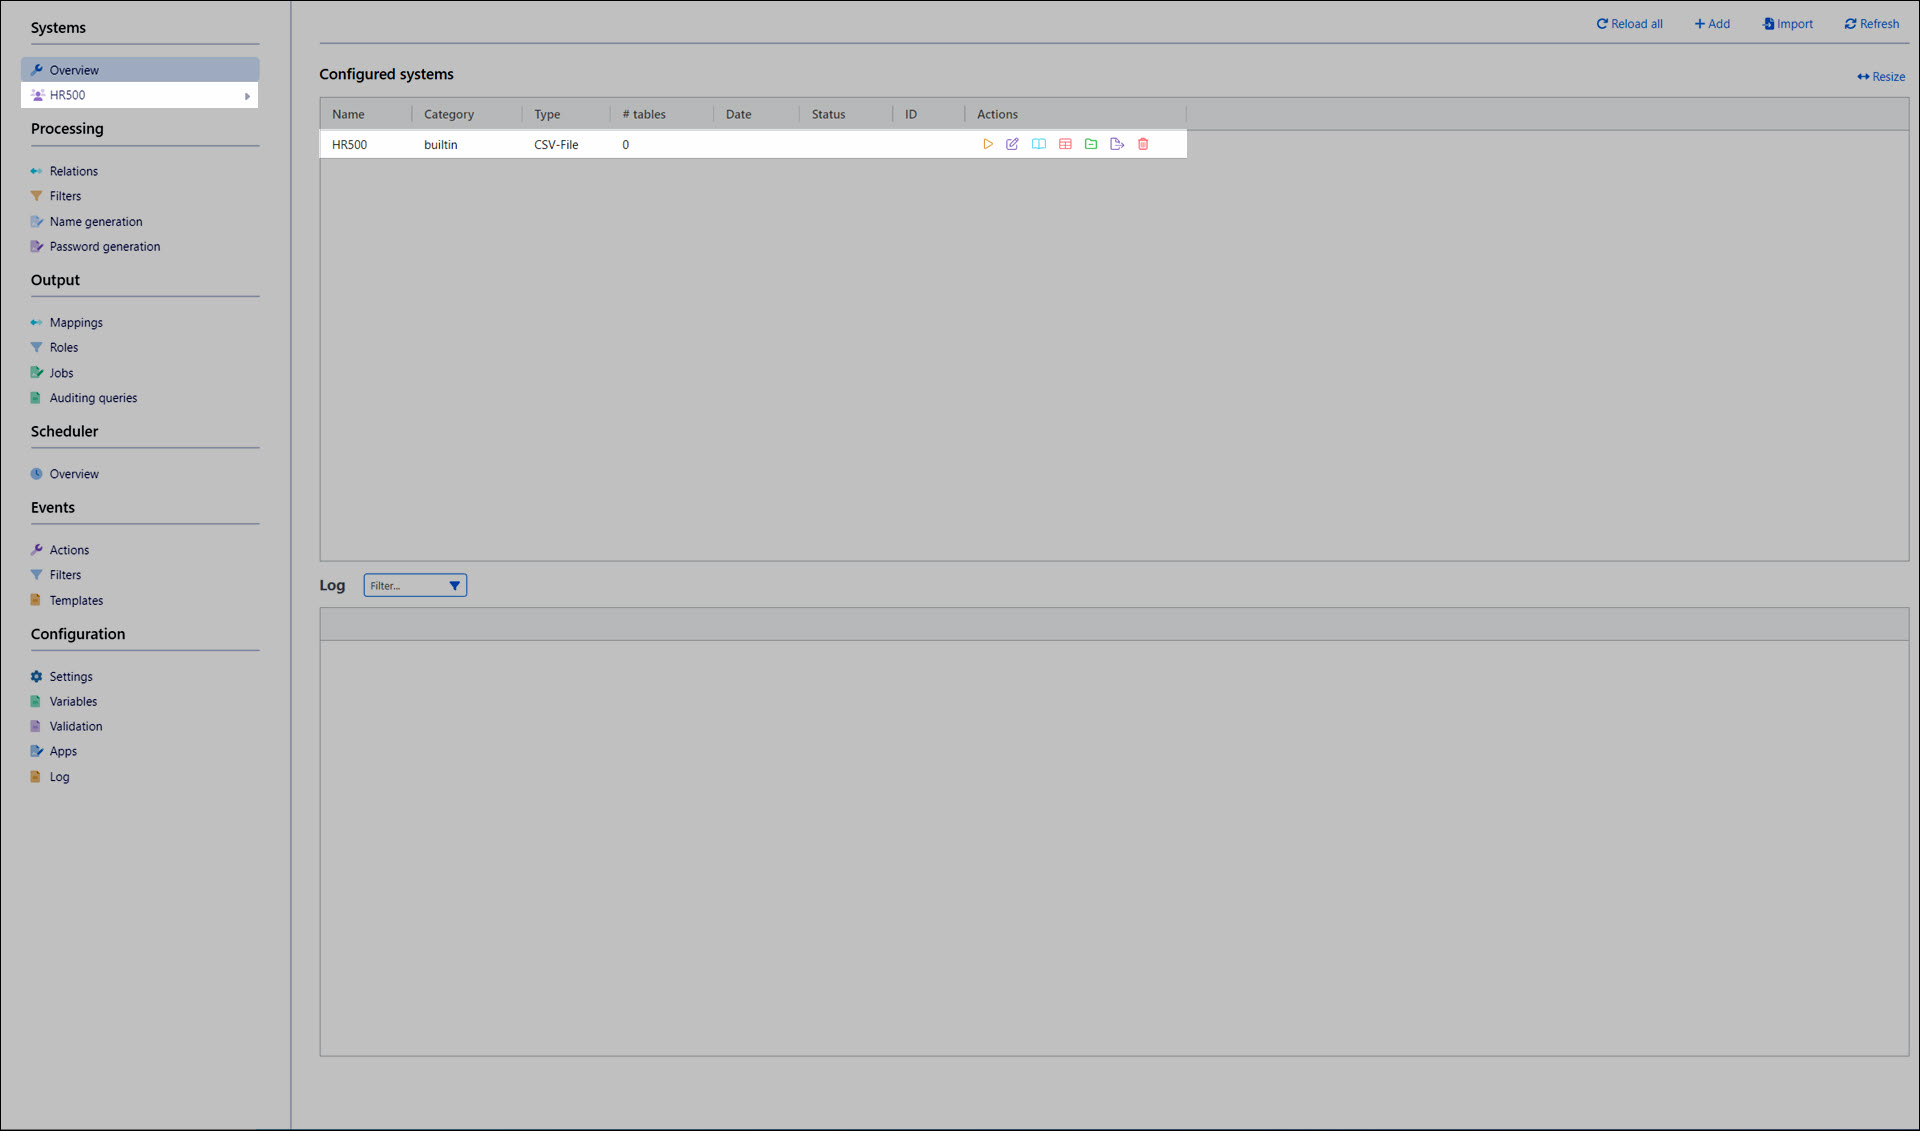
Click
 Configure.
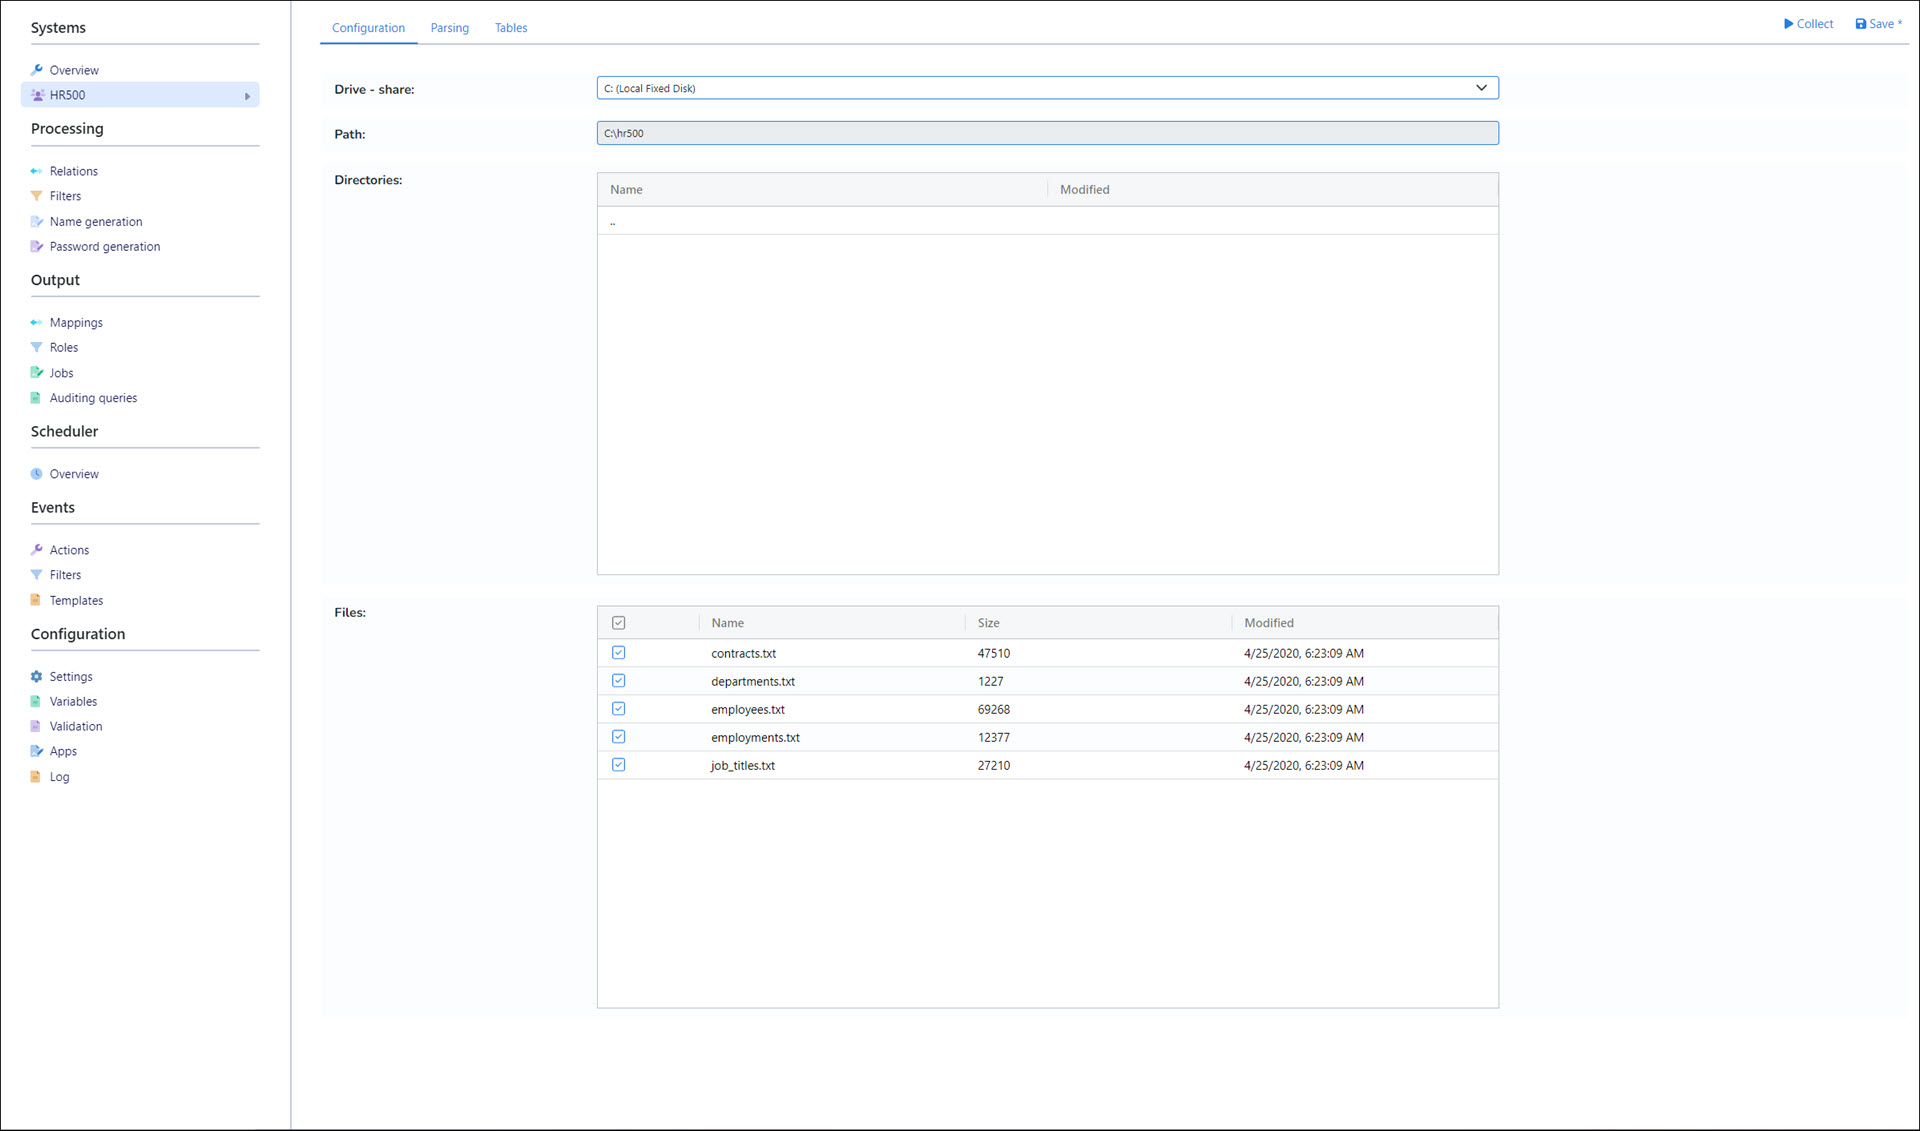
Select a Drive - share.
In the Directories pane, navigate to the unzipped HR500 folder.
In the Files pane, select the checkbox for each data file to import.
For this example, we'll select all five files in the HR500 dataset.
Click Save.
Click Collect, to perform an initial data collection from this system.
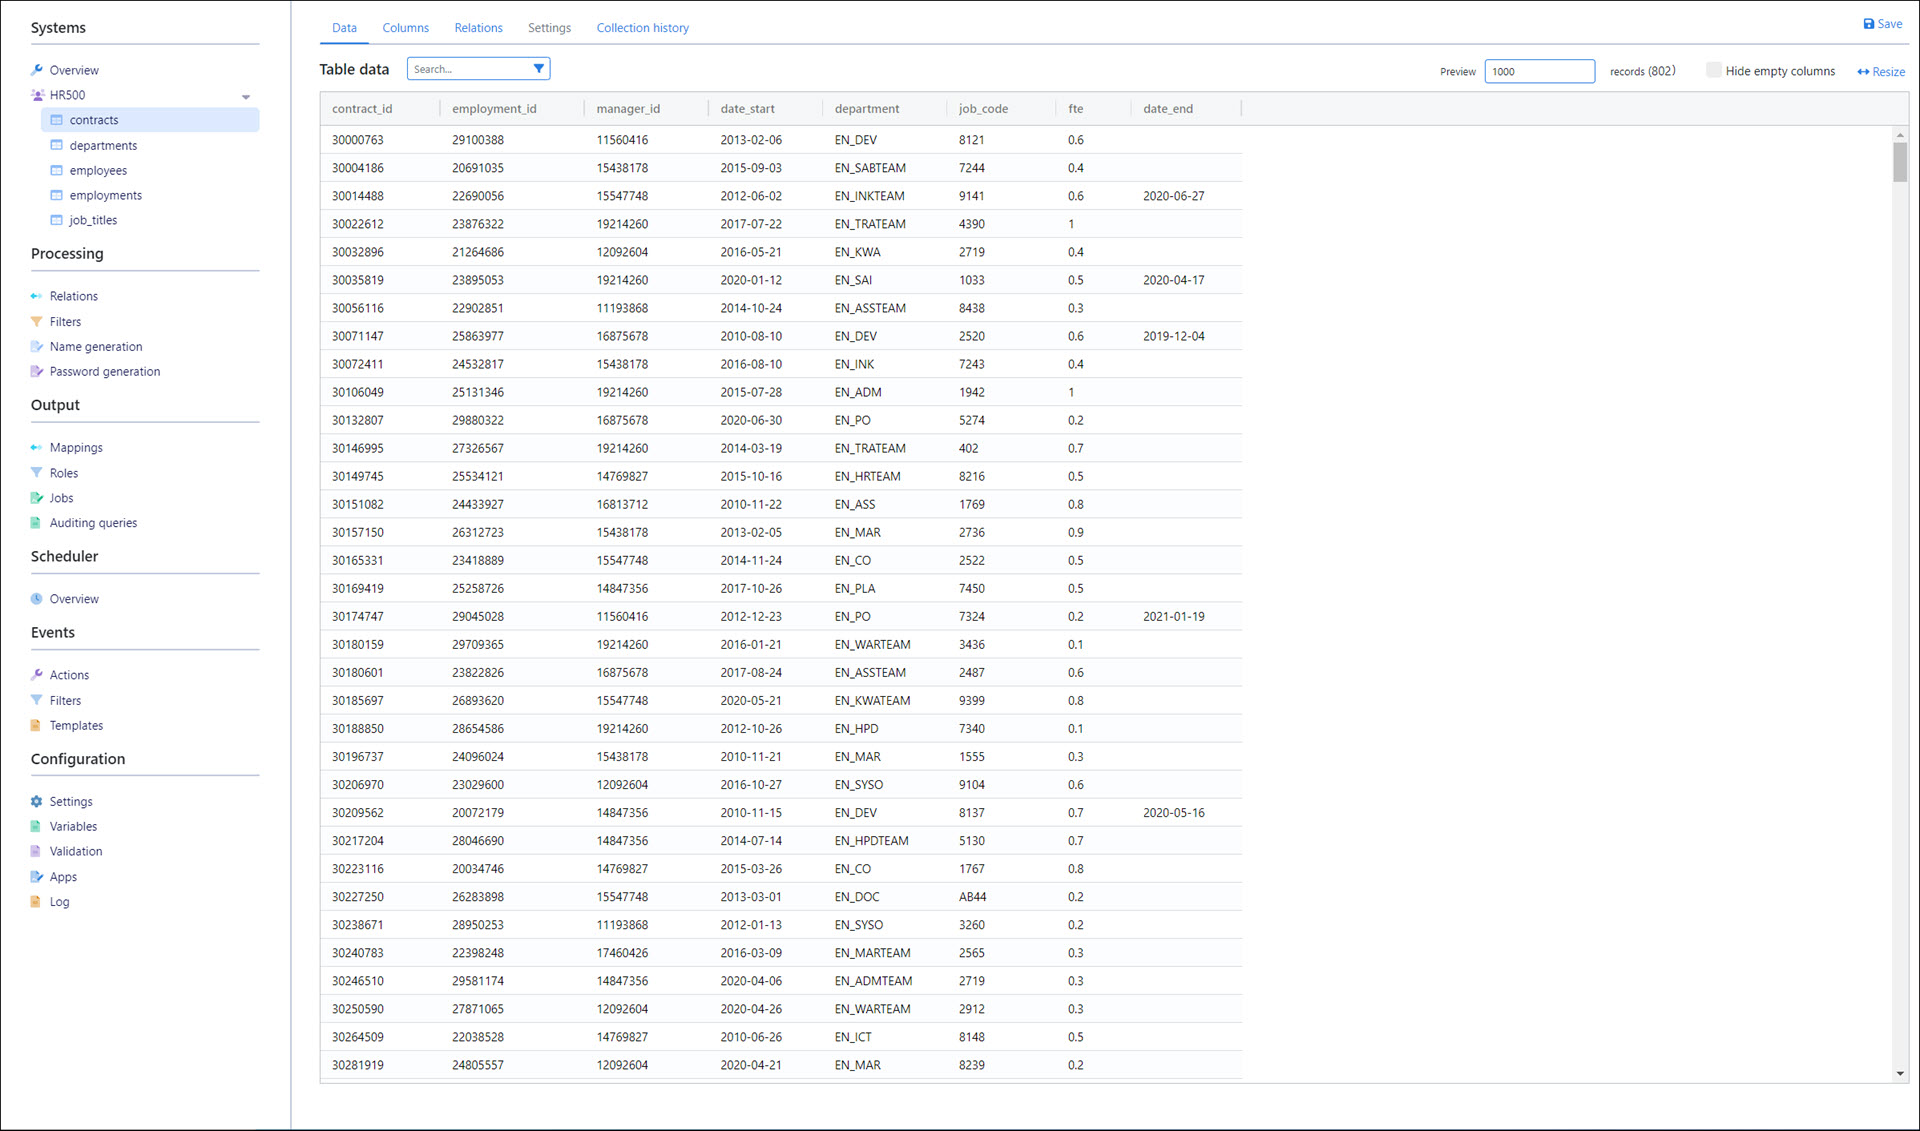
Expand this system's table list and go to one of the tables to confirm that data has been collected.
Assign primary keys
The next step is to assign primary keys to tables. Primary keys should be stable, non-mutable, uniquely identifying fields.
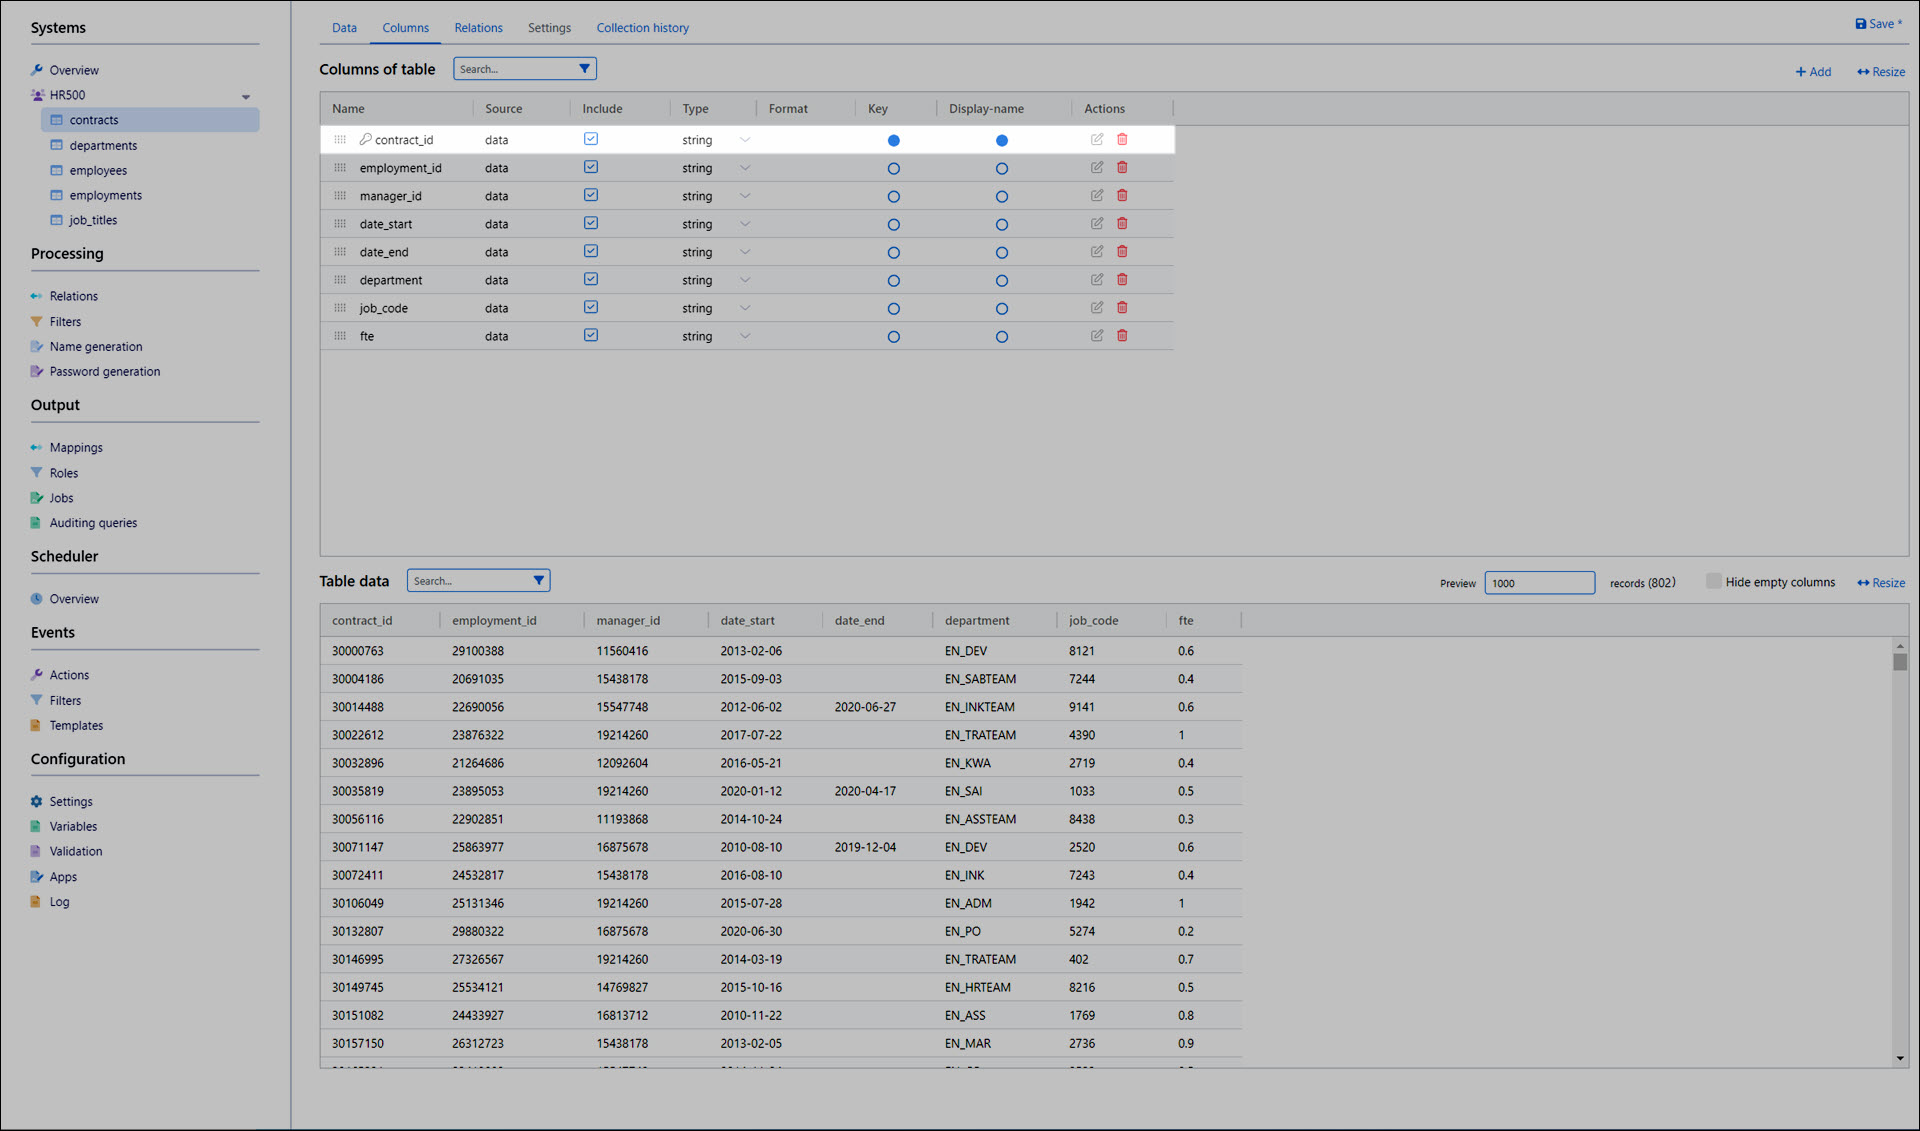
Expand this system's table list and go to the contracts table. Then go to the Columns tab.
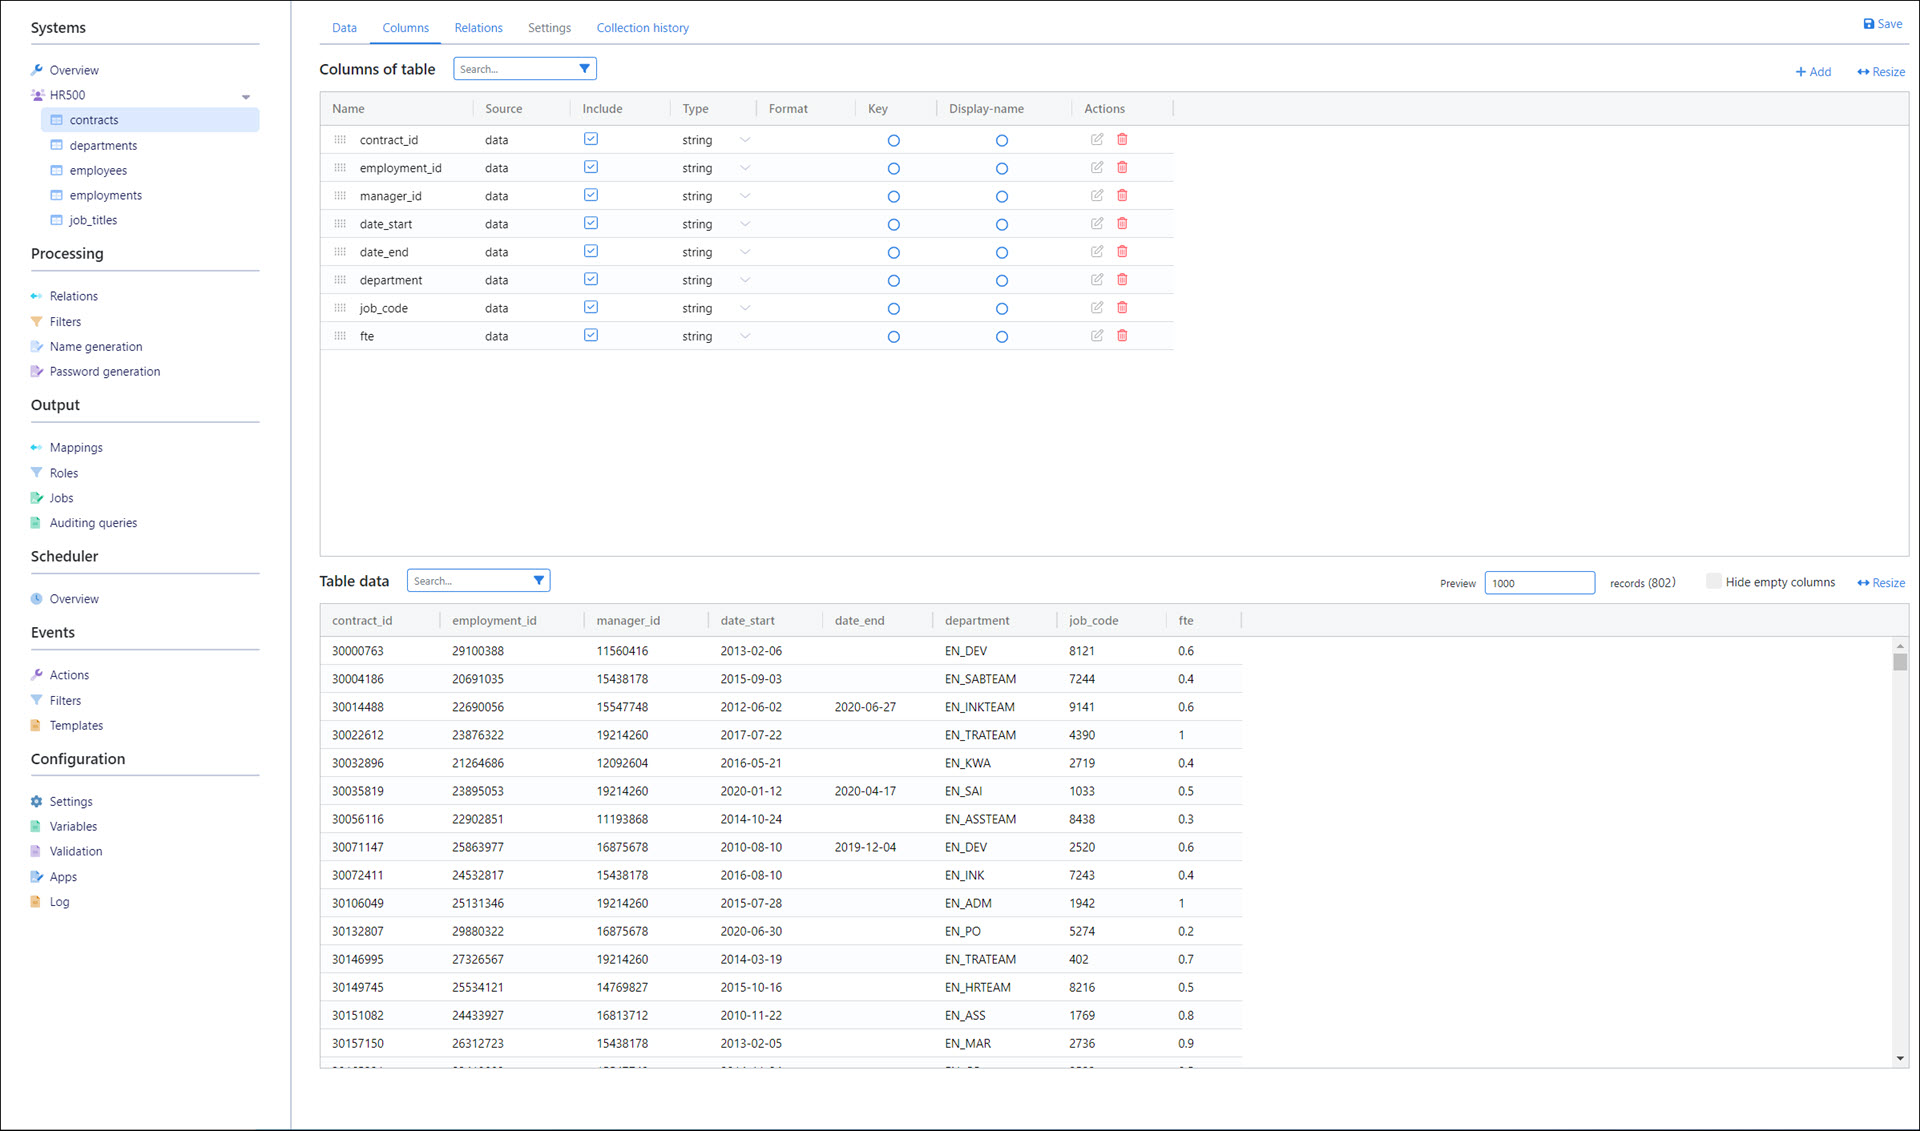
Select the contract_id column as this table's Key and Display Name.
Tip
The Display Name optionally lets you select a column other than the Key to be displayed when records from this table are shown in NIM.
Click Save.
Repeat this process for the other data tables in this system. Set the primary keys and display names as follows:
Table
Key
Display Name
contracts
contract_id
contract_id
departments
organizational_unit
organizational_unit
employees
employee_id
employee_id
employments
employment_id
employment_id
job_titles
job_code
job_code
Finally, collect this system's data again, by going to the Overview and clicking
Collect.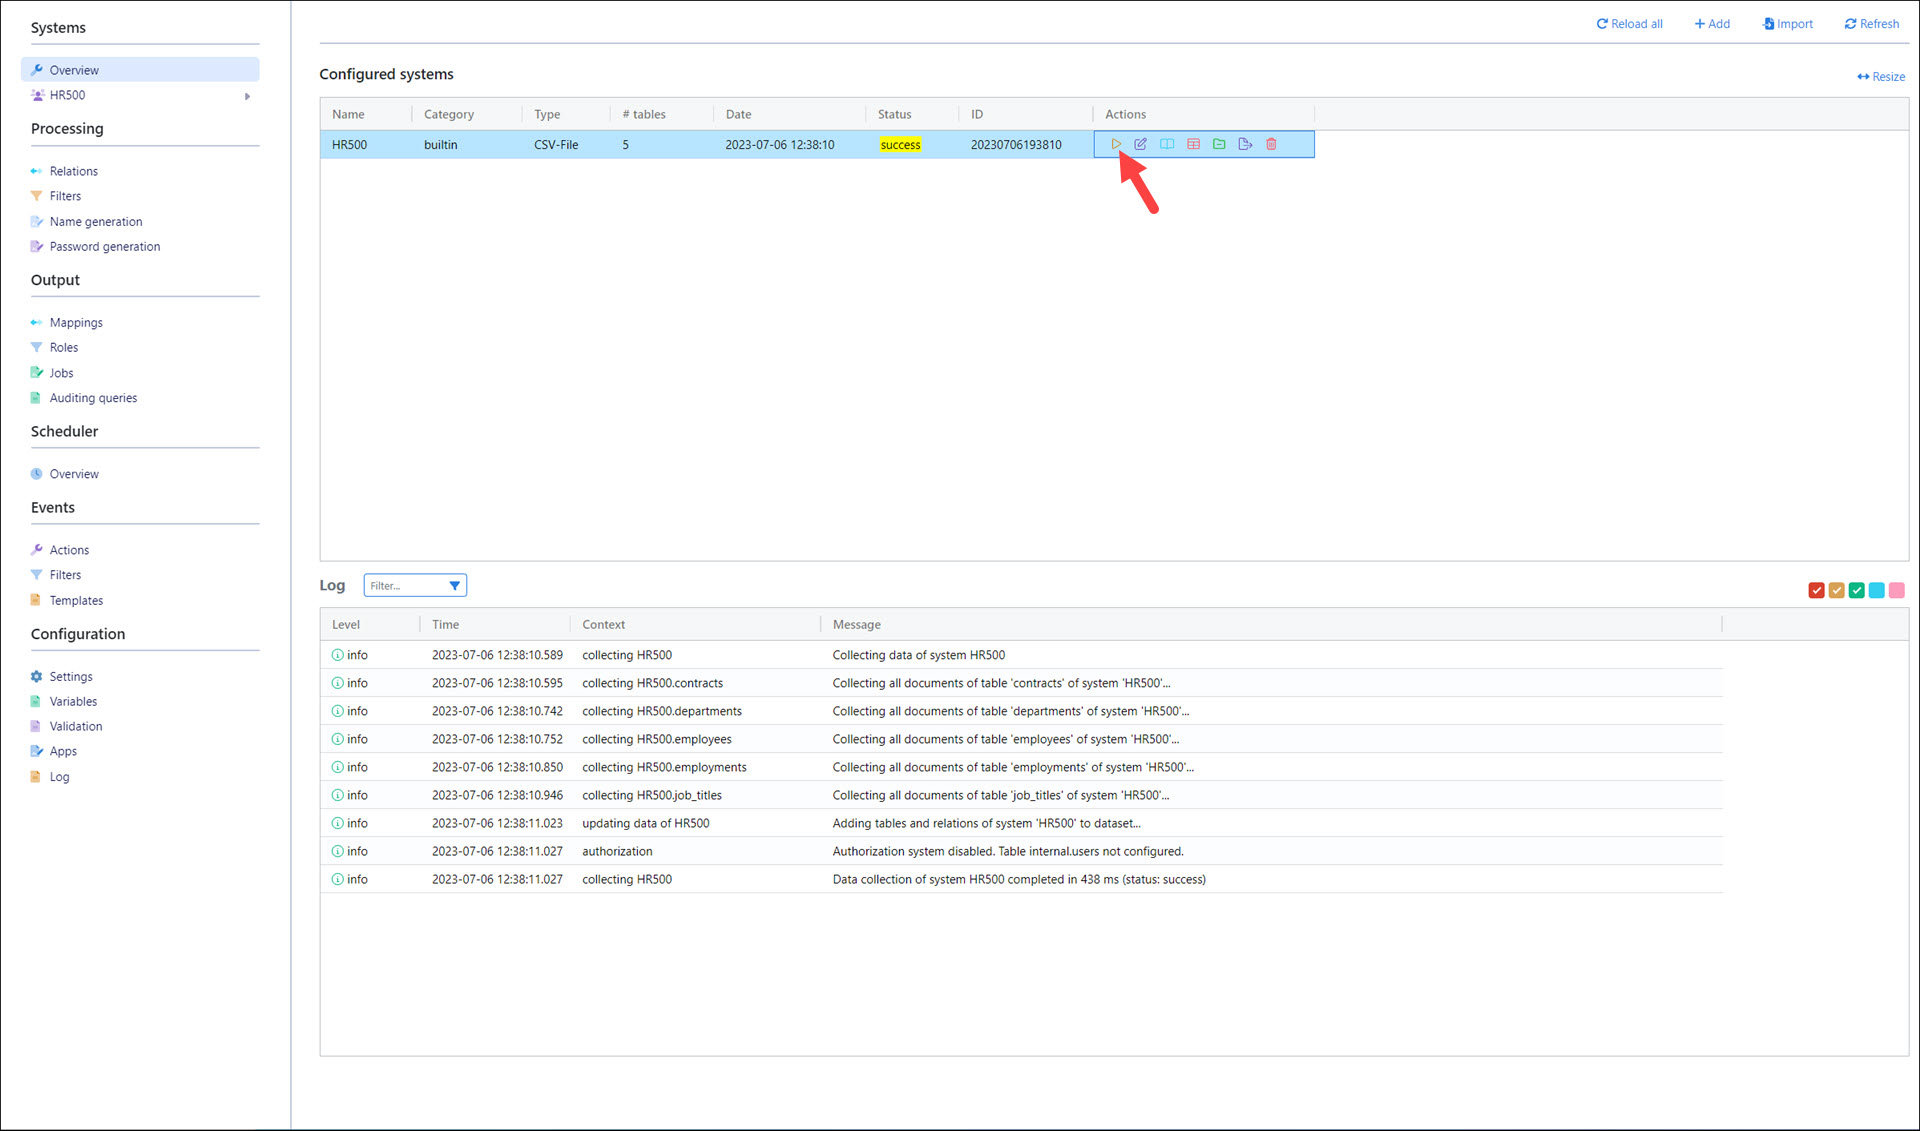
Set up intra-system relations
Now, we need to establish relations between tables within this system, based on the primary keys we specified.
Tip
Primary keys in NIM work slightly different than in relational databases. In the latter, keys merely act as constraints. However, in NIM keys are additionally used to relate tables to each other via intra-system relations, and these relations subsequently limit the joins you can do in filters.
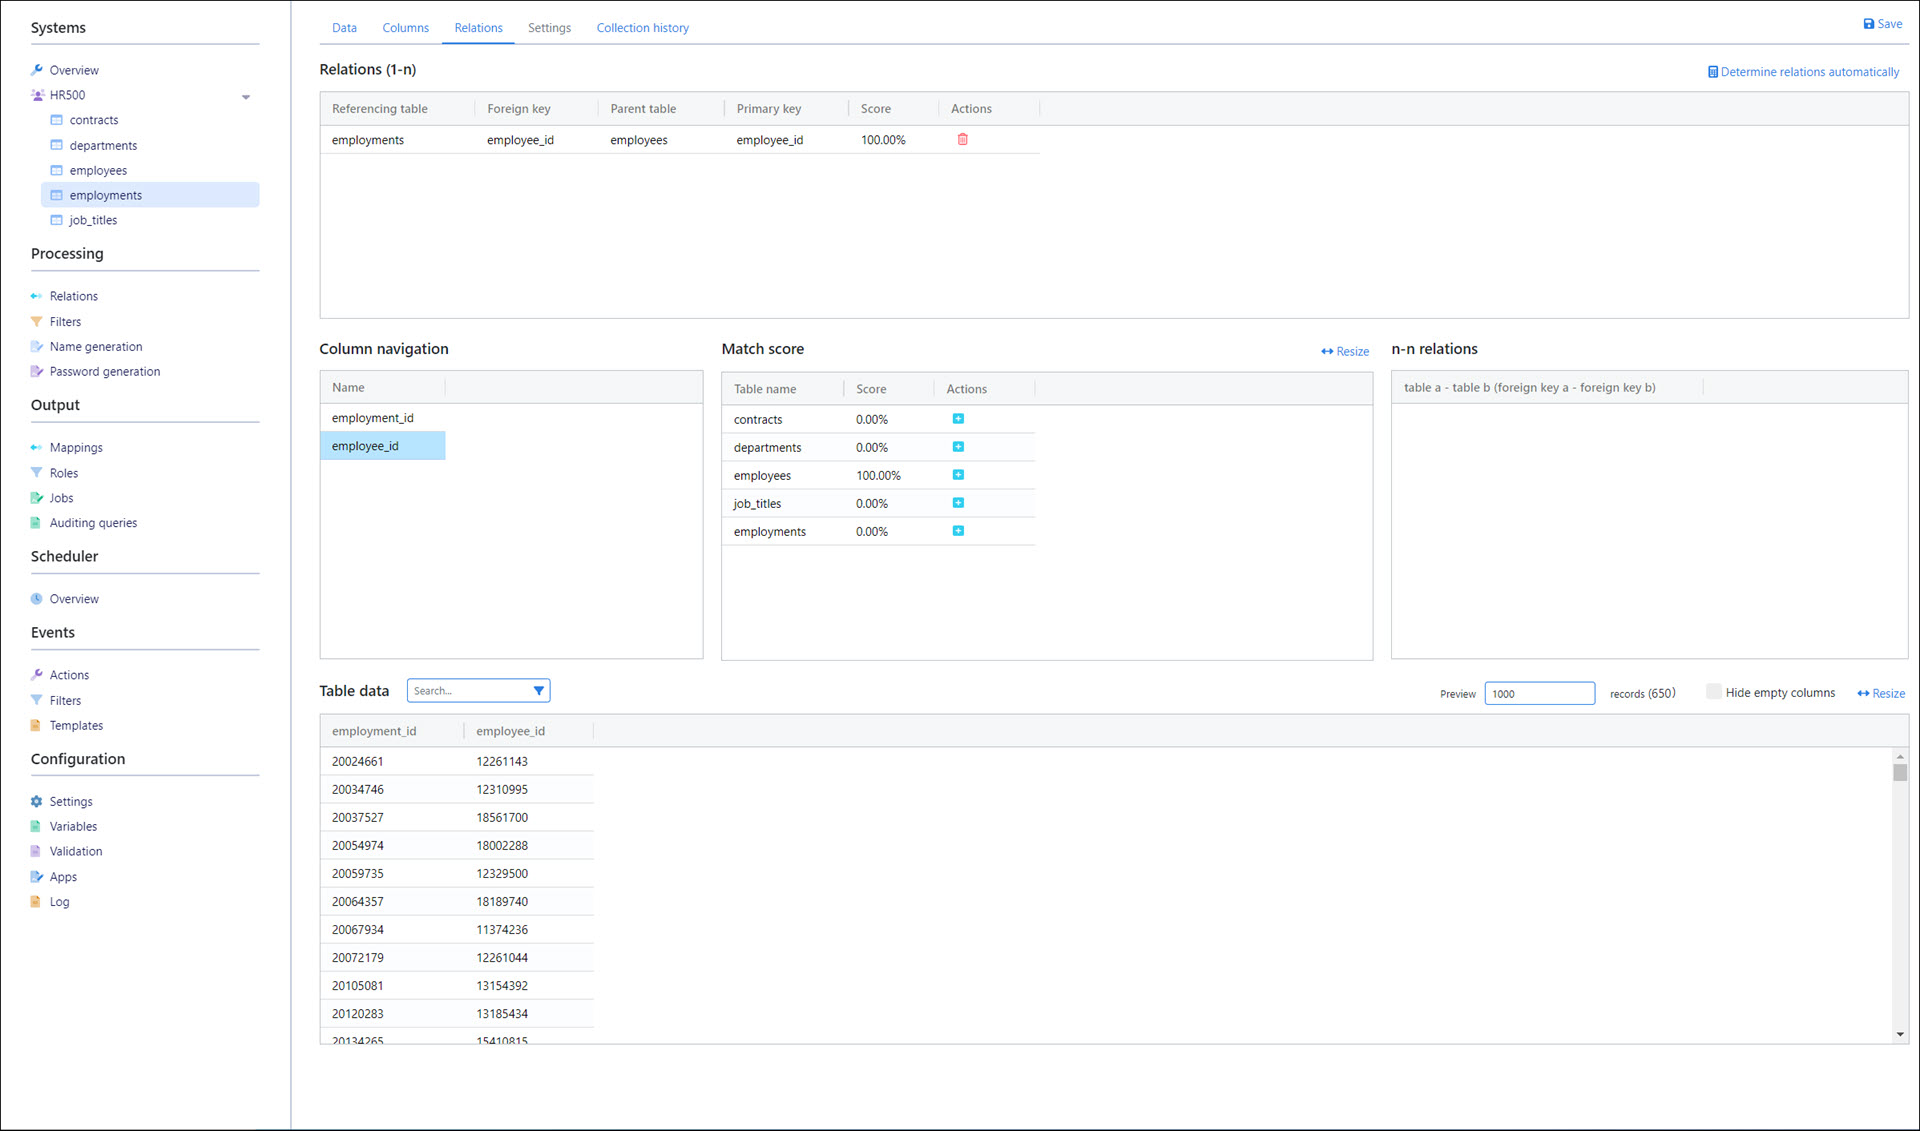
Expand this system's table list and go to the contracts table. Then go to the Relations tab.

Click Determine Relations Automatically to have NIM automatically find matching FK-PK relations between this table and other tables in the same system.
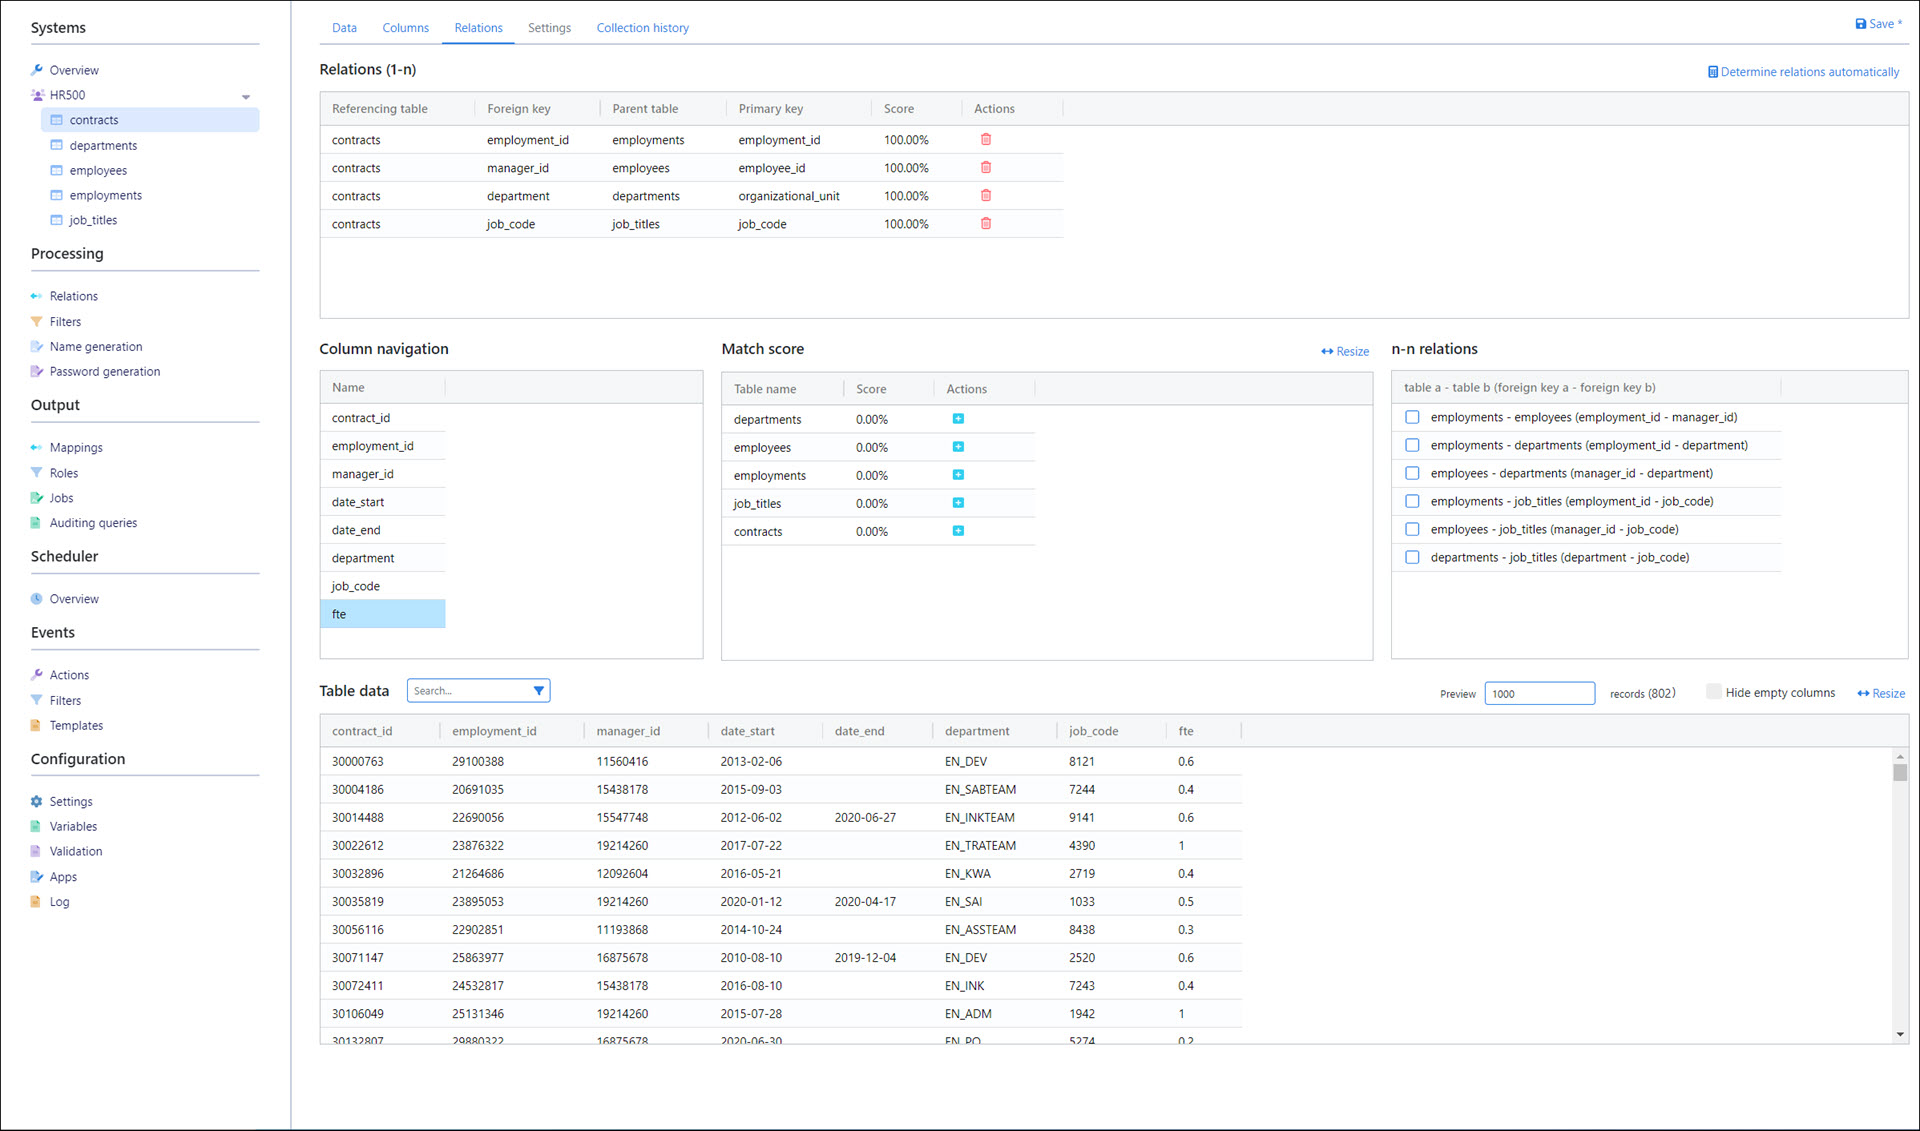
NIM automatically sets up the following relations:
Foreign key
employment_id(N) → primary keyemployment_idofemploymentstable (1)Foreign key
manager_id(N) → primary keyemployee_idofemployeestable (1)Foreign key
department(N) → primary keyorganizational_unitofdepartmentstable (1)Foreign key
job_code(N) → primary keyjob_codeofjob_titlestable (1)
Enable all the checkboxes in the N-N Relations pane.
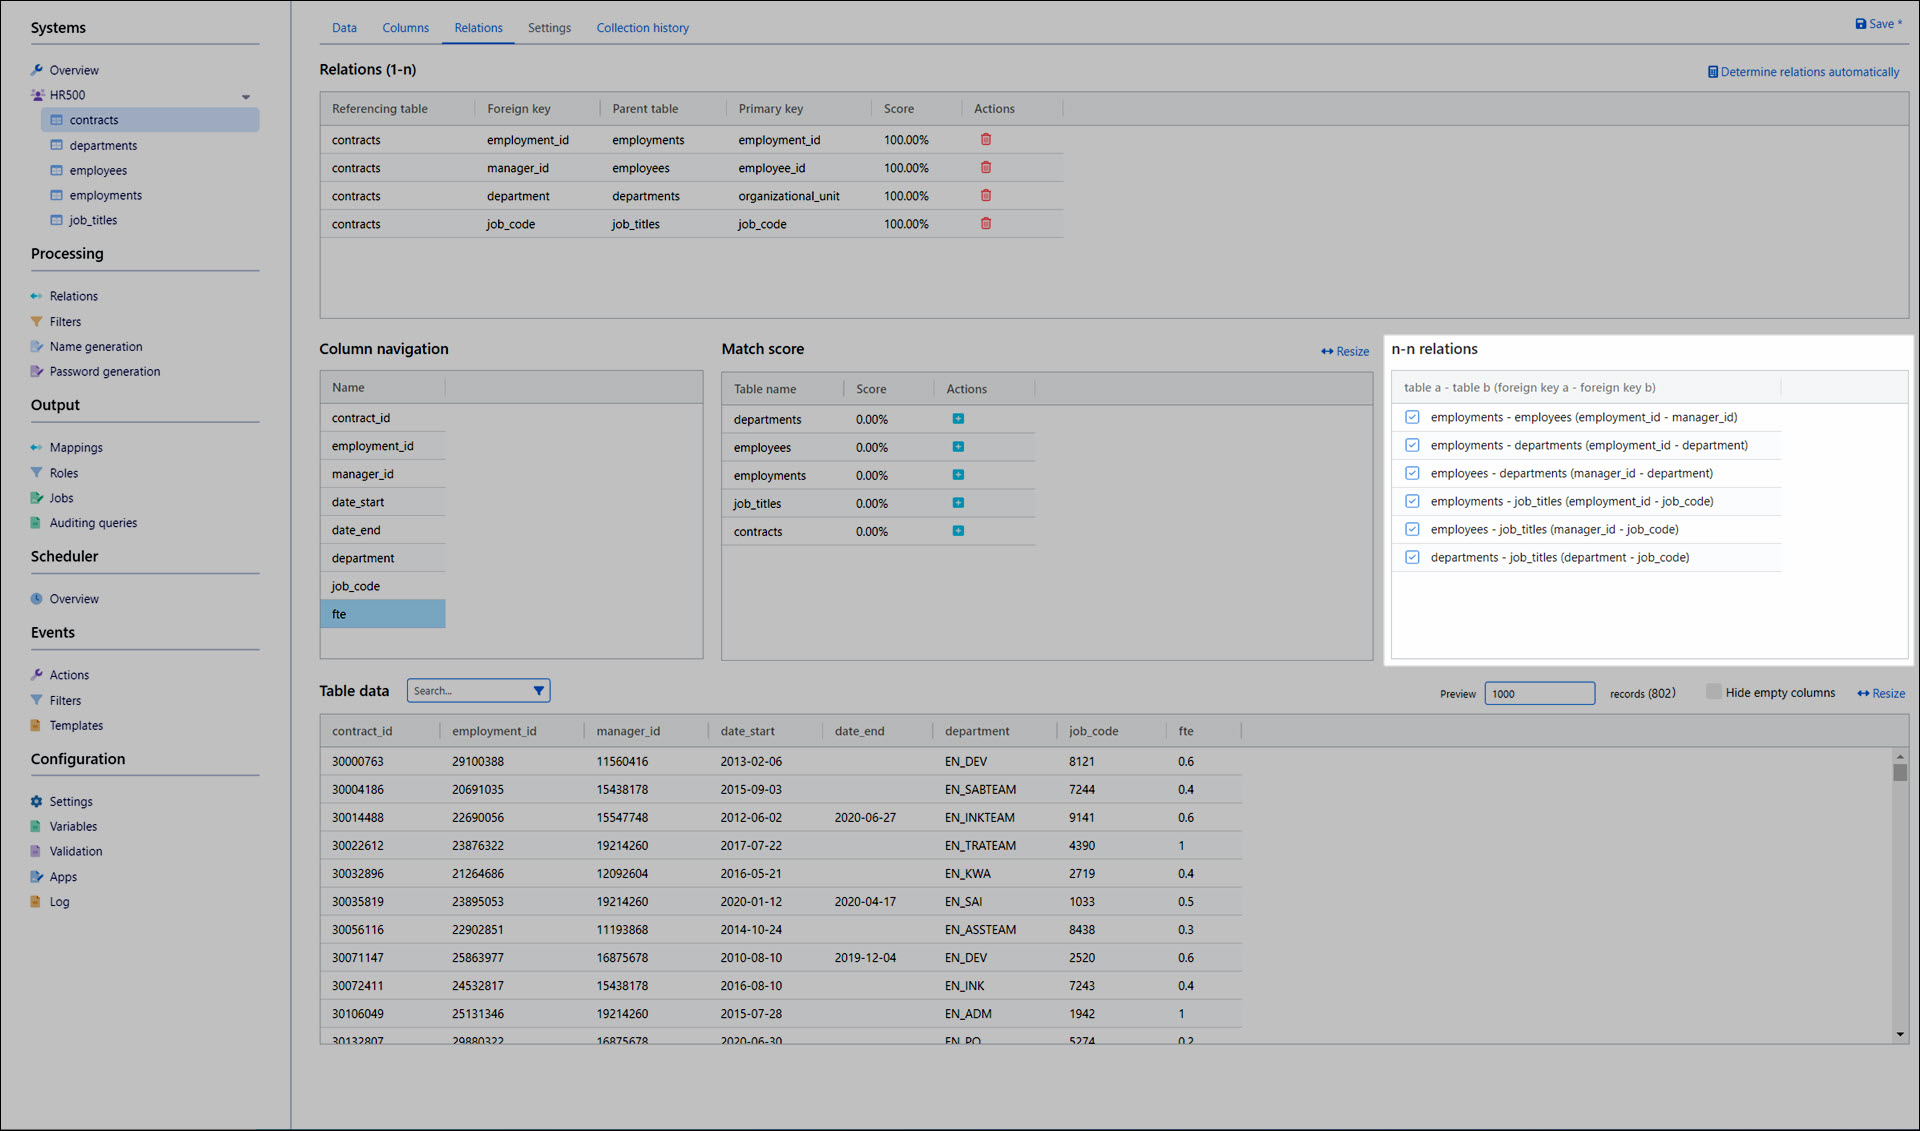
Click Save.
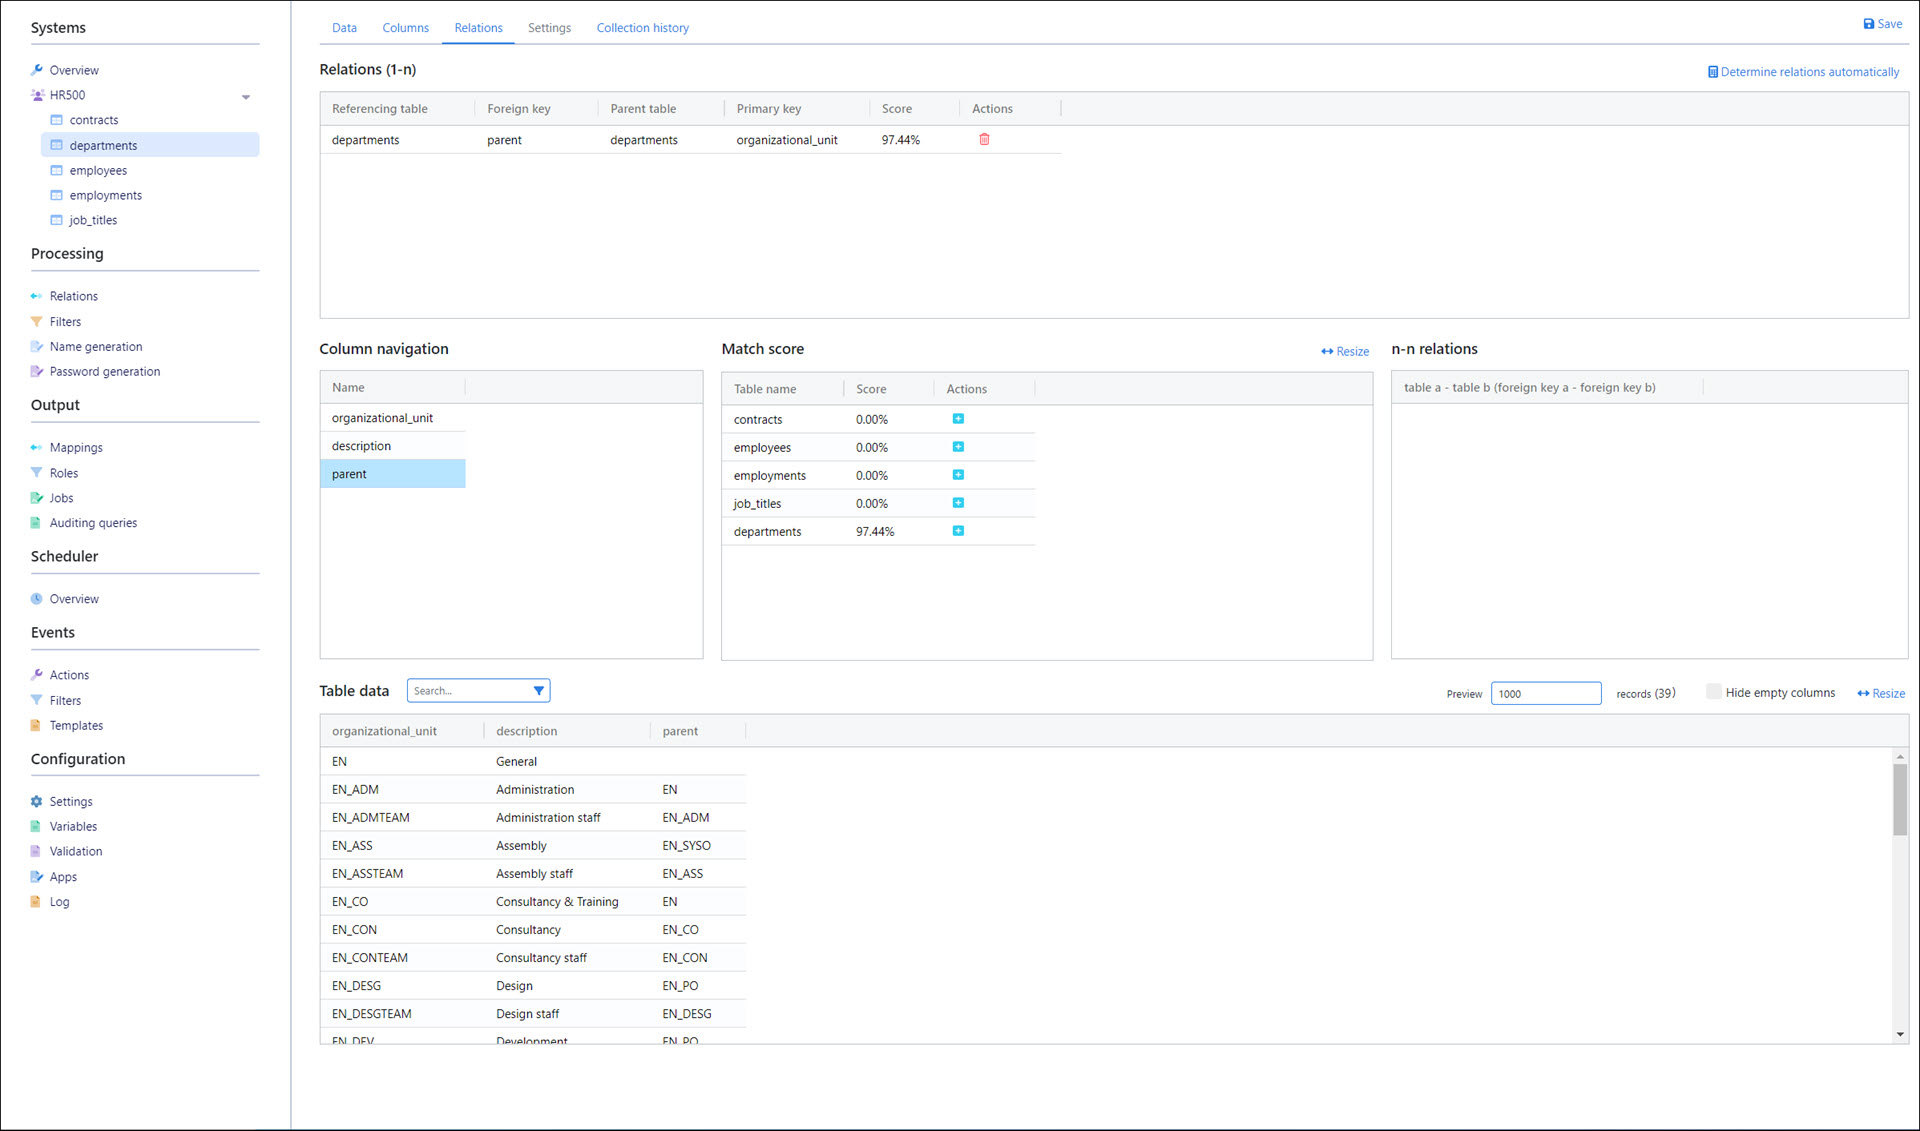
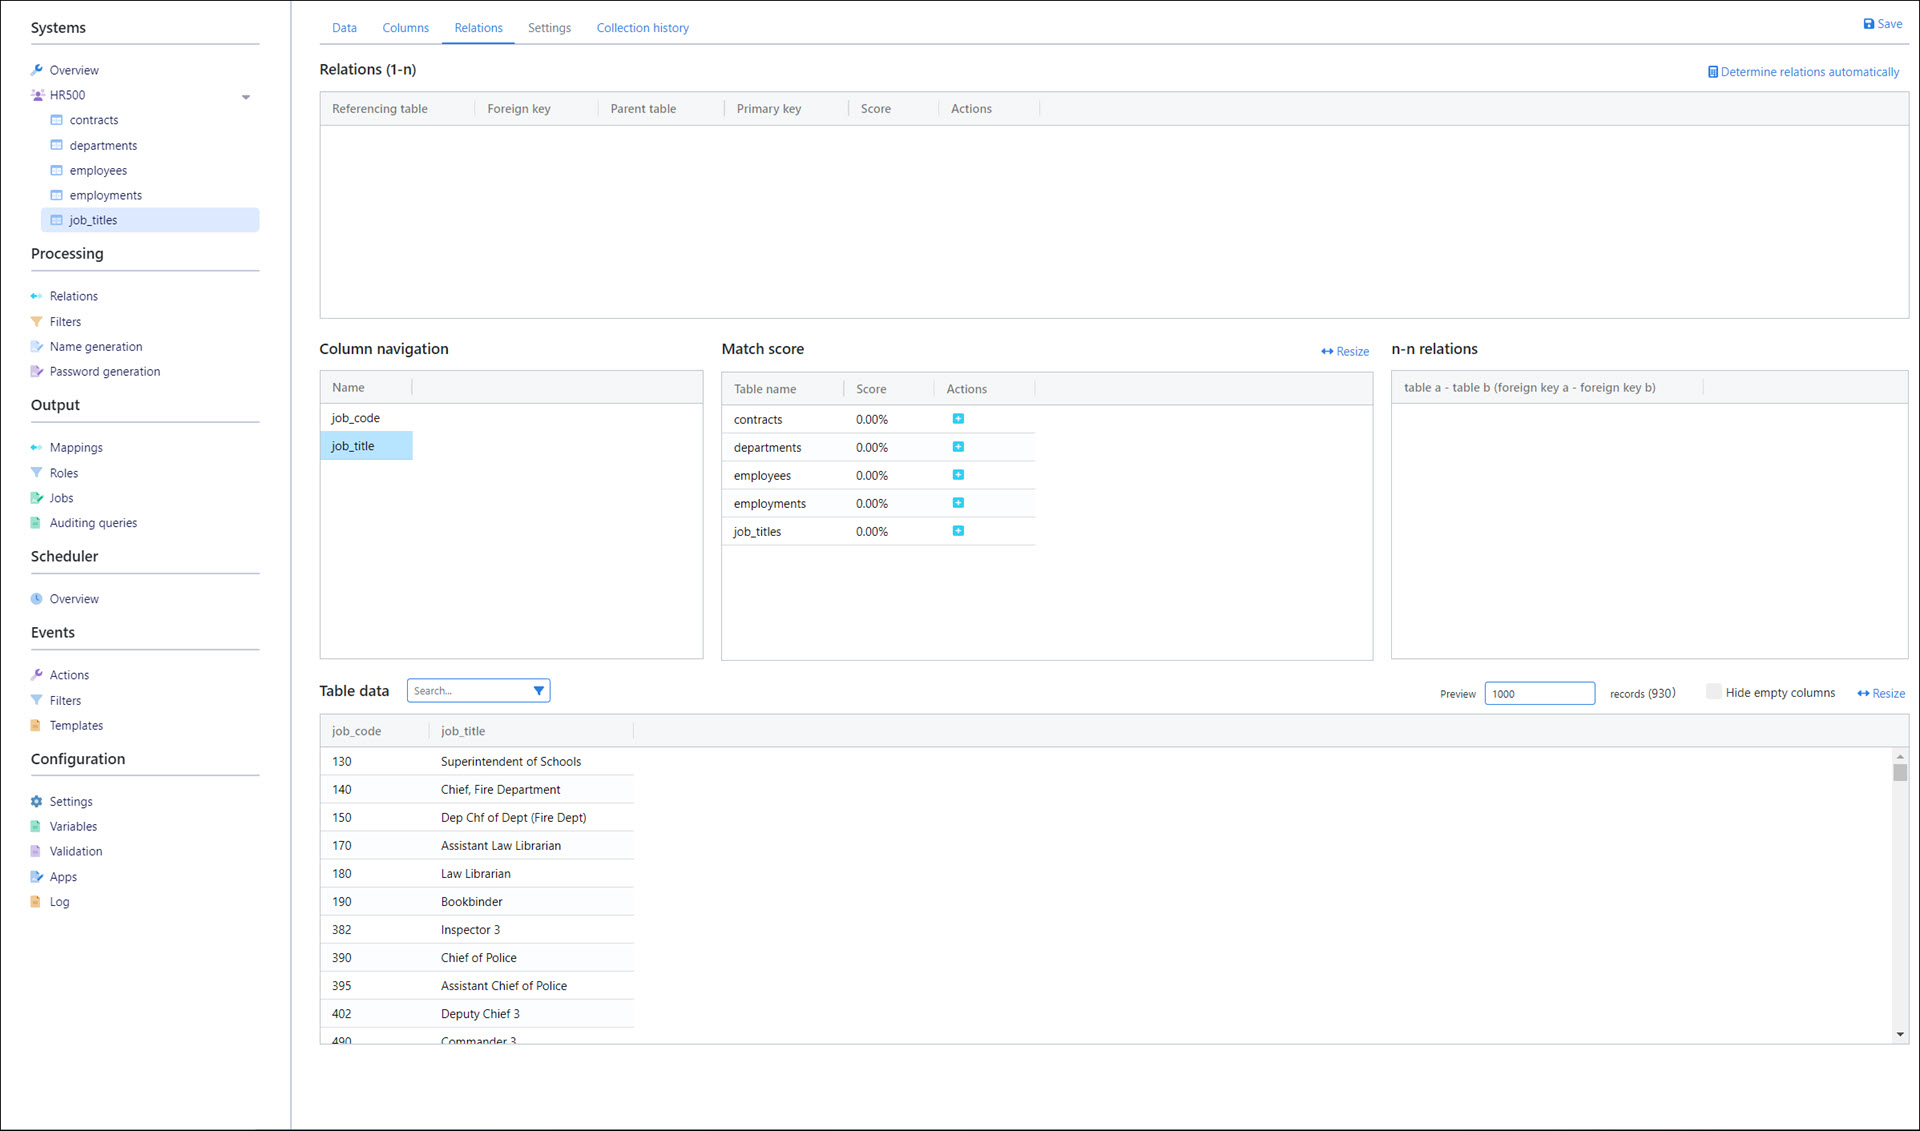
Repeat this process for the other data tables in this system (none of the other tables have N-N relations).
departmentstableForeign key
parent(N) → primary keyorganizational_unitofdepartmentstable (1)
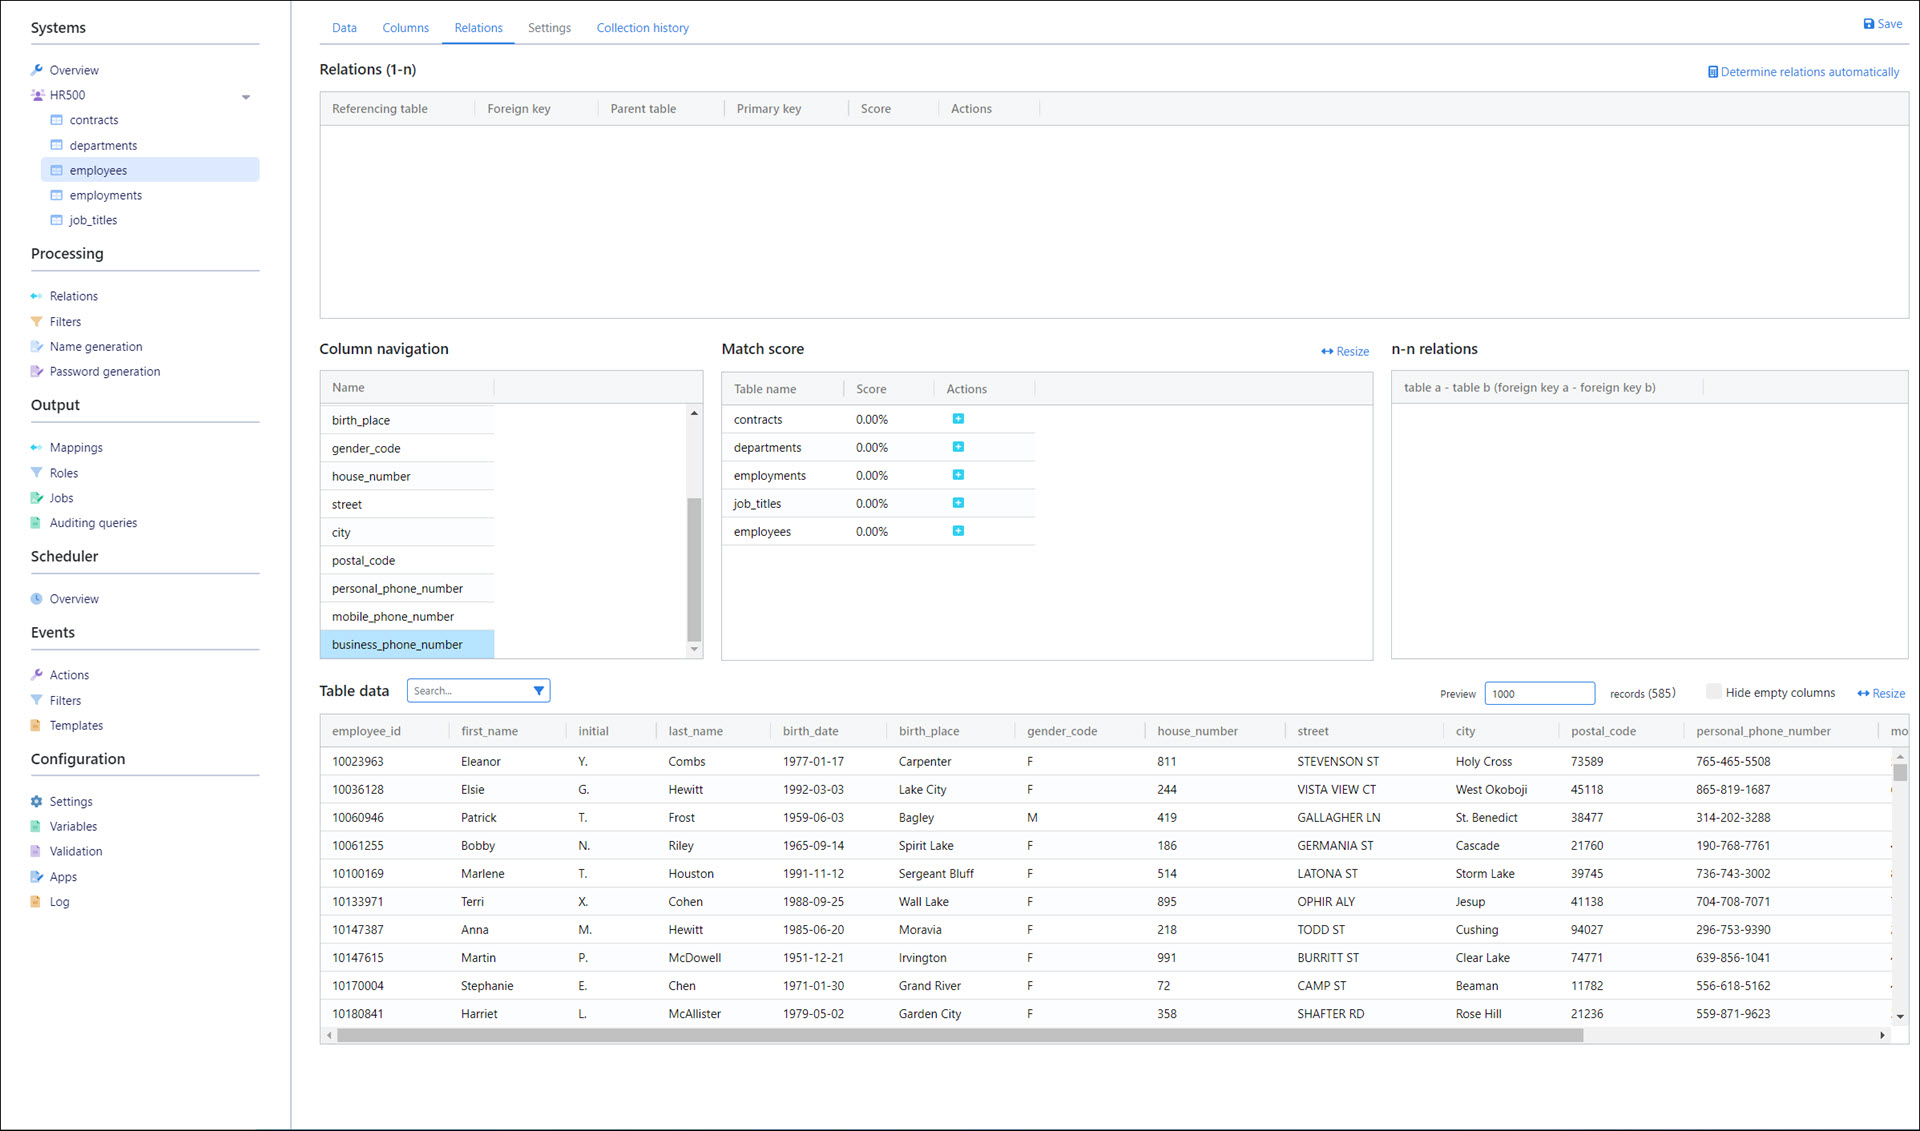
employeestableNone
employmentstableForeign key
employee_id(N) → primary keyemployee_idofemployeestable (1)
job_titlestableNone
Collect this system's data once again, by going to the Overview and clicking
Collect.
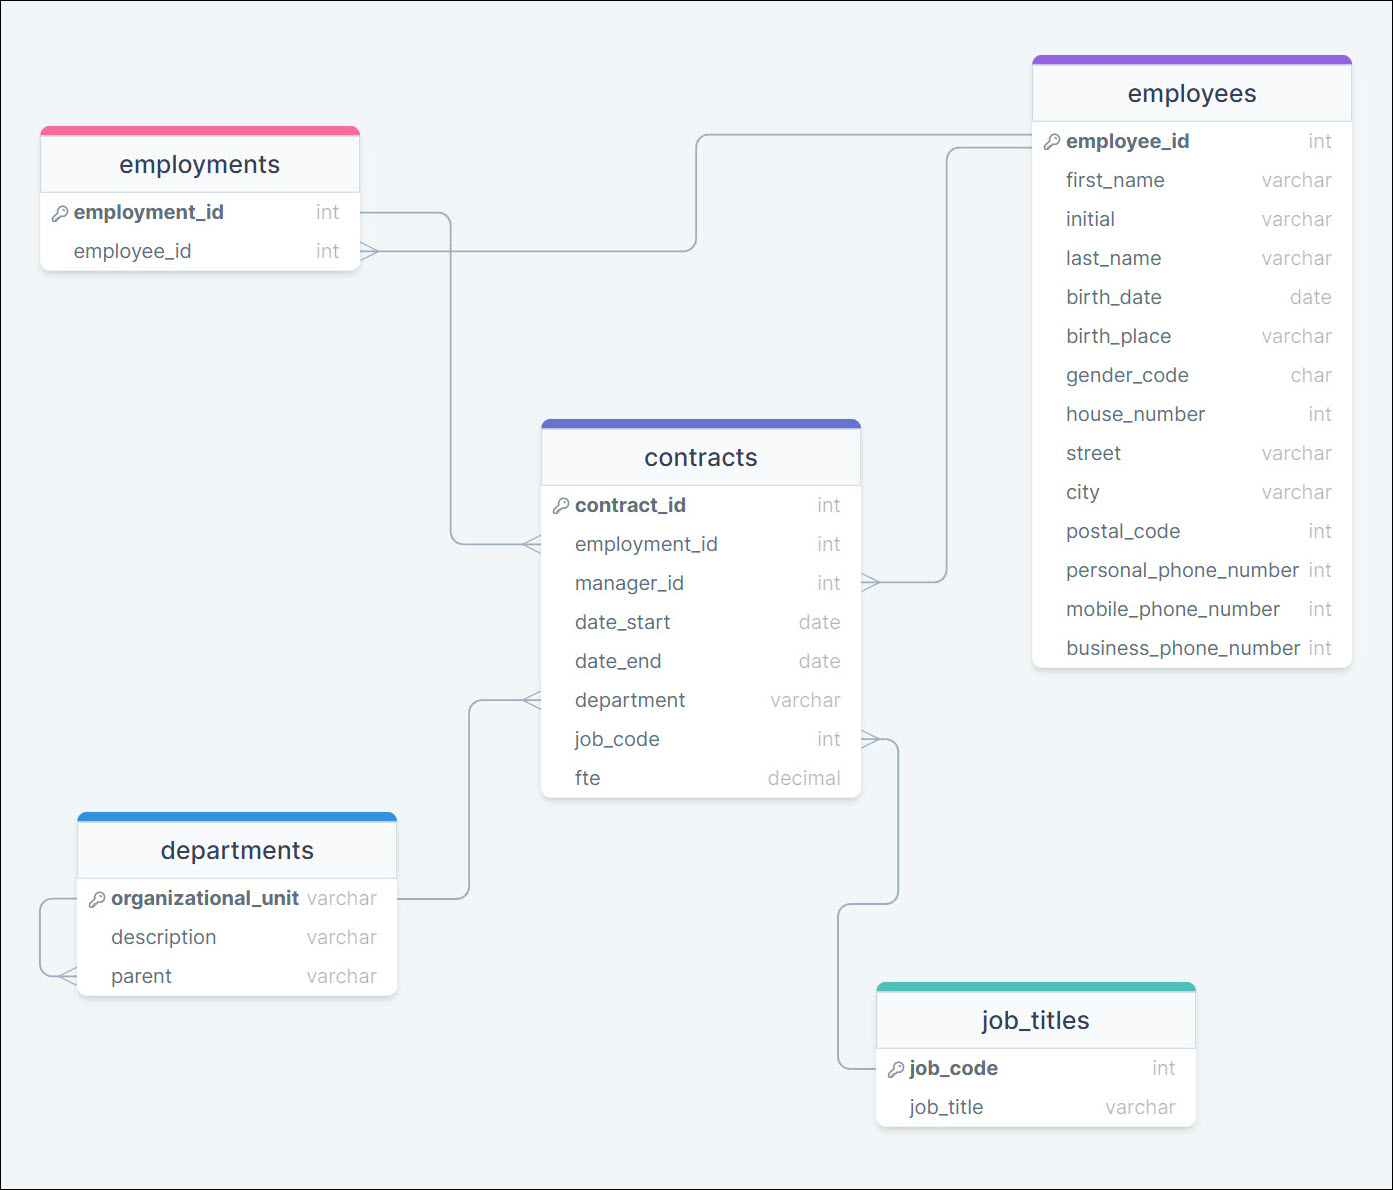
We now have the following keys & relations configured:
Note
If you want an ERD for your NIM tables, you'll need to draw one manually using an external tool. NIM does not currently auto-generate ERDs.
Next: Step 2: AD target system