Installation
To install Tools4ever NIM, ensure your system meets the minimum requirements of 2 cores, 16 GB RAM, and 120 GB free storage space, running Windows Server 2019 or higher. Exclude NIM directories and executables from antivirus scans to avoid interference. Run the installer with recommended HTTP and HTTPS settings, configure Windows permissions for Active Directory, and launch NIM Studio to set the Administrator account password. Enter your license code in the Configuration settings to enable full functionality.
Minimum requirements
2 cores
16 GB RAM
120 GB free storage space
Windows Server 2019 or higher (older editions may work, but we recommend staying within the Microsoft Lifecycle Policy)
PowerShell 5.1
.NET Framework 4.7
Anti-virus Exclusions
During large mapping or role operations (e.g., tens of thousands of operations), Windows Defender and other endpoint protection software (e.g. Sophos, CrowdStrike, Cynet, Microsoft Defender, SentinelOne, etc...) can interfere with NIM. To resolve this, exclude configure the following within those products:
C:\Program Files\Tools4ever\NIMC:\ProgramData\Tools4ever\NIMC:\Program Files\Tools4ever\NIM\node.exeC:\Program Files\Tools4ever\NIM\nim.exe
Notice
Additionally, the powershell connectors within NIM are not currently signed. This can also cause issues with processing as well.
Installation Steps
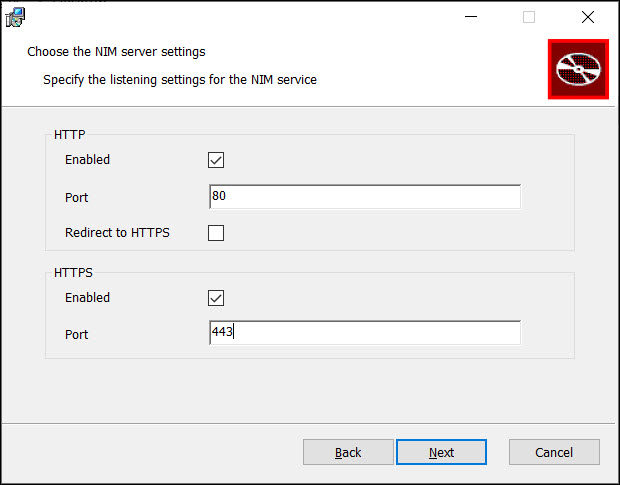
Run the NIM Windows installer. The following settings are recommended:
HTTP: Enabled, port 80, redirect to HTTPS disabled
HTTPS: Enabled, port 443
Note
Upon installation, a self-signed certificate is installed. After installation, it is recommended that you provide your own certificate, or use the Let's Encrypt service. See the HTTPS article for more details.
Destination folder:
C:\Program Files\Tools4ever\NIM\(default)
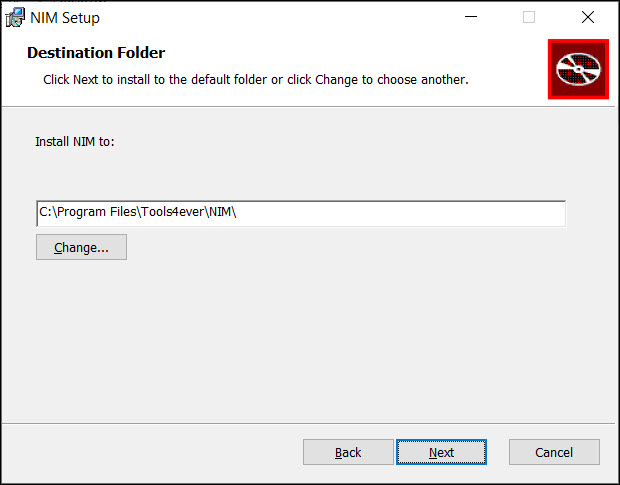
After you click Next, the following components are installed in the installation directory:
Configure Windows permissions:
If you're using NIM with Active Directory, grant the NIM service permission to read and write from AD.
Grant the user account on local administrator access on the server the service is running on.
Tip
See more information on Group Managed Service Accounts for Active Directory
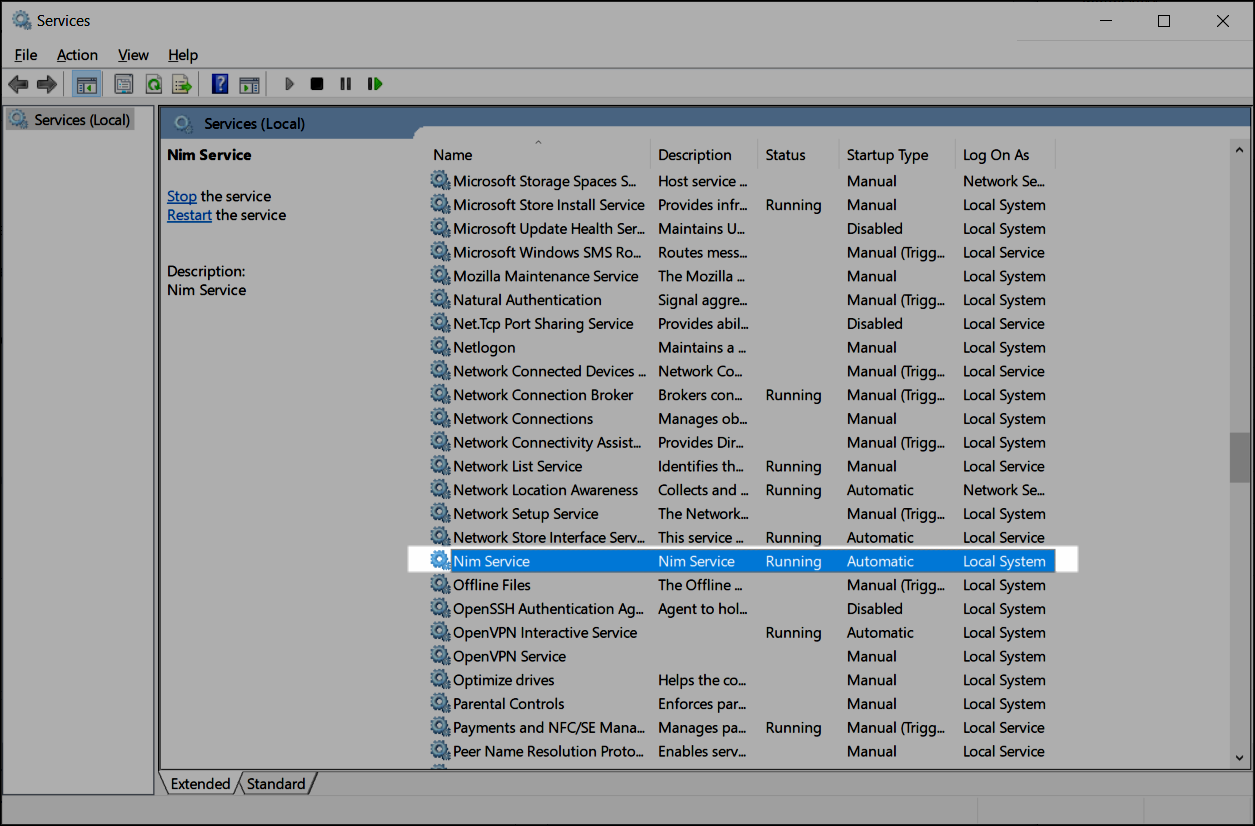
Launch the NIM studio:
Ensure the back-end NIM service is running.
Open your preferred web browser and go to
localhost:80/index.html. If you're connecting from an external machine, instead go to<hostname-or-ip-address>:80/index.html.Choose a password for the default account (username
Administrator).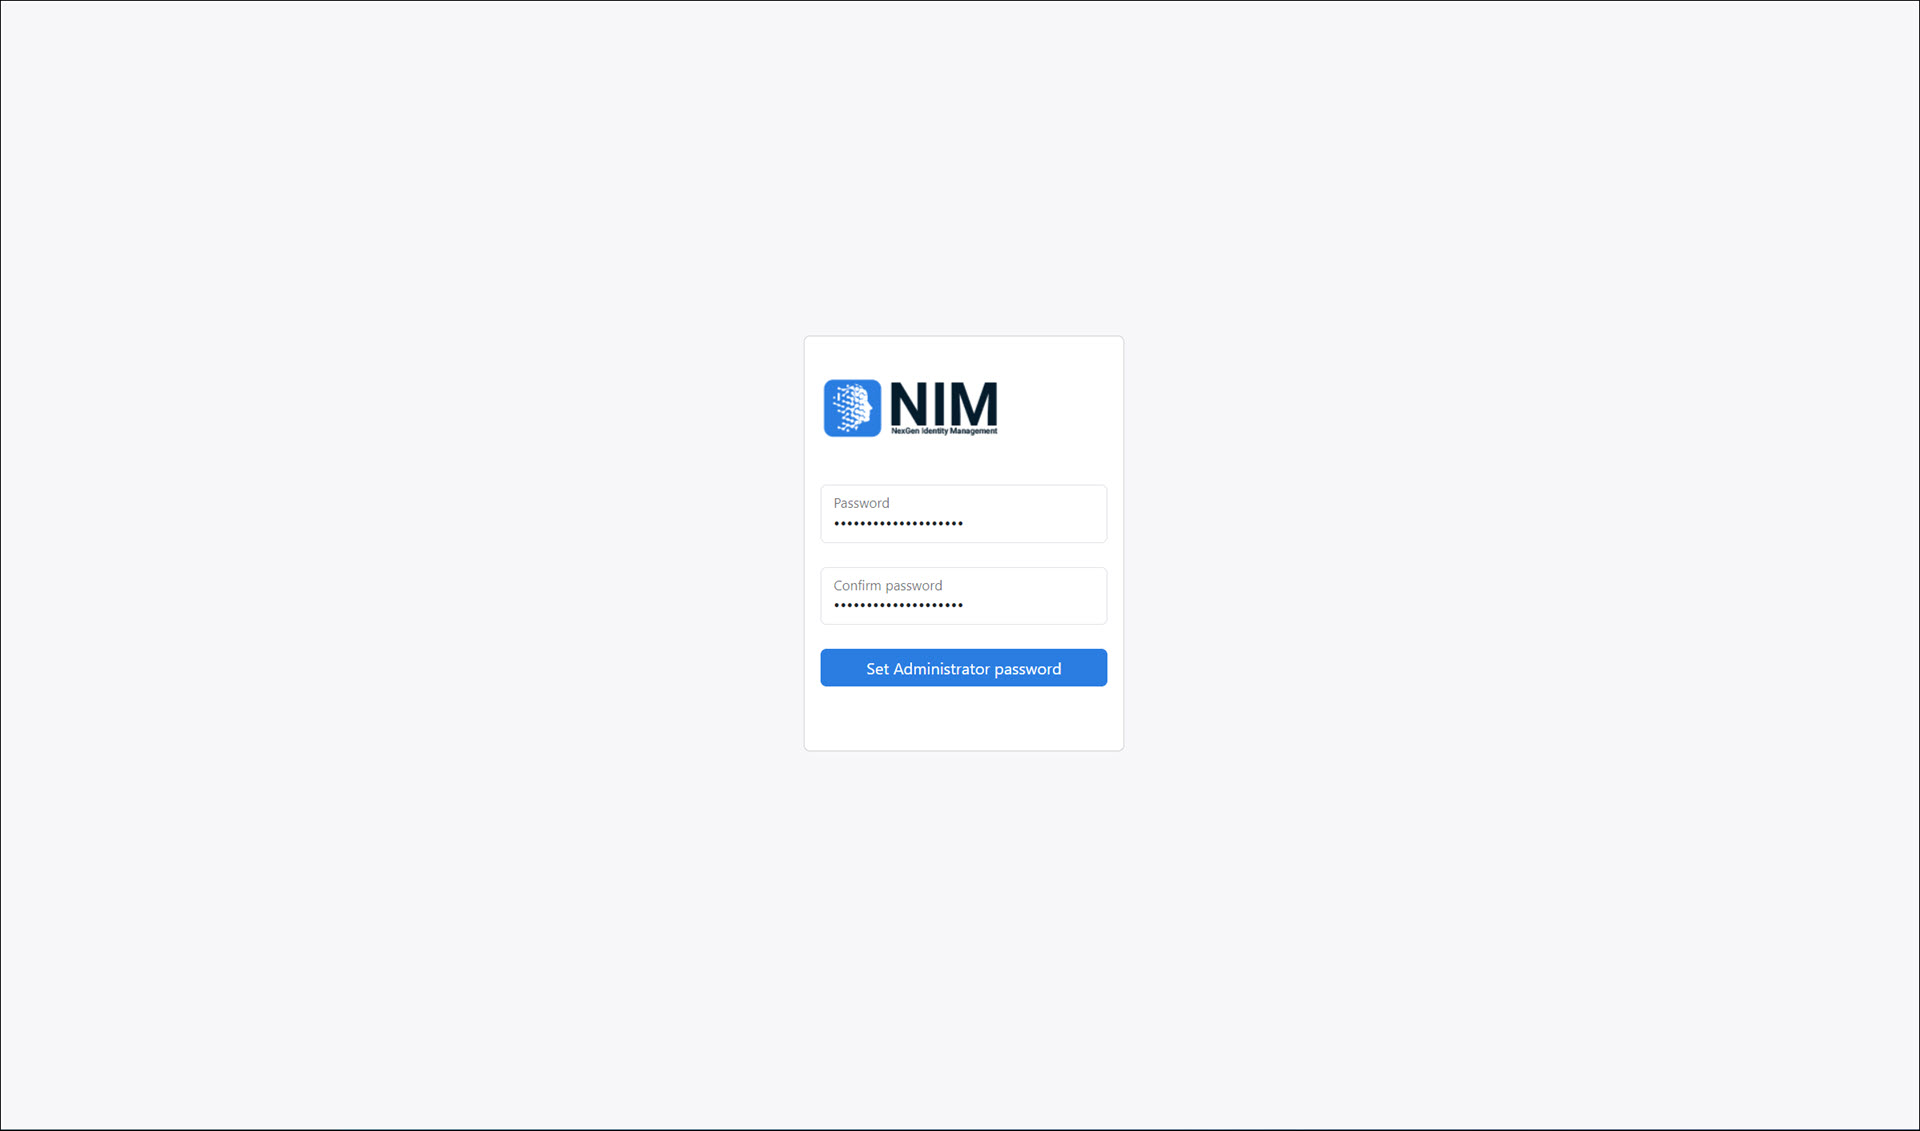
To confirm, click Set Administrator Password.
Your chosen password is assigned to the
Administratoraccount, and the NIM Studio is launched.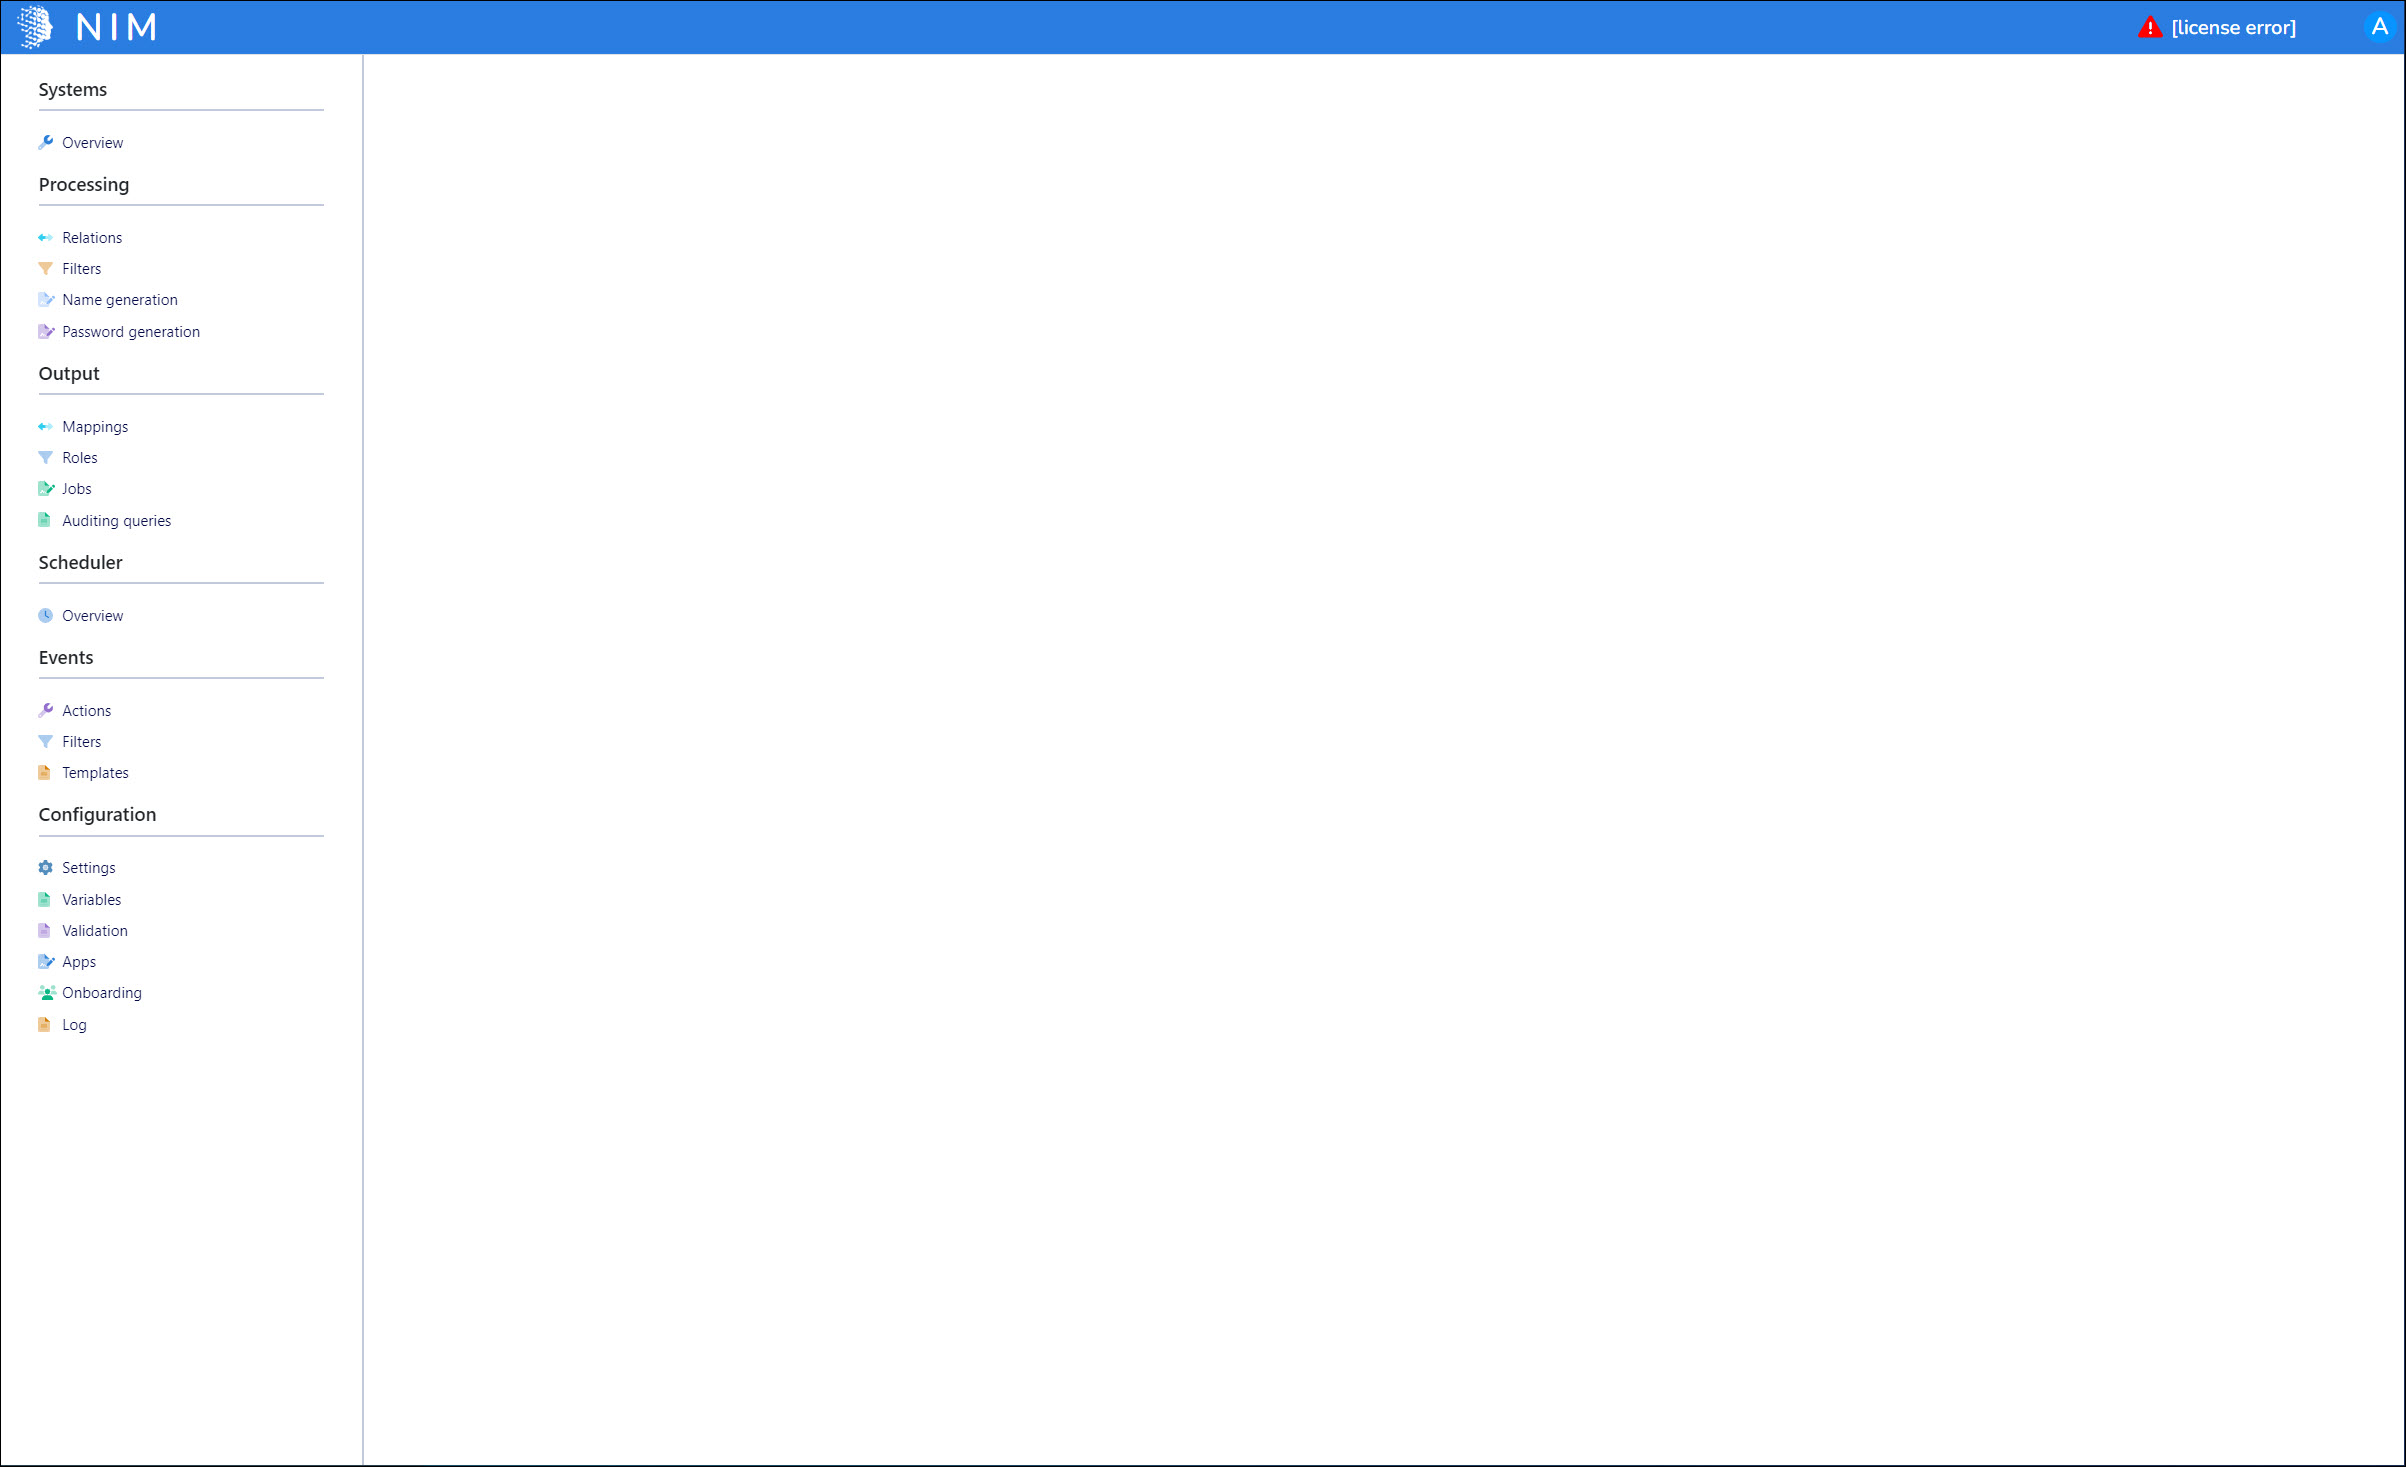
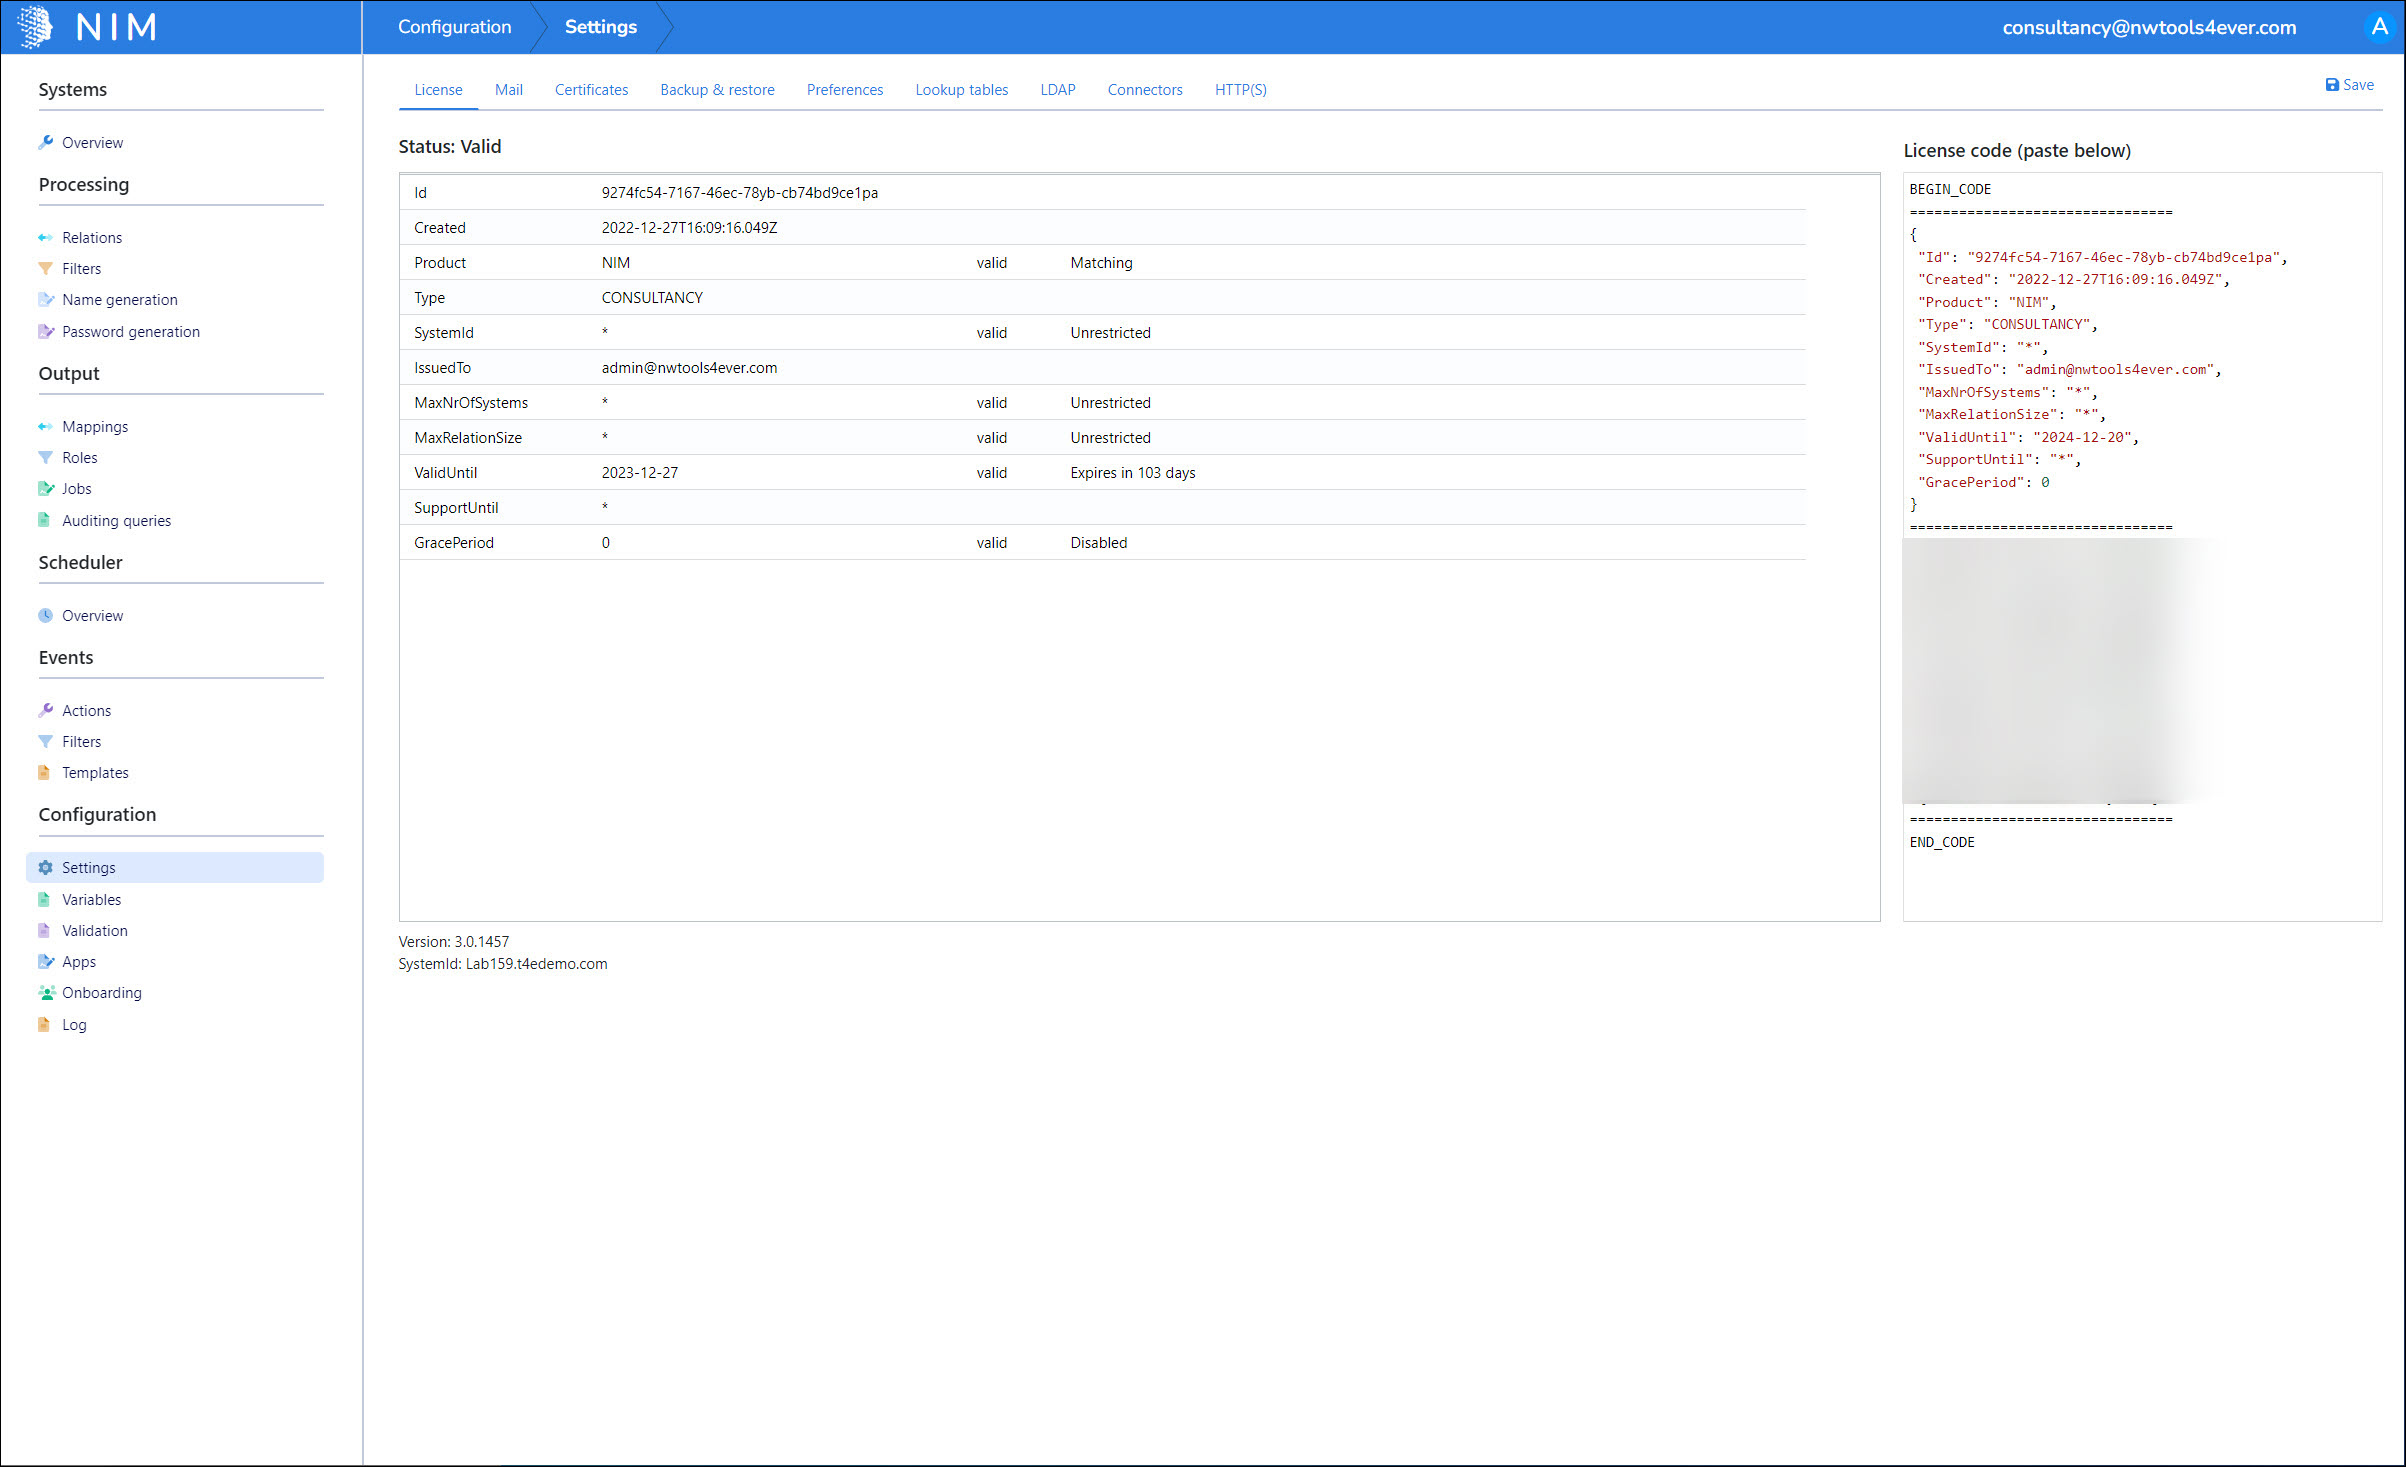
Enter a license code
For more information, see License.
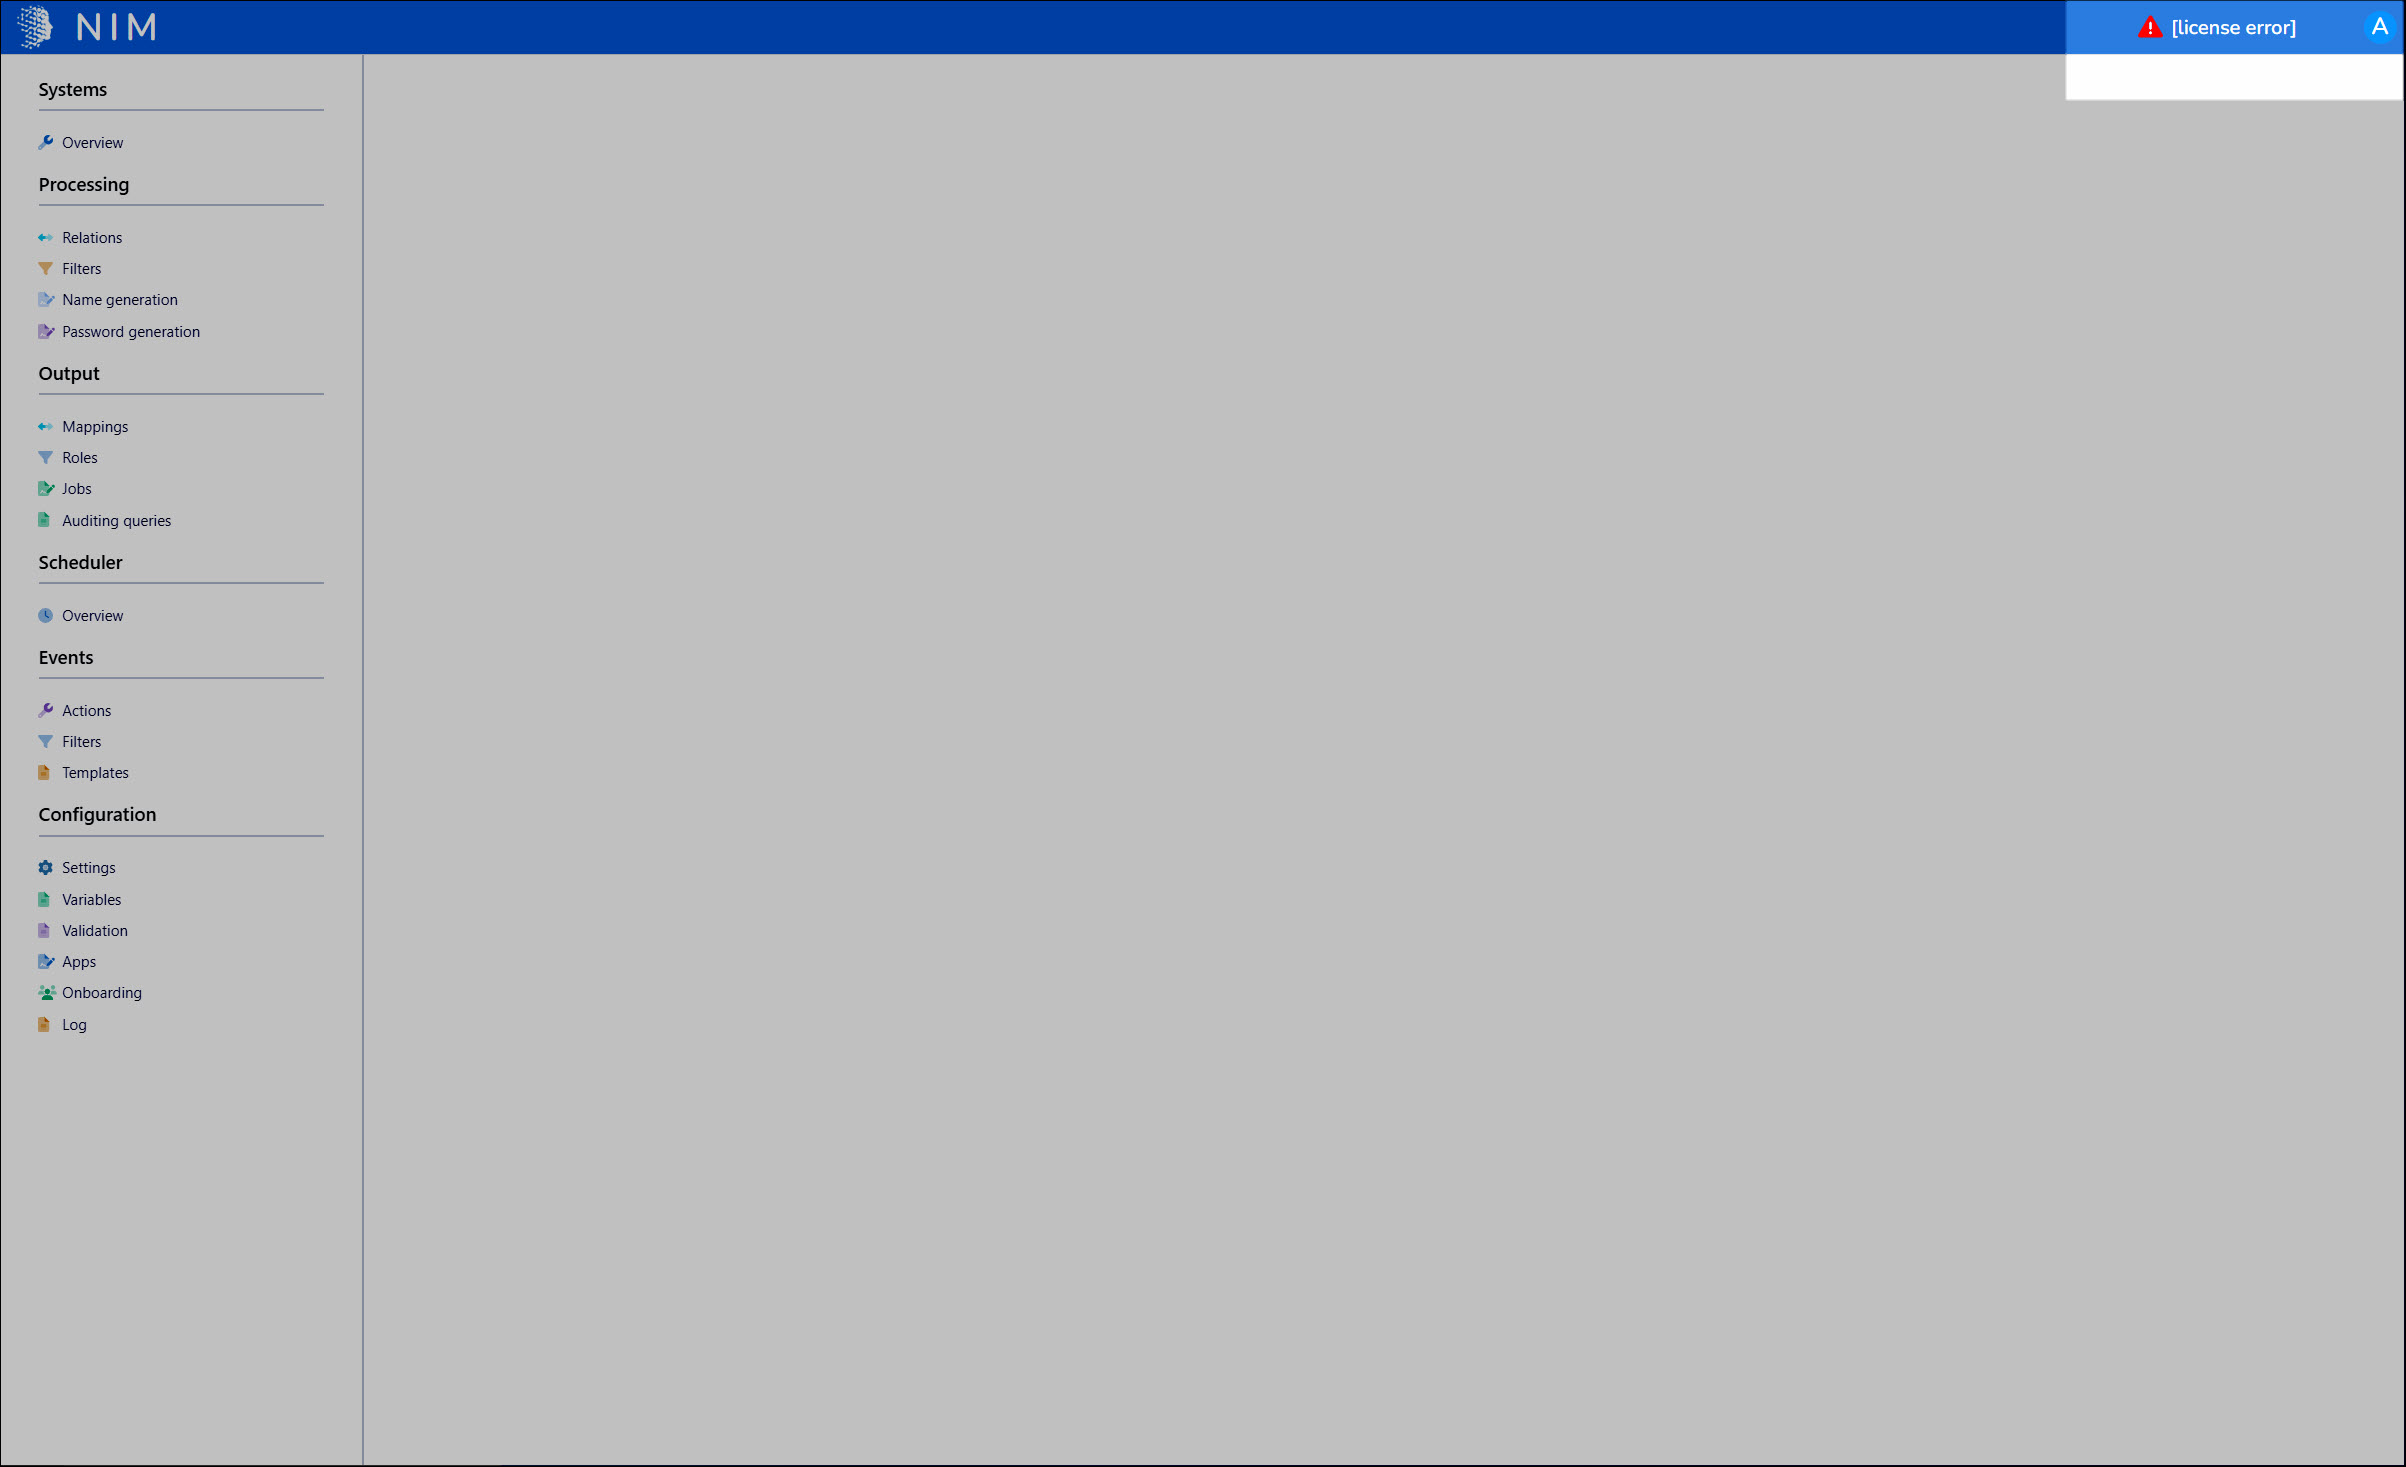
If you just installed NIM for the first time, you'll see a [license error] message in the upper-right hand corner of the screen.
Go to Configuration > Settings.
Go to the License tab.
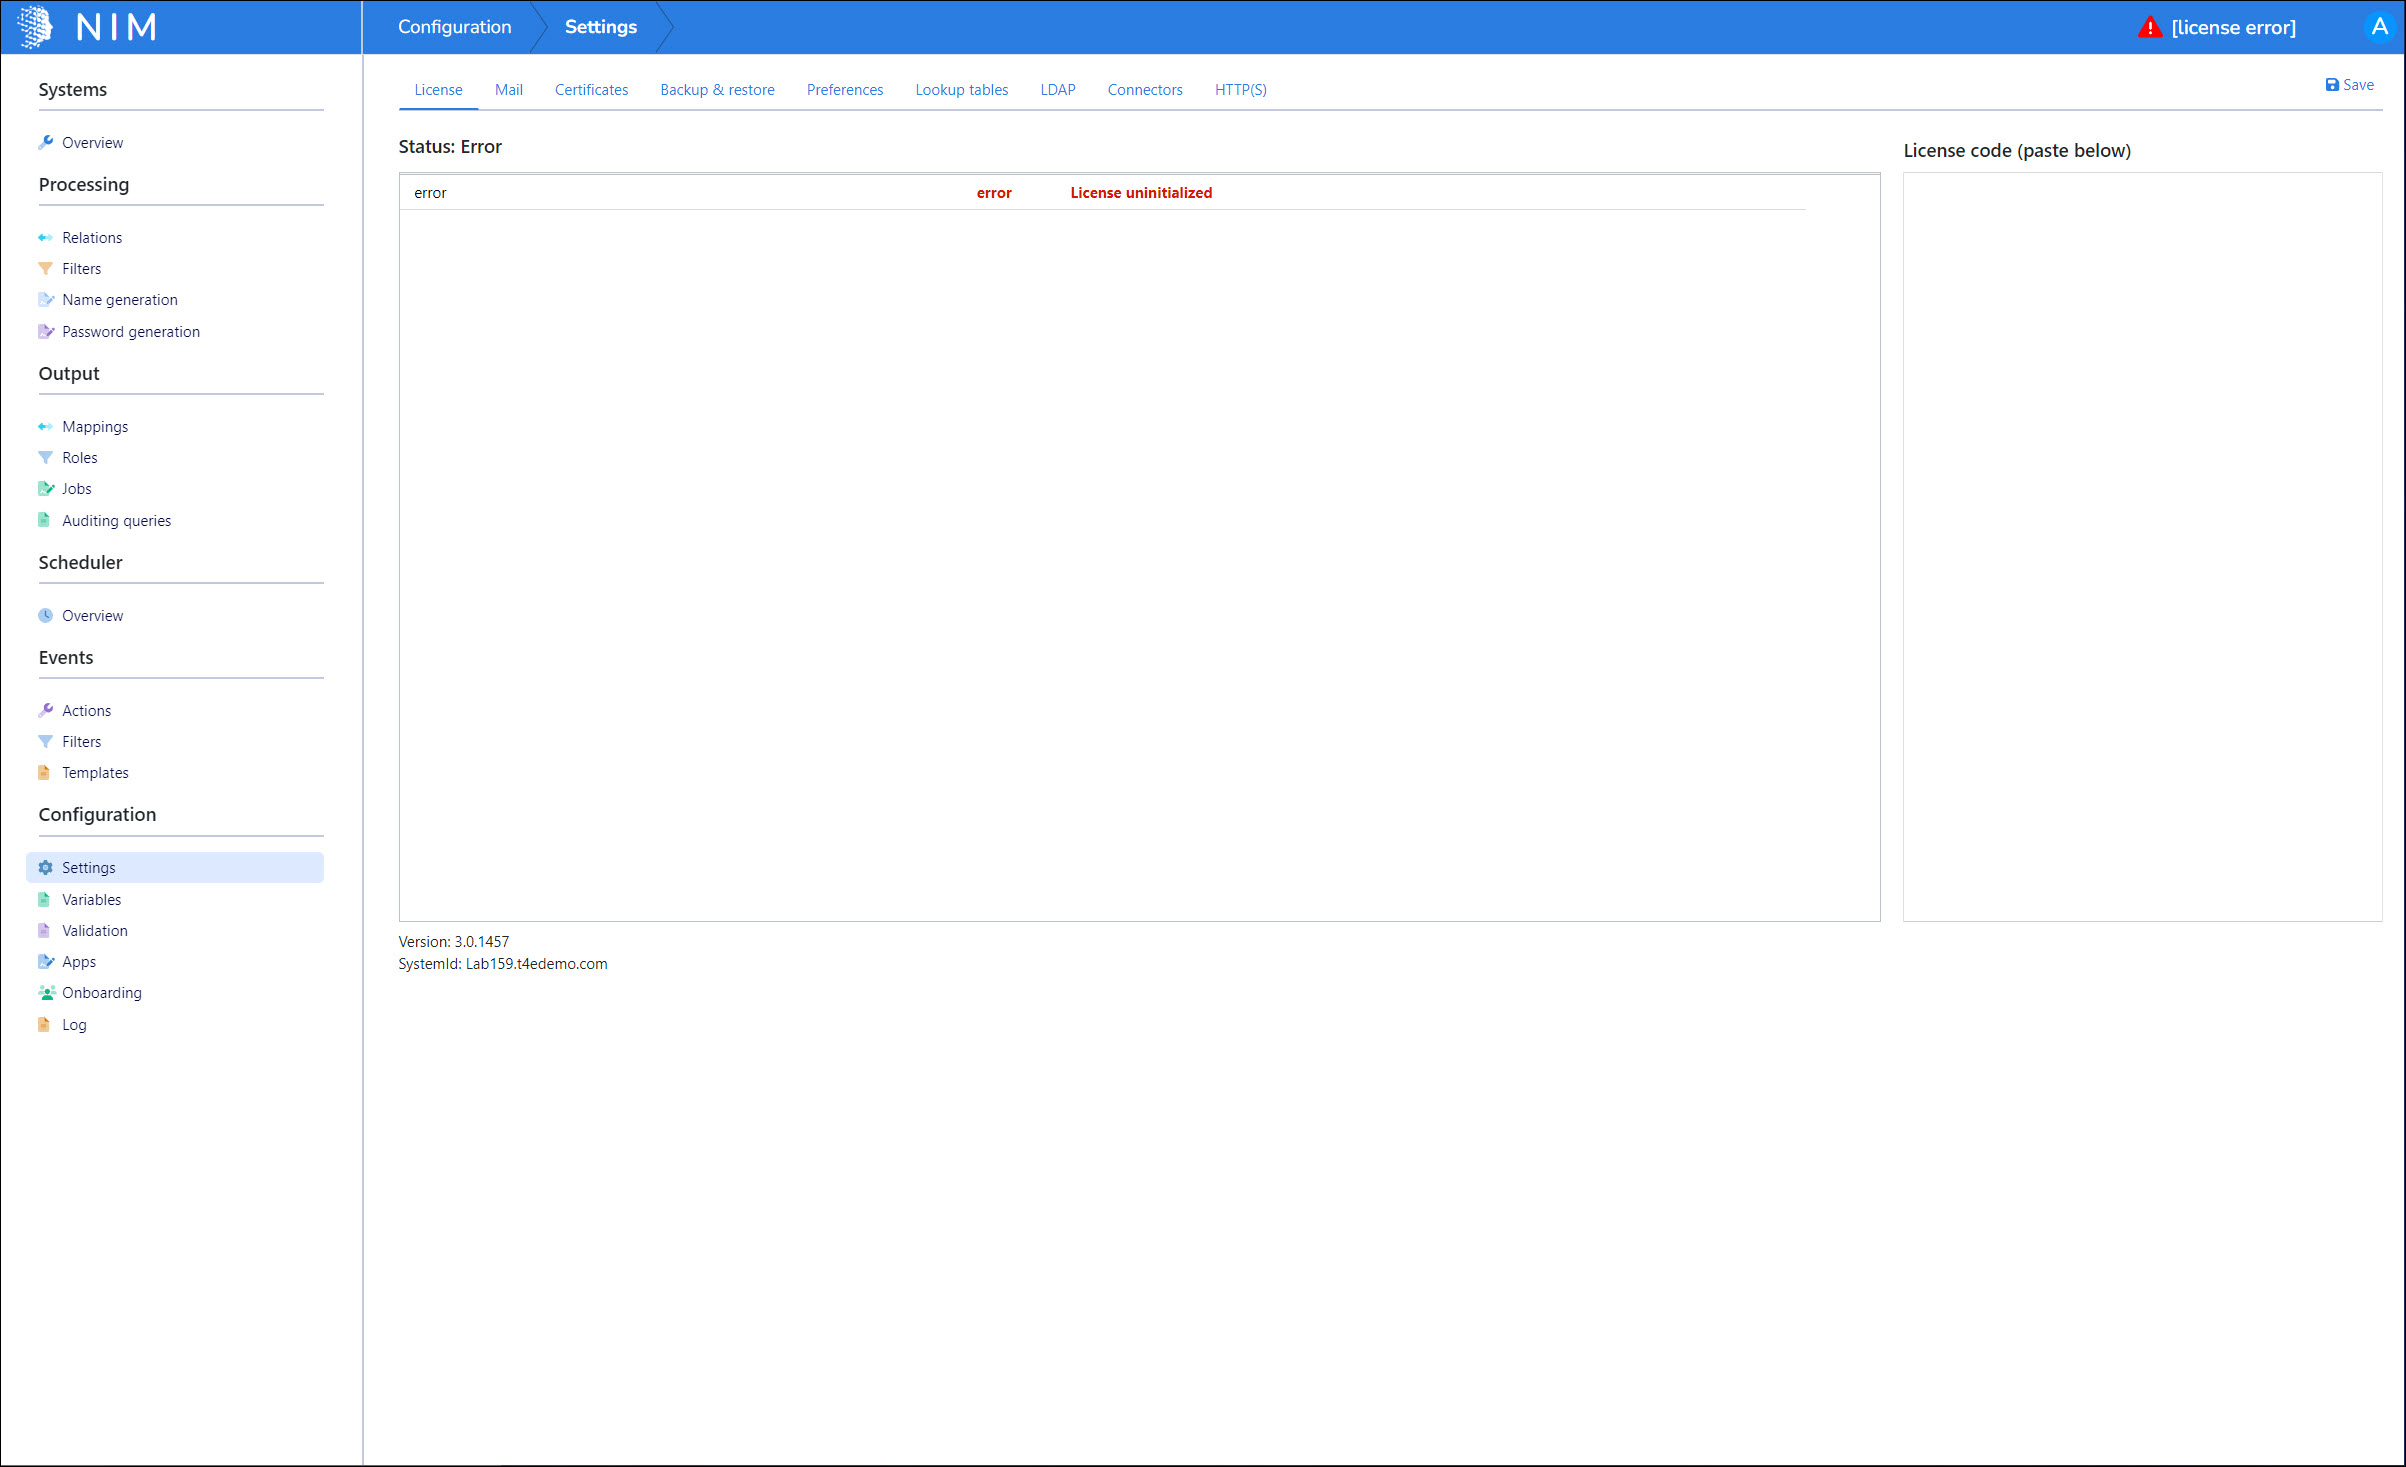
Paste your license into the License Code field, including the
BEGIN_CODEandEND_CODElines.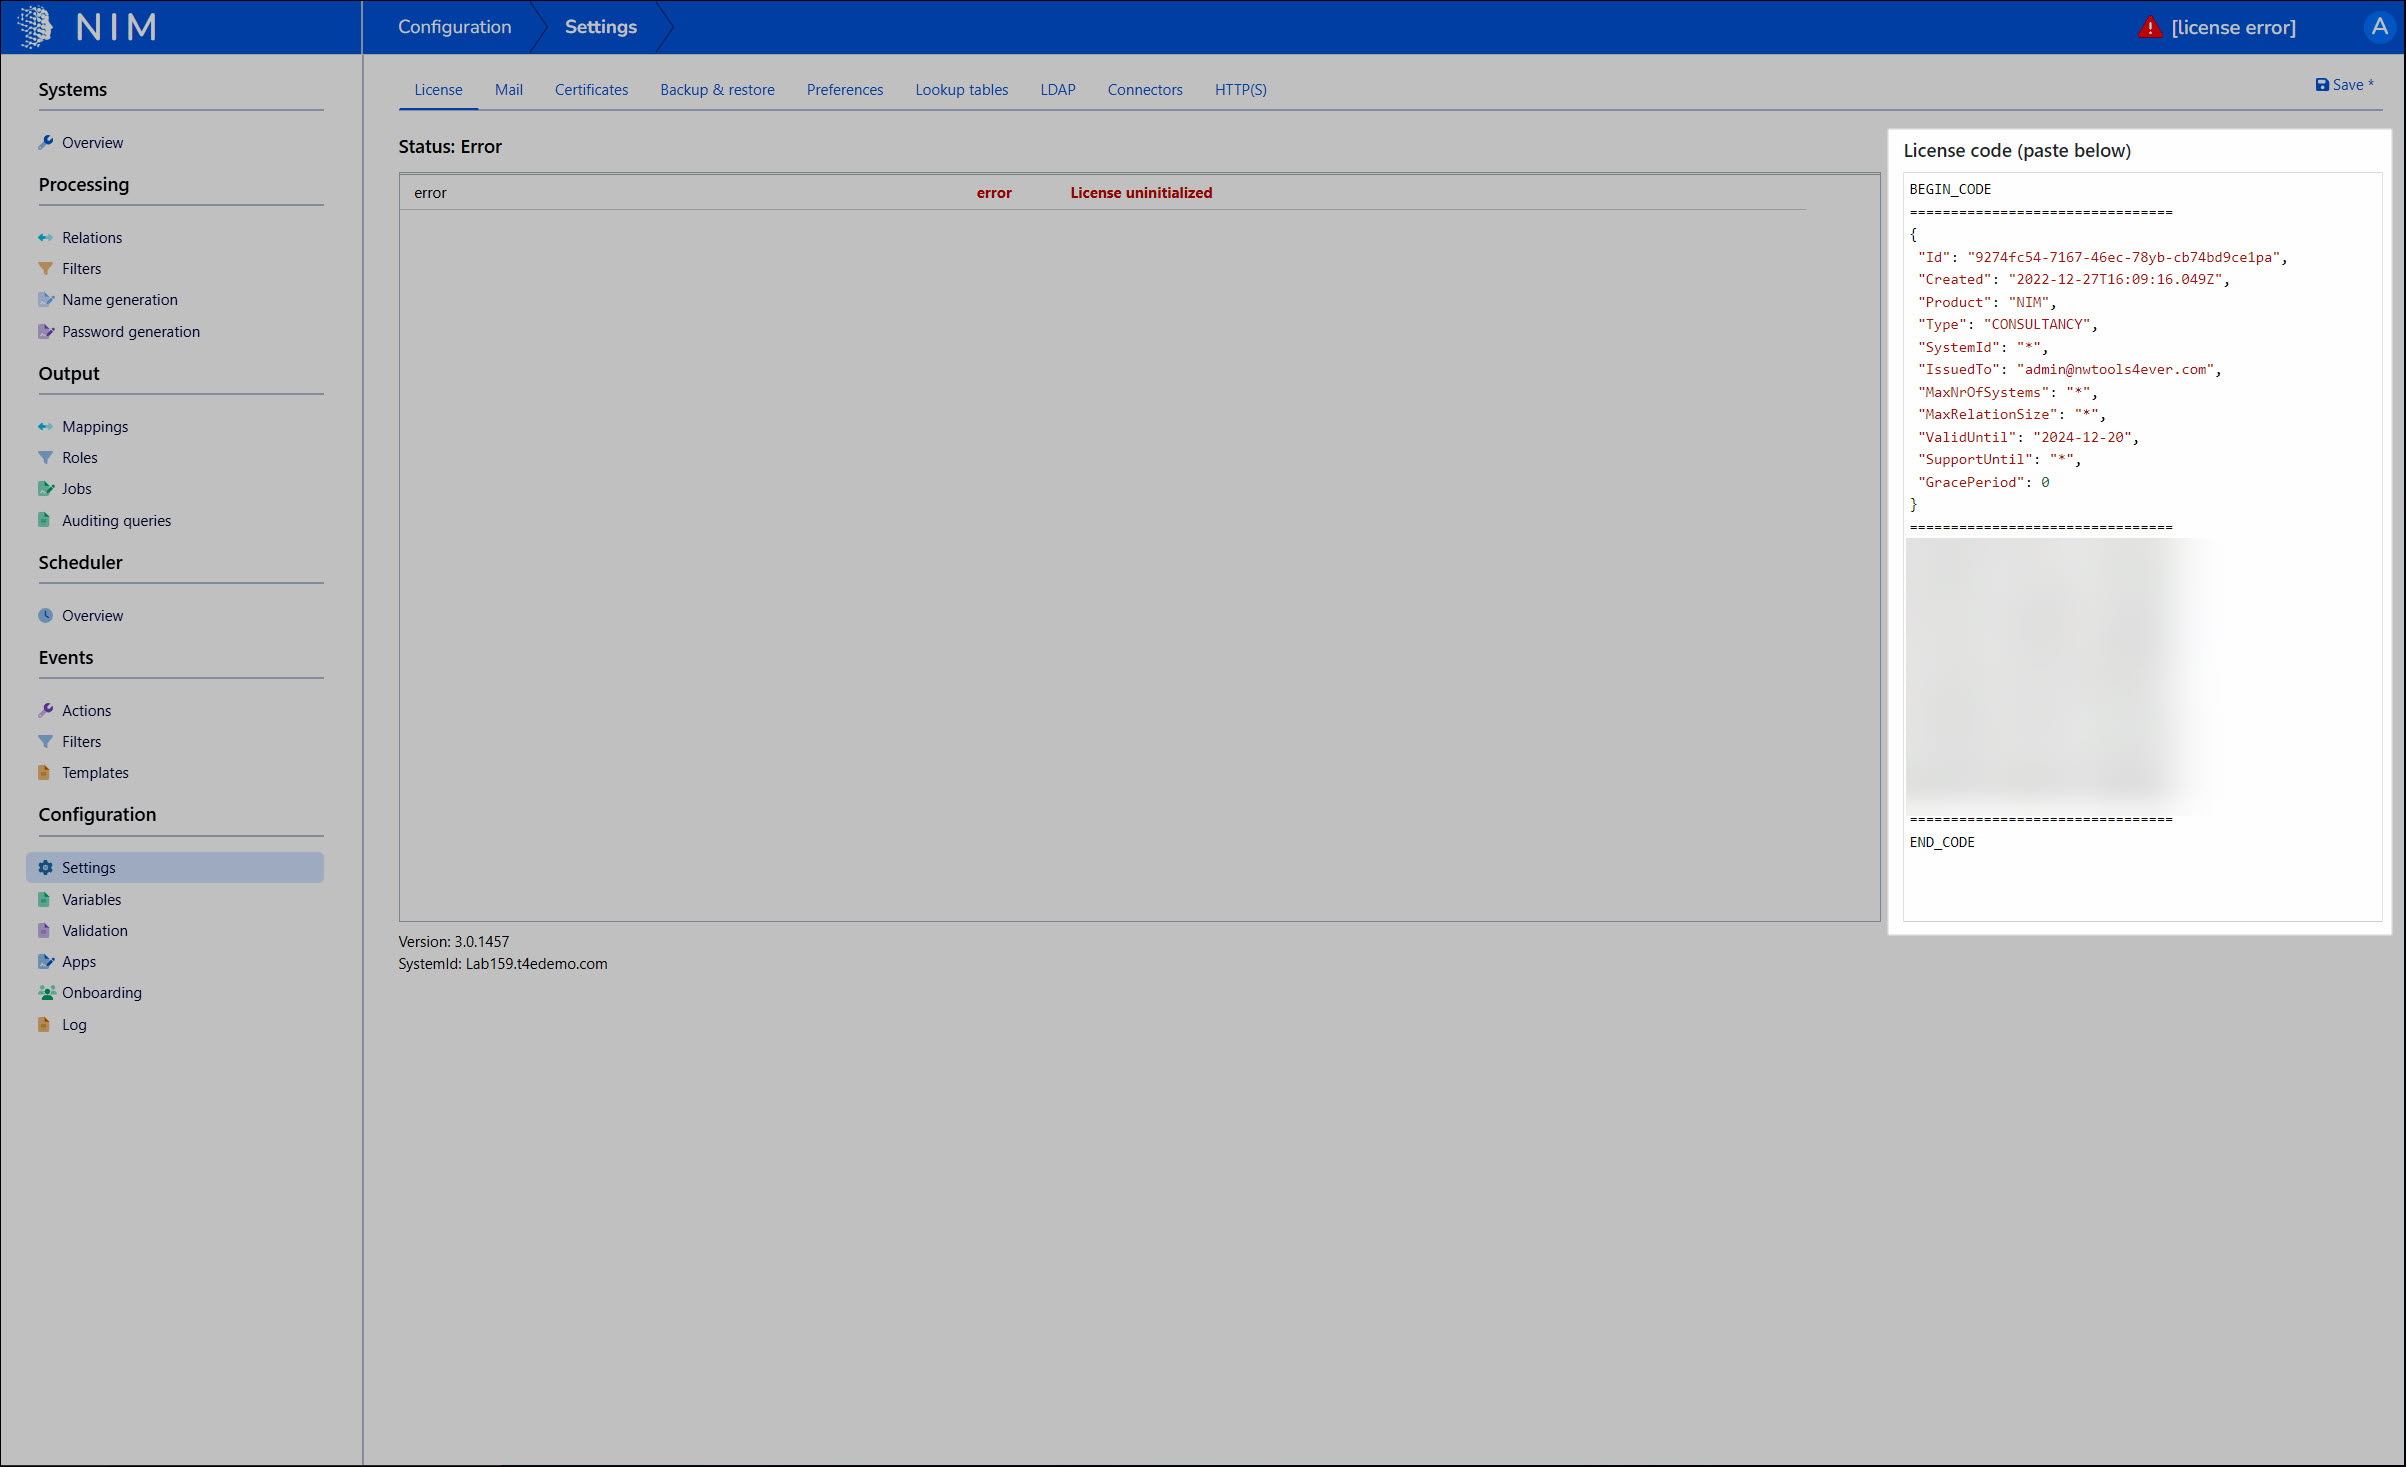
Click Save.
If successful, the Status pane is populated with your license information. The license error is cleared. NIM's full functionality is enabled.
Next: The NIM workflow