Google Workspace
Overview of Google Workspace, a cloud-based productivity suite, detailing its features, integration capabilities, and configuration steps.
Google Workspace is a cloud-based suite of productivity and collaboration tools aimed at facilitating communication and teamwork within organizations. It includes applications such as Gmail, Google Drive, Google Docs, Sheets, Slides, Meet, Calendar, Forms, Chat, and Sites. The suite is designed to provide a seamless and integrated environment for users to collaborate on documents, hold virtual meetings, manage calendars, and share information, enhancing overall productivity and communication.
About


Table | Key | Read | Create | Update | Delete |
|---|---|---|---|---|---|
Chrome OS Devices | deviceId |  |  | | |
Classroom Courses | id | | | | |
Classroom Course Aliases | alias | | | | |
Classroom Course Students | courseId | | | | |
Classroom Course Teachers | courseId | | | | |
Classroom Invitations | id | | | | |
Classroom User Profiles Guardian Invitations | invitationId | | | | |
Custom Fields | schemaId | | | | |
Classroom User Profiles Guardians | guardianId | | | | |
Data Transfers | id | | | | |
Drives | id | | | | |
Groups | id | | | | |
Groups Aliases | id | | | | |
Groups Settings | | | | | |
Licenses | skuId | | | | |
License Assignments | -- | | | | |
Members | -- | | | | |
Managers | -- | | | | |
Owners | -- | | | | |
Mobile Devices | resourceId | | | | |
Org Units | orgUnitId | | | | |
Privileges | serviceId | | | | |
Role Assignments | roleAssignmentId | | | | |
Roles | roleId | | | | |
Users | id | | | | |
Users Aliases | id | | | | |
Users ASPS | id | | | | |
Users Gmail Settings AutoForwarding | user_id | | | | |
Users Gmail Settings Delegates | user_id | | | | |
Users Gmail Settings Forwarding Addresses | user_id | | | | |
Users Gmail Settings IMAP | user_id | | | | |
Users Gmail Settings Language | user_id | | | | |
Users Gmail Settings POP | user_id | | | | |
Users Gmail Settings Send As | user_id | | | | |
Users Gmail Settings Vacation | user_id | | | | |
Users Tokens | user_id | | | | |
Users Verification Codes | userId | | | | |
Referencing Table | Foreign Key | Parent table | Primary Key |
|---|---|---|---|
Members | group_id | Groups | id |
Members | id | Users | id |
Members | id | Groups | id |
Go to Systems > Overview.
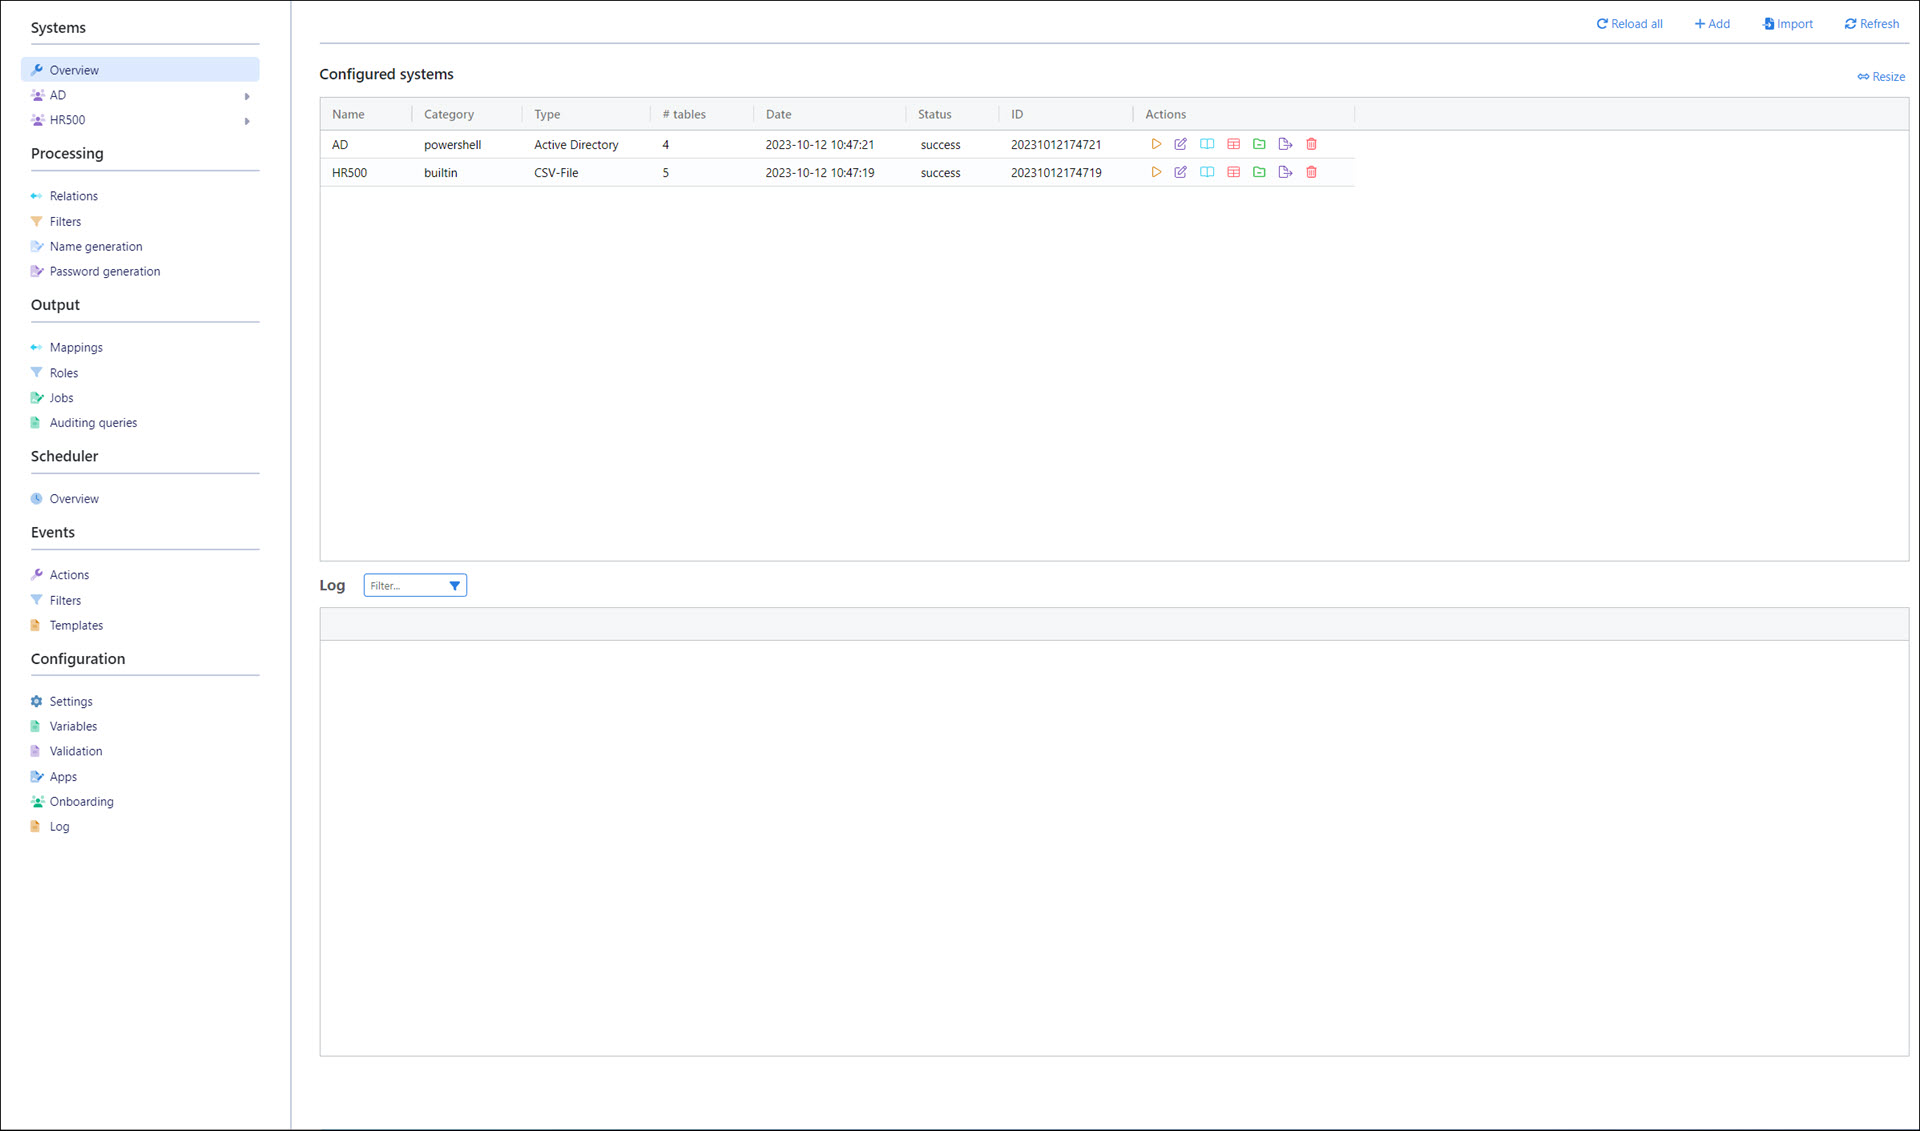
Click Add.
Select Google for System Type.
Enter a System Name.
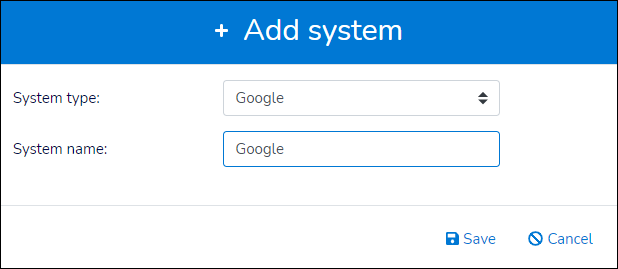
Click Save.
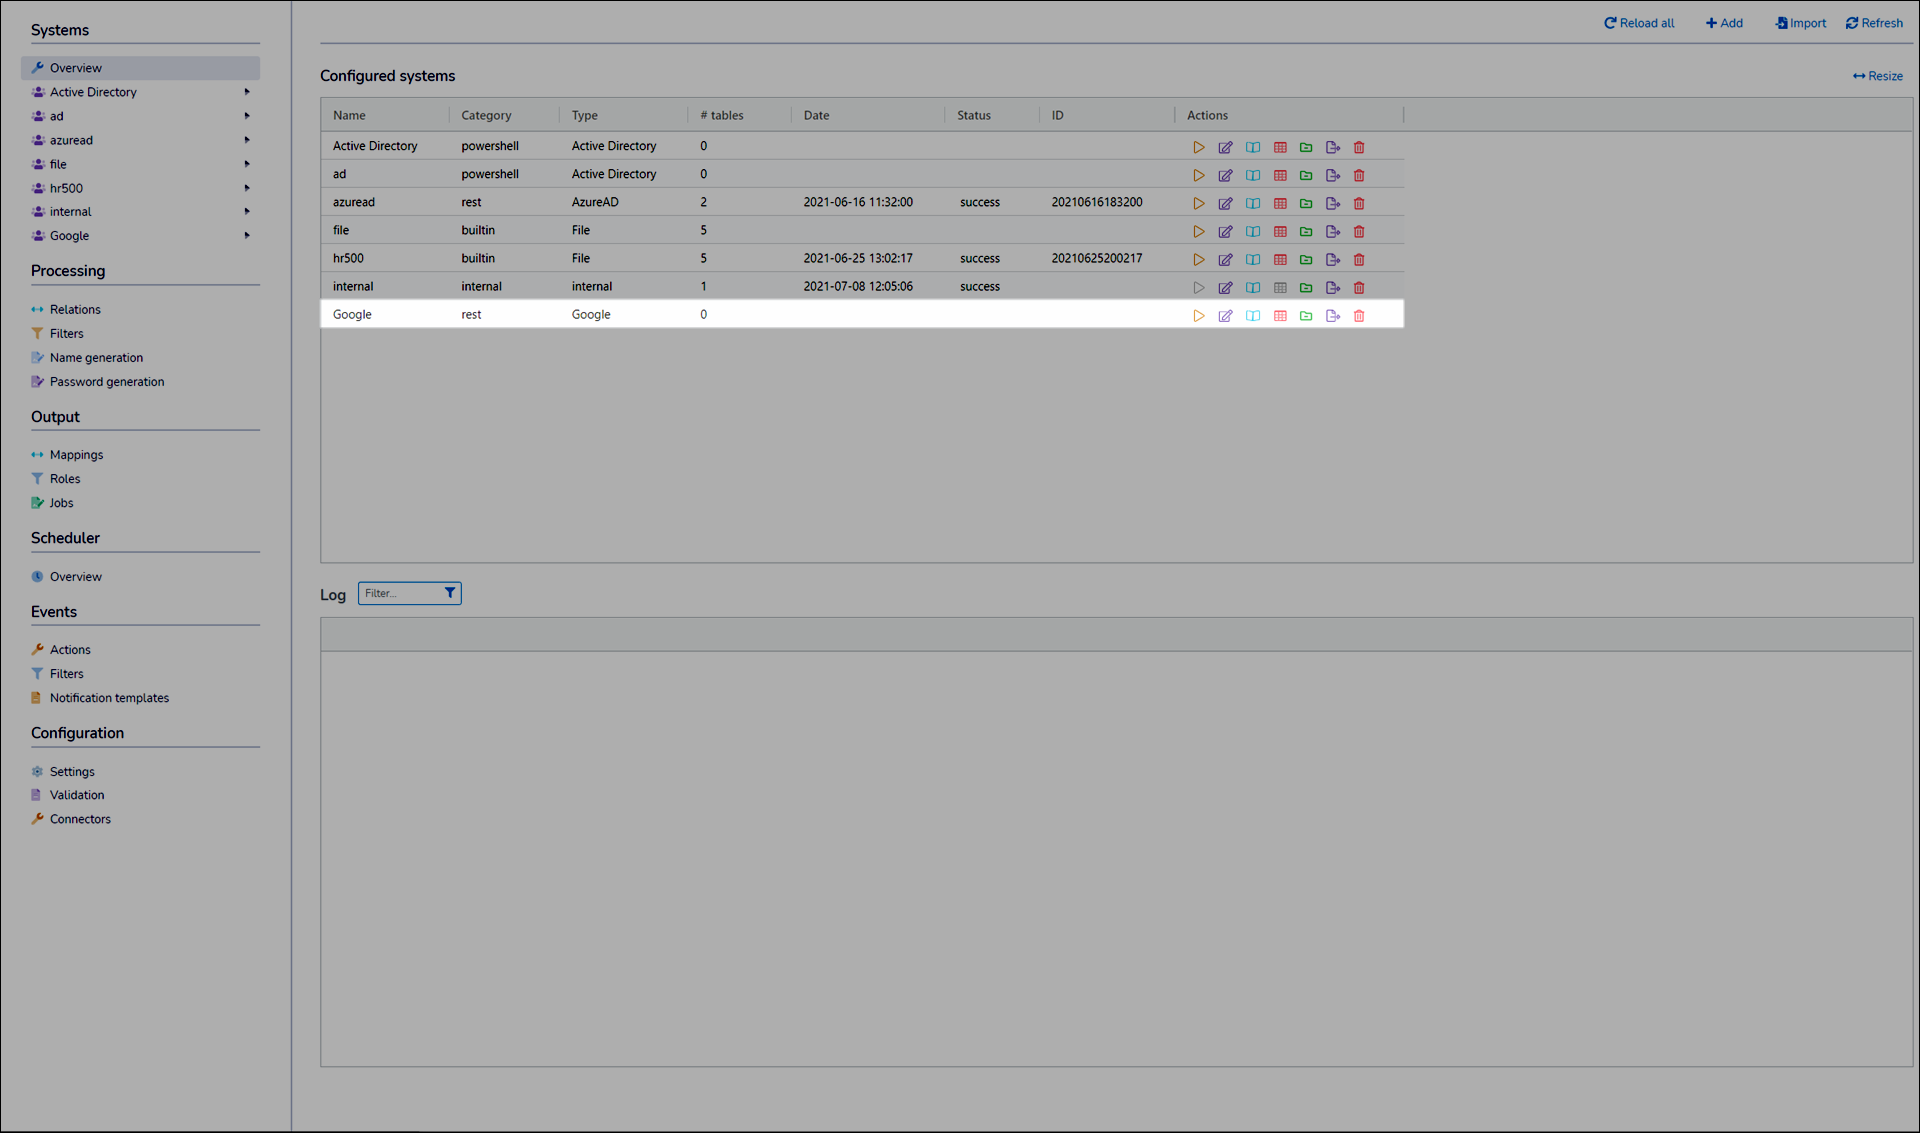
The new system is added to the Configured Systems pane.
In a new tab, go to the Google Cloud Platform console at https://console.cloud.google.com/.
Create a new project named
NIMand switch to it.Open Cloud Shell
Run the following commands
gcloud services enable admin.googleapis.com
gcloud services enable groupssettings.googleapis.com
gcloud services enable licensing.googleapis.com
gcloud services enable drive.googleapis.com
gcloud services enable gmail.googleapis.com
gcloud services enable classroom.googleapis.com
Expand the menu and go to APIs & Services > OAuth Consent Screen.
Select the Internal user type and click Create. Enter
NIMfor the App Name. Enter a relevant User Support Email and Developer Email Address. Click Save And Continue.On the Scopes page, click Save And Continue.
On the Summary page, click Back To Dashboard.
Expand the menu and go to APIs & Services > Credentials.
Click Create Credentials > Service Account.
For the Service Account Name, enter
NIM. Accept the default generated Service Account ID value. Click Create and Continue. Click Done.Click the pencil icon to edit the newly created NIM service account. On the Details tab, Copy the Email and Unique ID to a local text editor application.
Go to the Keys tab. Click Add Key > Create New Key. Select P12. Click Create. The .p12 file is downloaded. Copy the Private Key Password (
notasecret) to a local text editor application. Click Close.Go to the Google Admin Console at https://admin.google.com/.
Go to Security > Access > API Controls.
Click Manage Domain-Wide Delegation.
Click Add New.
Paste the Unique ID you copied earlier into the Client ID field.
In the OAuth Scopes (Comma-Delimited) field
https://www.googleapis.com/auth/admin.datatransfer,https://www.googleapis.com/auth/admin.datatransfer.readonly,https://www.googleapis.com/auth/admin.directory.device.chromeos,https://www.googleapis.com/auth/admin.directory.device.chromeos.readonly,https://www.googleapis.com/auth/admin.directory.device.mobile,https://www.googleapis.com/auth/admin.directory.device.mobile.readonly,https://www.googleapis.com/auth/admin.directory.group,https://www.googleapis.com/auth/admin.directory.group.readonly,https://www.googleapis.com/auth/admin.directory.orgunit,https://www.googleapis.com/auth/admin.directory.orgunit.readonly,https://www.googleapis.com/auth/admin.directory.rolemanagement,https://www.googleapis.com/auth/admin.directory.rolemanagement.readonly,https://www.googleapis.com/auth/admin.directory.user,https://www.googleapis.com/auth/admin.directory.user.readonly,https://www.googleapis.com/auth/admin.directory.user.security,https://www.googleapis.com/auth/admin.directory.userschema,https://www.googleapis.com/auth/apps.groups.settings,https://www.googleapis.com/auth/apps.licensing,https://www.googleapis.com/auth/classroom.courses,https://www.googleapis.com/auth/classroom.courses.readonly,https://www.googleapis.com/auth/classroom.guardianlinks.students,https://www.googleapis.com/auth/classroom.guardianlinks.students.readonly,https://www.googleapis.com/auth/classroom.rosters,https://www.googleapis.com/auth/classroom.rosters.readonly,https://www.googleapis.com/auth/drive,https://www.googleapis.com/auth/drive.readonly,https://www.googleapis.com/auth/gmail.settings.basic,https://www.googleapis.com/auth/gmail.settings.sharing,https://www.googleapis.com/auth/gmail.readonly,https://www.googleapis.com/auth/gmail.labels
Click Authorize. The new OAuth application is added with the scopes.
Go to Account > Account Settings > Copy Customer ID
Return to your NIM browser tab. Add a certificate using the .p12 certificate you downloaded earlier, and the password you copied (
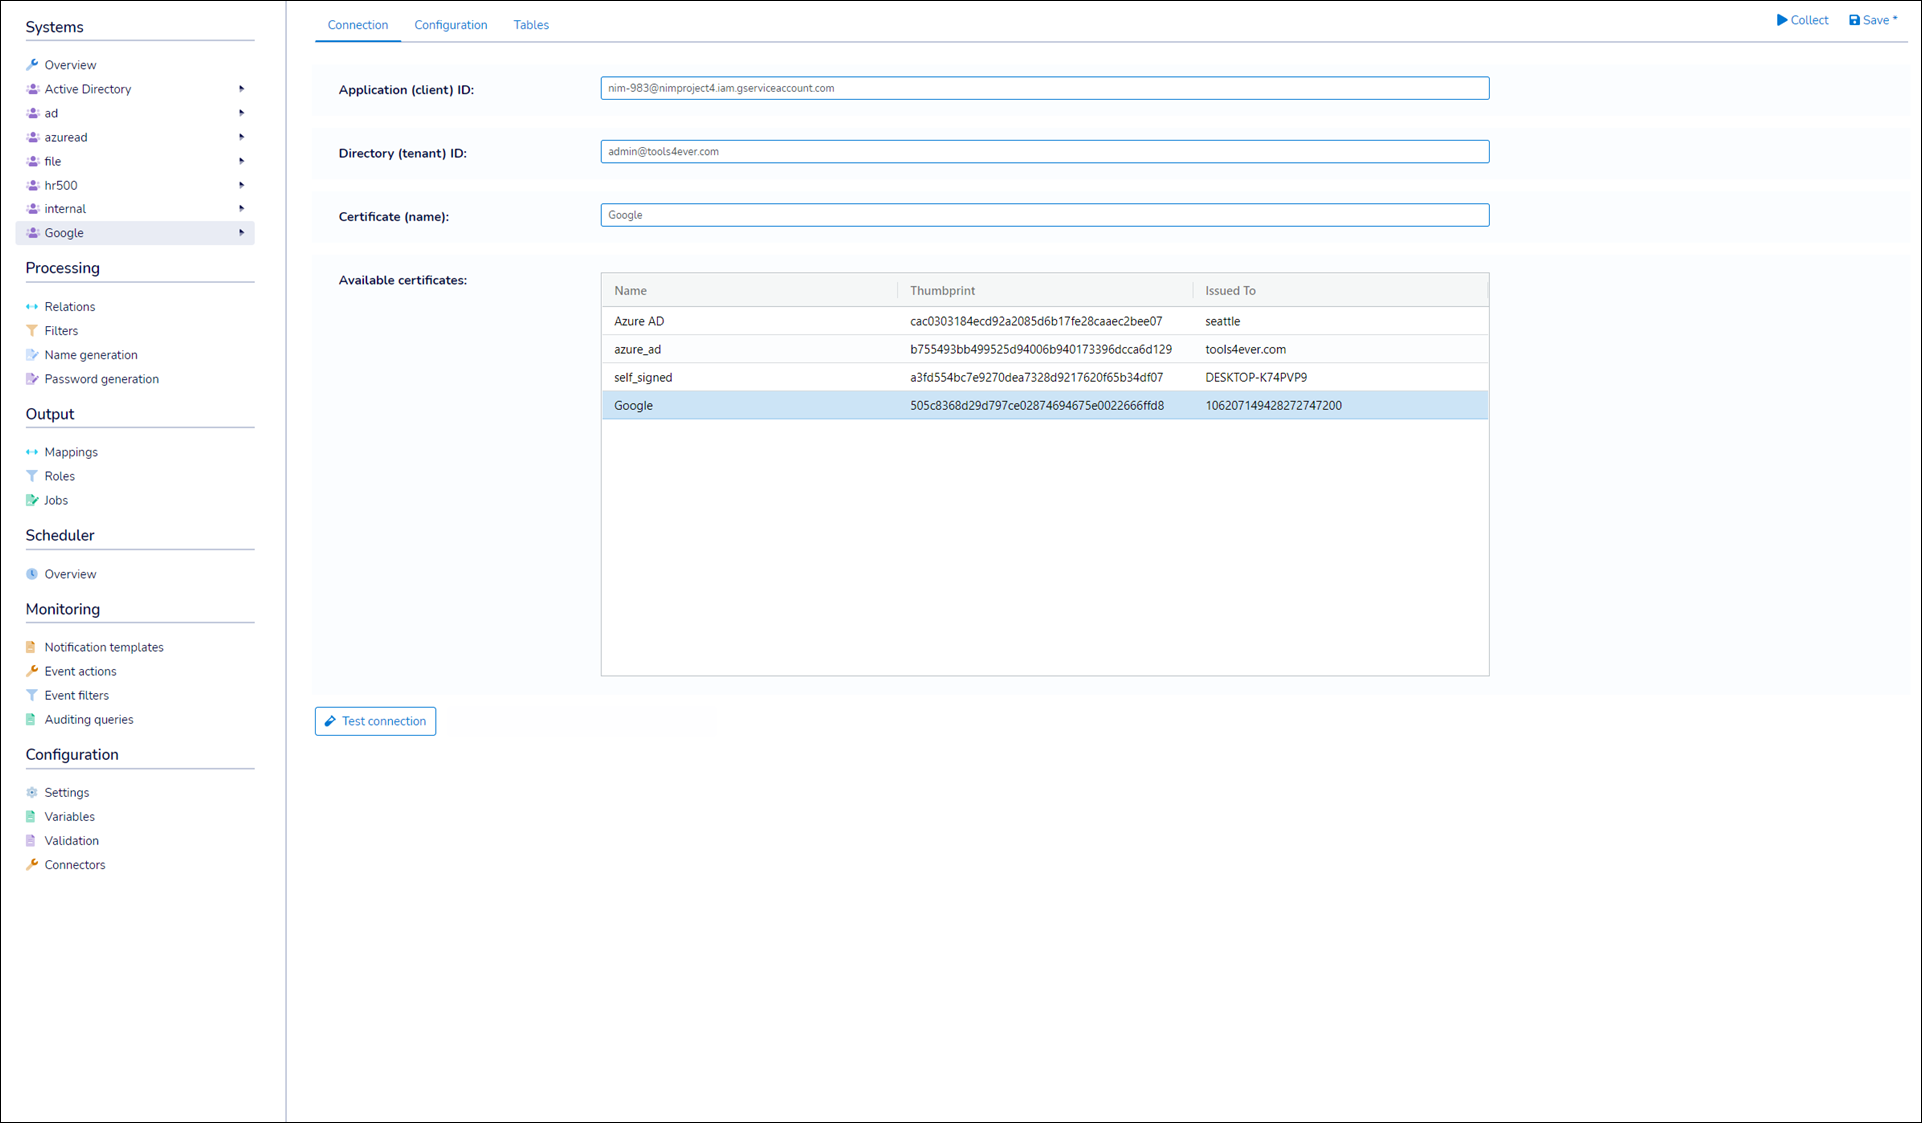
notasecret). Name the certificateGoogle.In NIM, edit the Google system you created previously. See Edit a system.
For the Application (Client) ID, paste the service account Email you copied previously. For the Directory (Tenant) ID, enter the email address you use to log in to Google Cloud Platform. For the Certificate, select the Google certificate you just added. For Customer ID, paste the Customer ID you copied previously.
Important
The account used for the Directory (Tenant) ID must possess, at a minimum, the following roles/permissions within your Google Workspace tenant:
User Management Admin (Built-In)
Groups Admin (Built-In)
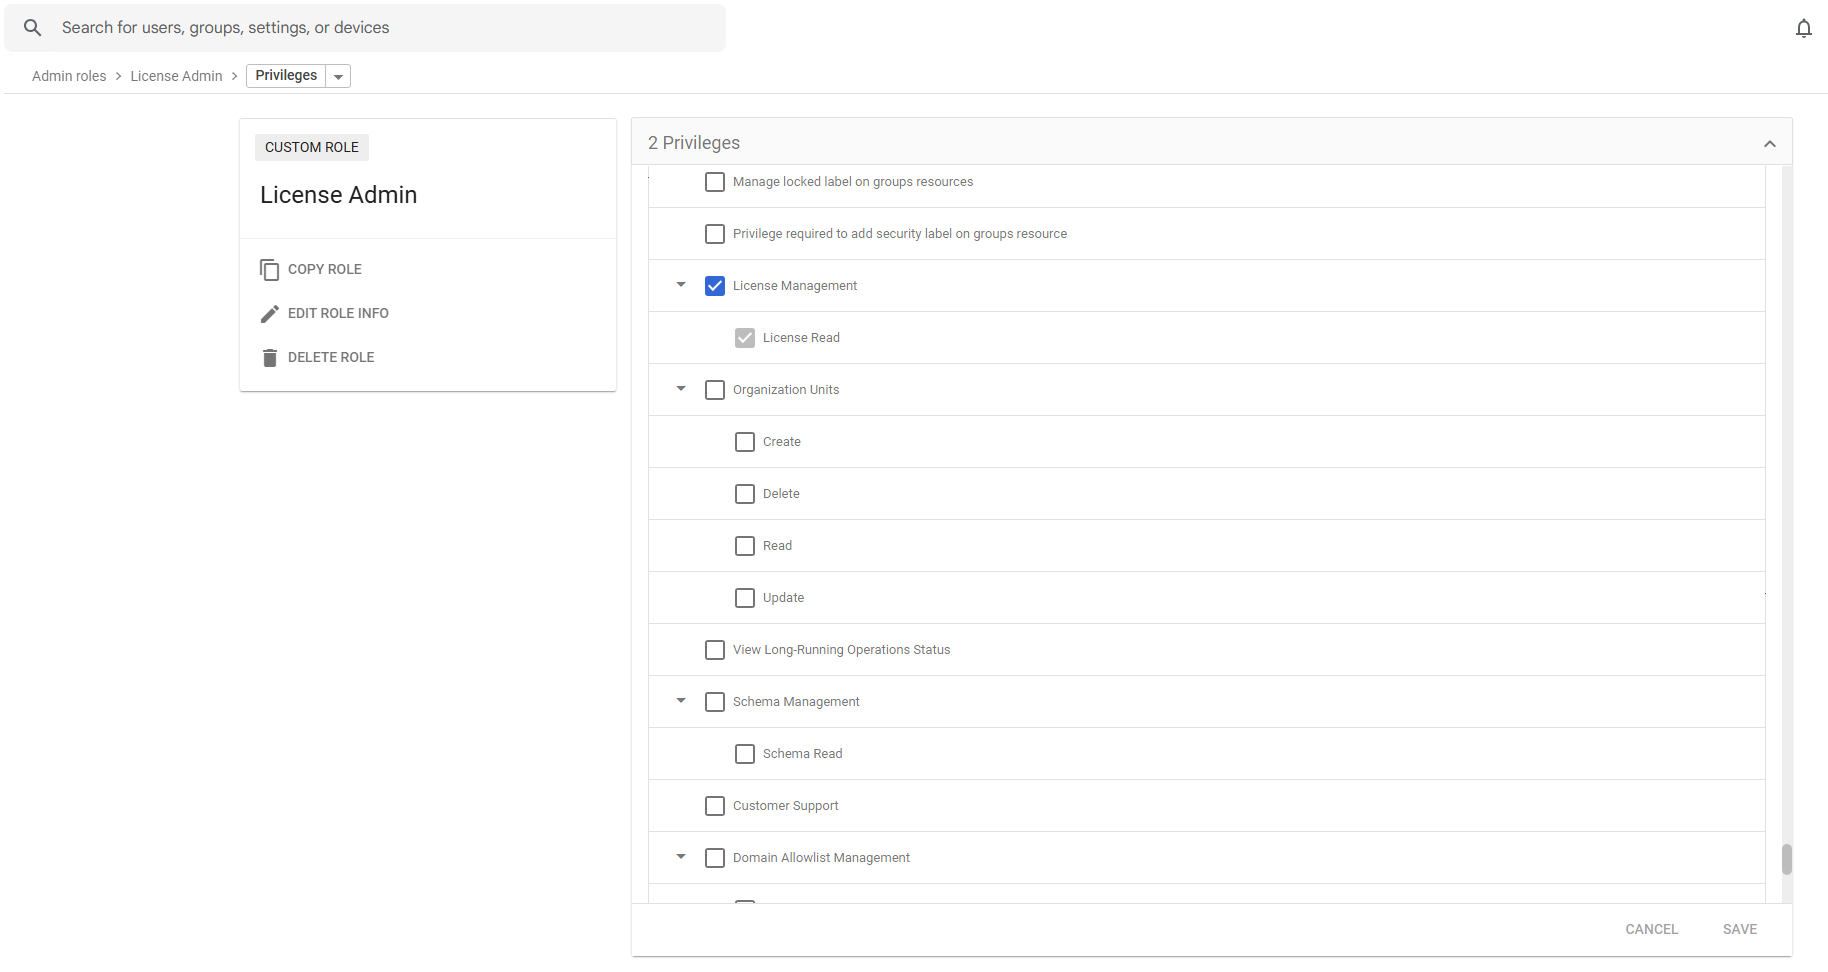
License Admin (You must create this)
Click Save.
Click Test Connection. A success message is returned.

Google Workspace offers the capability to extend its user management features by adding custom schema fields to user profiles. These fields are particularly useful for storing specialized information, which can be selectively visible across the organization. They are instrumental in automating various aspects of user account management, especially in tracking the lifecycle of an employee within the company. Custom schema fields provide a tailored approach to handle specific data needs that are not covered by the default user attributes.
For those interested in exploring this feature further, comprehensive information and guidelines on custom schemas in Google Workspace can be found at this link: Google Workspace Custom Schemas. This resource provides valuable insights into how to effectively utilize custom schema fields to optimize your organization’s user account management processes.
Open the Developer API console and use the below values for the customerId and Request Body values and then press Execute. If prompted, allow access for the application to execute the command. You should see a response payload show up once the command has finished.
Specify the following request parameters
customerId = my_customer
Define the following request body
{
  "fields": [
    {
      "fieldName": "ID",
      "fieldType": "STRING",
      "readAccessType": "ADMINS_AND_SELF",
      "multiValued": false,
      "displayName": "ID"
    },
    {
      "fieldName": "Type",
      "fieldType": "STRING",
      "readAccessType": "ADMINS_AND_SELF",
      "multiValued": false,
      "displayName": "Type"
    },
    {
      "fieldName": "DeleteDate",
      "fieldType": "STRING",
      "readAccessType": "ADMINS_AND_SELF",
      "multiValued": false,
      "displayName": "DeleteDate"
    }
  ],
  "schemaName": "Tools4ever",
  "displayName": "Tools4ever"
}
Click Execute. After execution the request should be successful and the fields should have been created.
Given that Google Workspace Custom Schema Fields are uniquely tailored to each specific tenant, it's required to configure NIM accordingly. This involves informing NIM about the existence and details of these custom fields. By doing so, you enable NIM to accurately import this data into the user table of the configured system. This step is essential for ensuring that NIM recognizes and correctly handles the custom attributes defined in your Google Workspace tenant. Proper configuration guarantees seamless integration and efficient management of user data between Google Workspace and NIM.
NIM imports custom fields with the name format of customSchemas_[schemaName]_[fieldName]
After creating the custom attributes, update the Settings of the Google Workspace Users table in NIM to include the customSchemas_Tools4ever_<fieldName> fields.

Save the CustomSchema.json file into the NIM server at C:\ProgramData\Tools4ever\NIM\config\rest\systems. The "Rest" folder path may not exist by default - be sure to create it if needed.
{
  "schema": {
    "crud_objects": {
      "users": {
        "resources": {
          "customSchemas": {
            "Tools4ever": {
              "ID": "_:string*",
              "Type": "_:string*",
              "DeleteDate": "_:string*"
            }
          }
        }
      }
    }
  }
}
Rename the file to match your Google system name in NIM. For example, my Google system in NIM is called GoogleWorkspace so my CustomSchema.json file should be named GoogleWorkspace.json
If you used different attribute names in the Google console then update the names from the defaults in the CustomSchema.json file to match the correct names.