Create, edit, or remove a filter
For more information, see Filters.
Create a filter
Go to Processing > Filters.
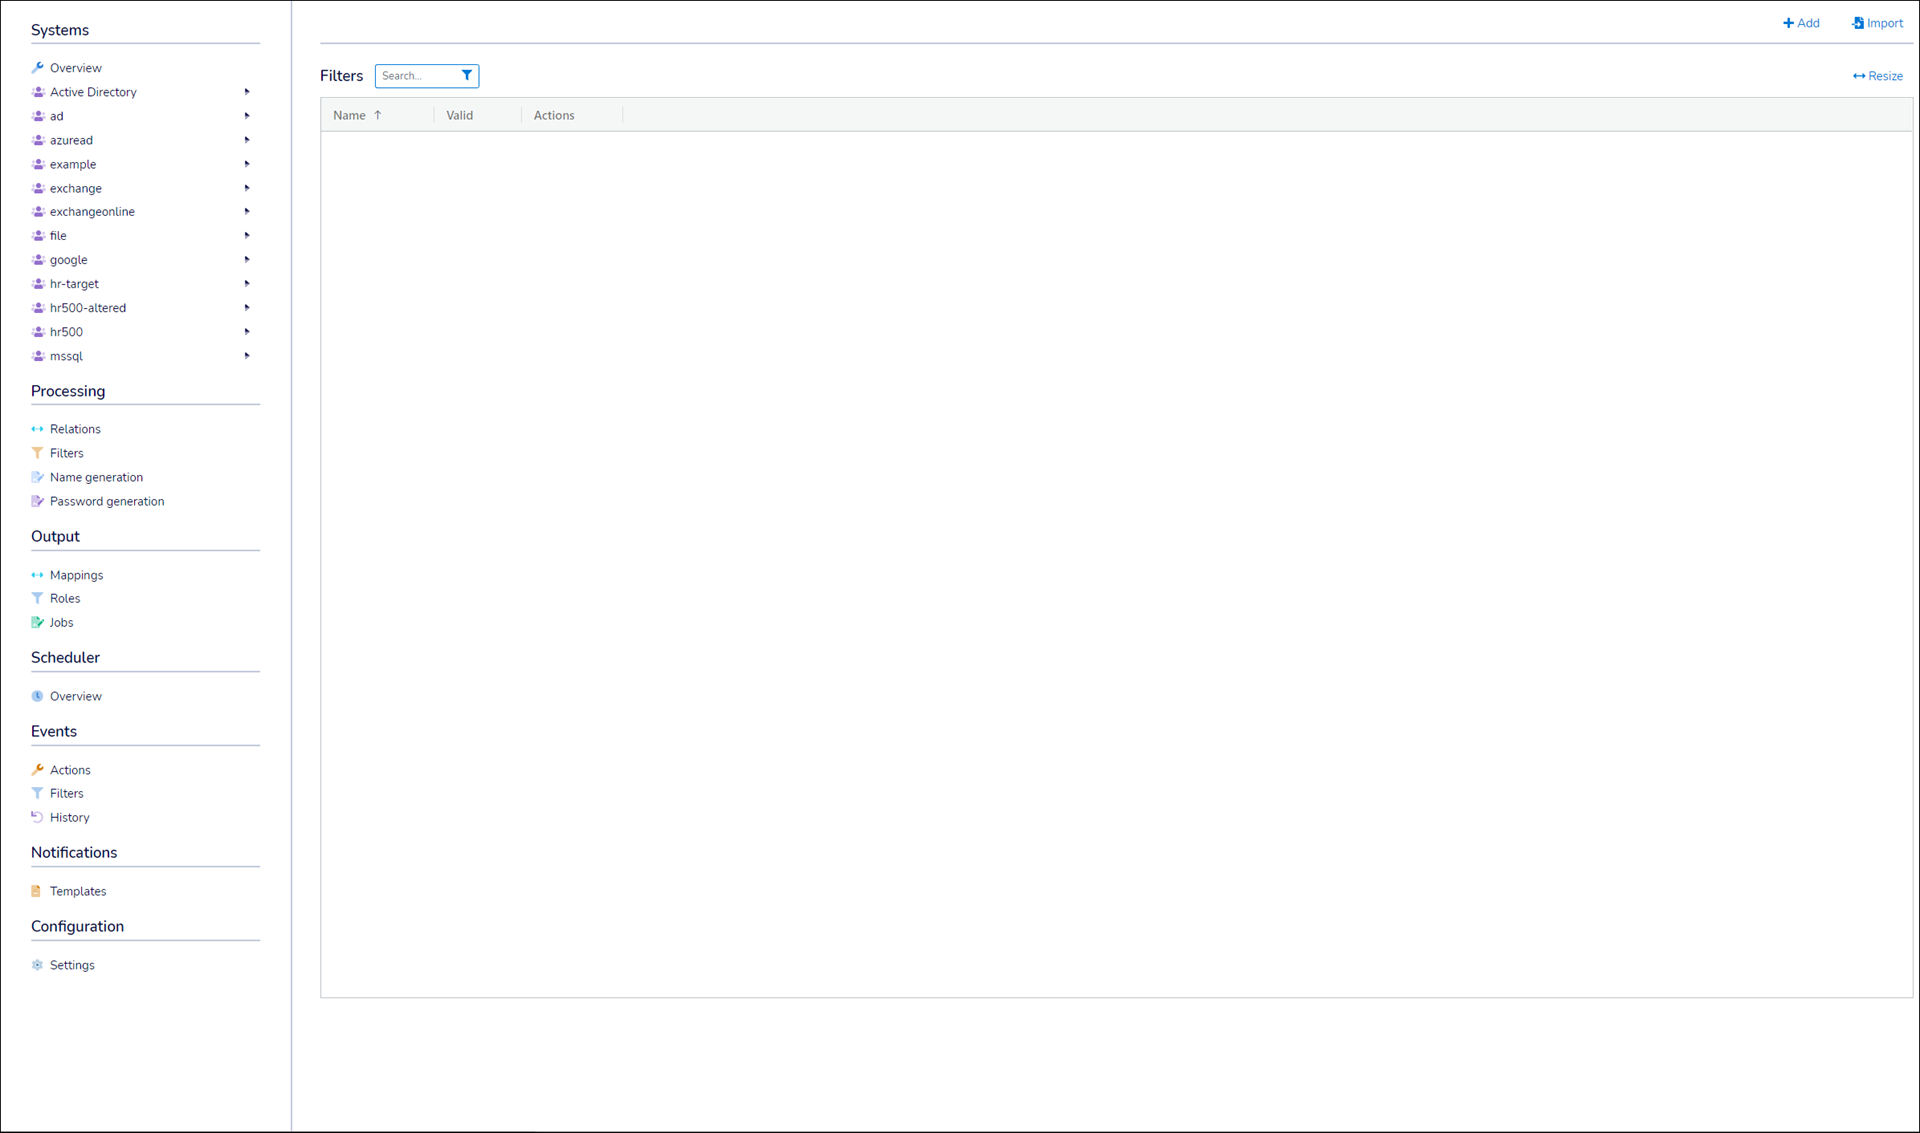
Click Add.
Enter a Filter Name.
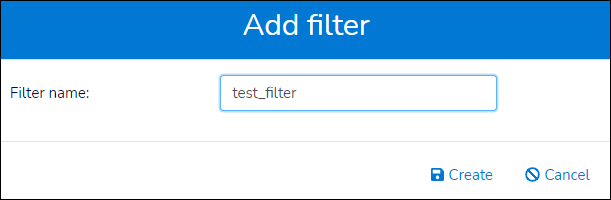
Click Create.
Select a Start Table.
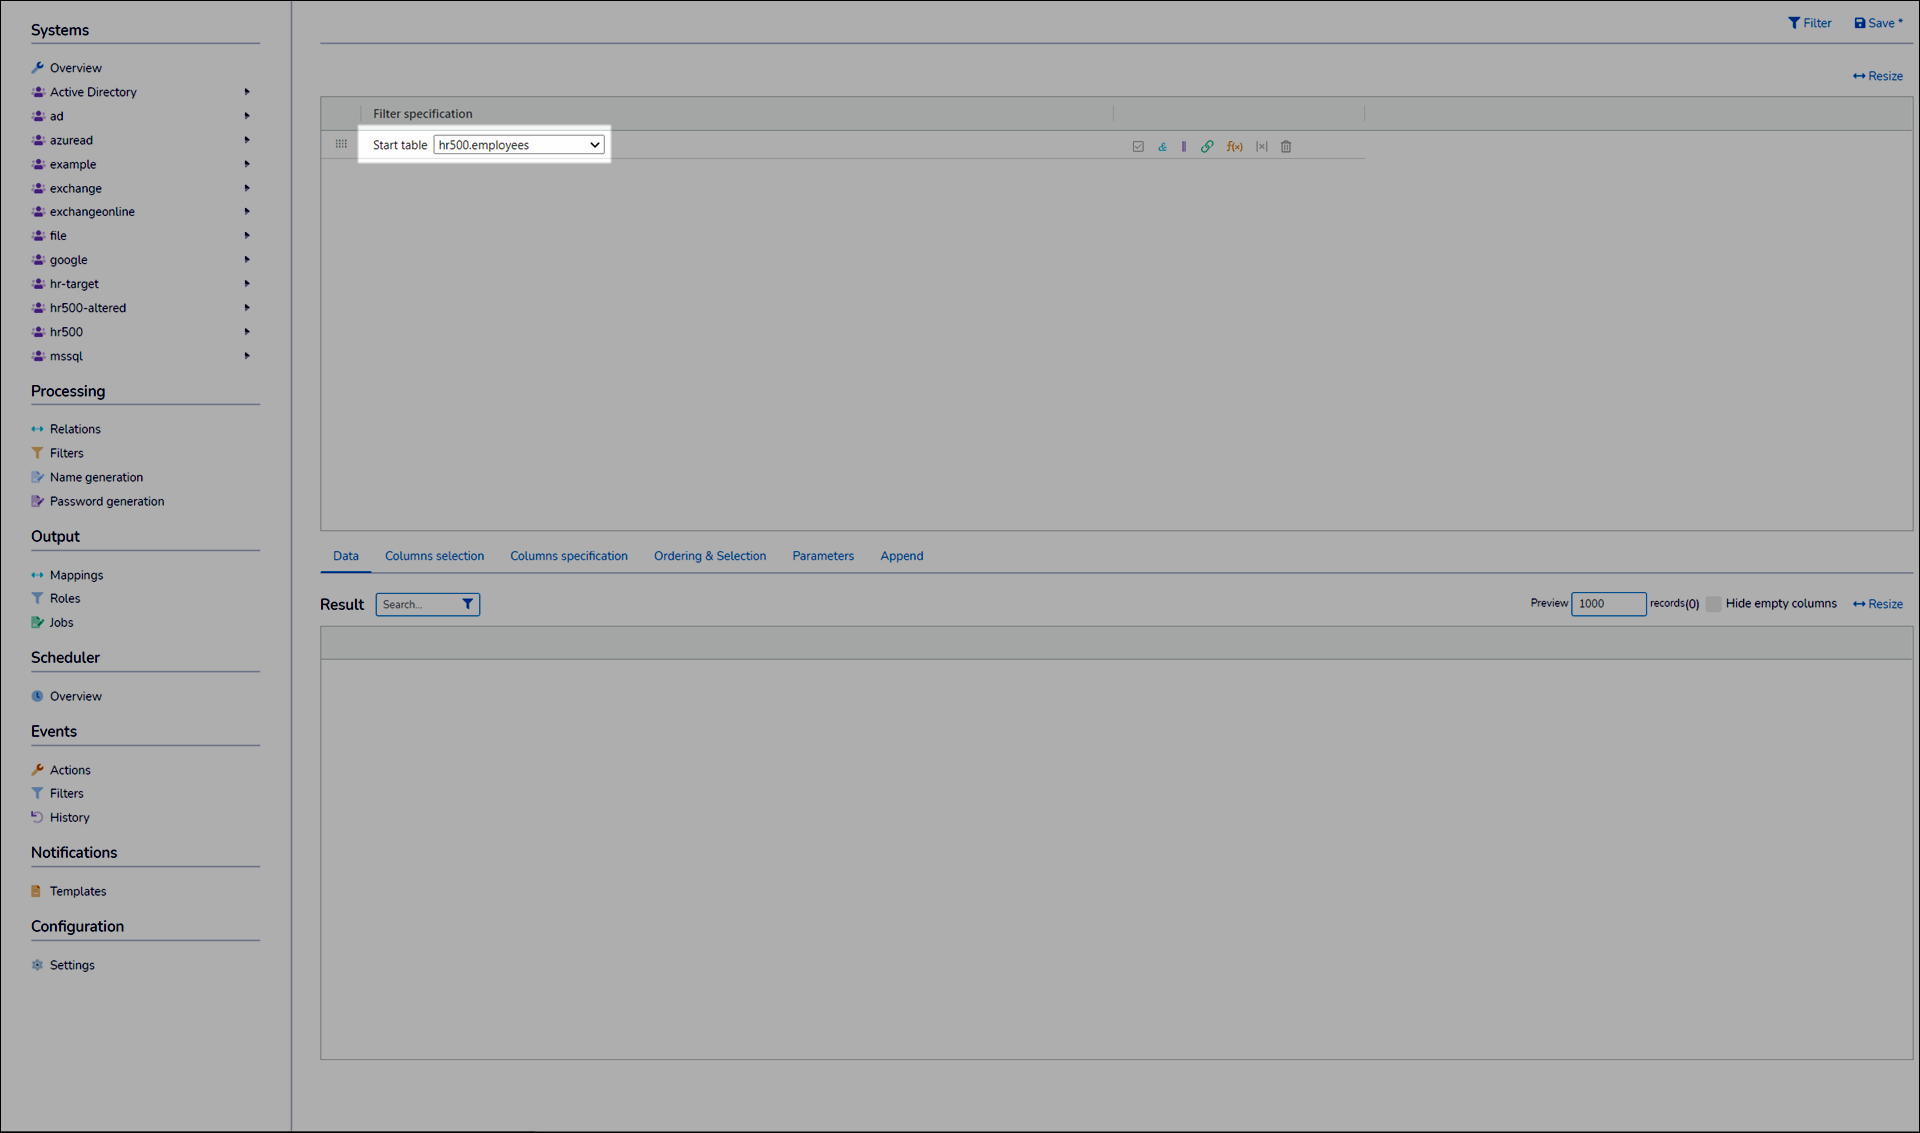
Add one of the following:
 Relation filter item
See Relation items.
- Expression filter item
See Expression item and Specify an expression item parameter.
- AND filter item
Specify a logical AND relationship with the following filter item(s).
- OR filter item
Specify a logical OR relationship with the following filter item(s).
Click a filter item's
Enable-disable checkbox to temporarily enable or disable it. (Alternatively, Remove a filter.)Click and drag a filter item's
Order Handle to rearrange it in the hierarchy.Click Filter at any time to preview the output table in the Result pane, based on the currently specified filter items.
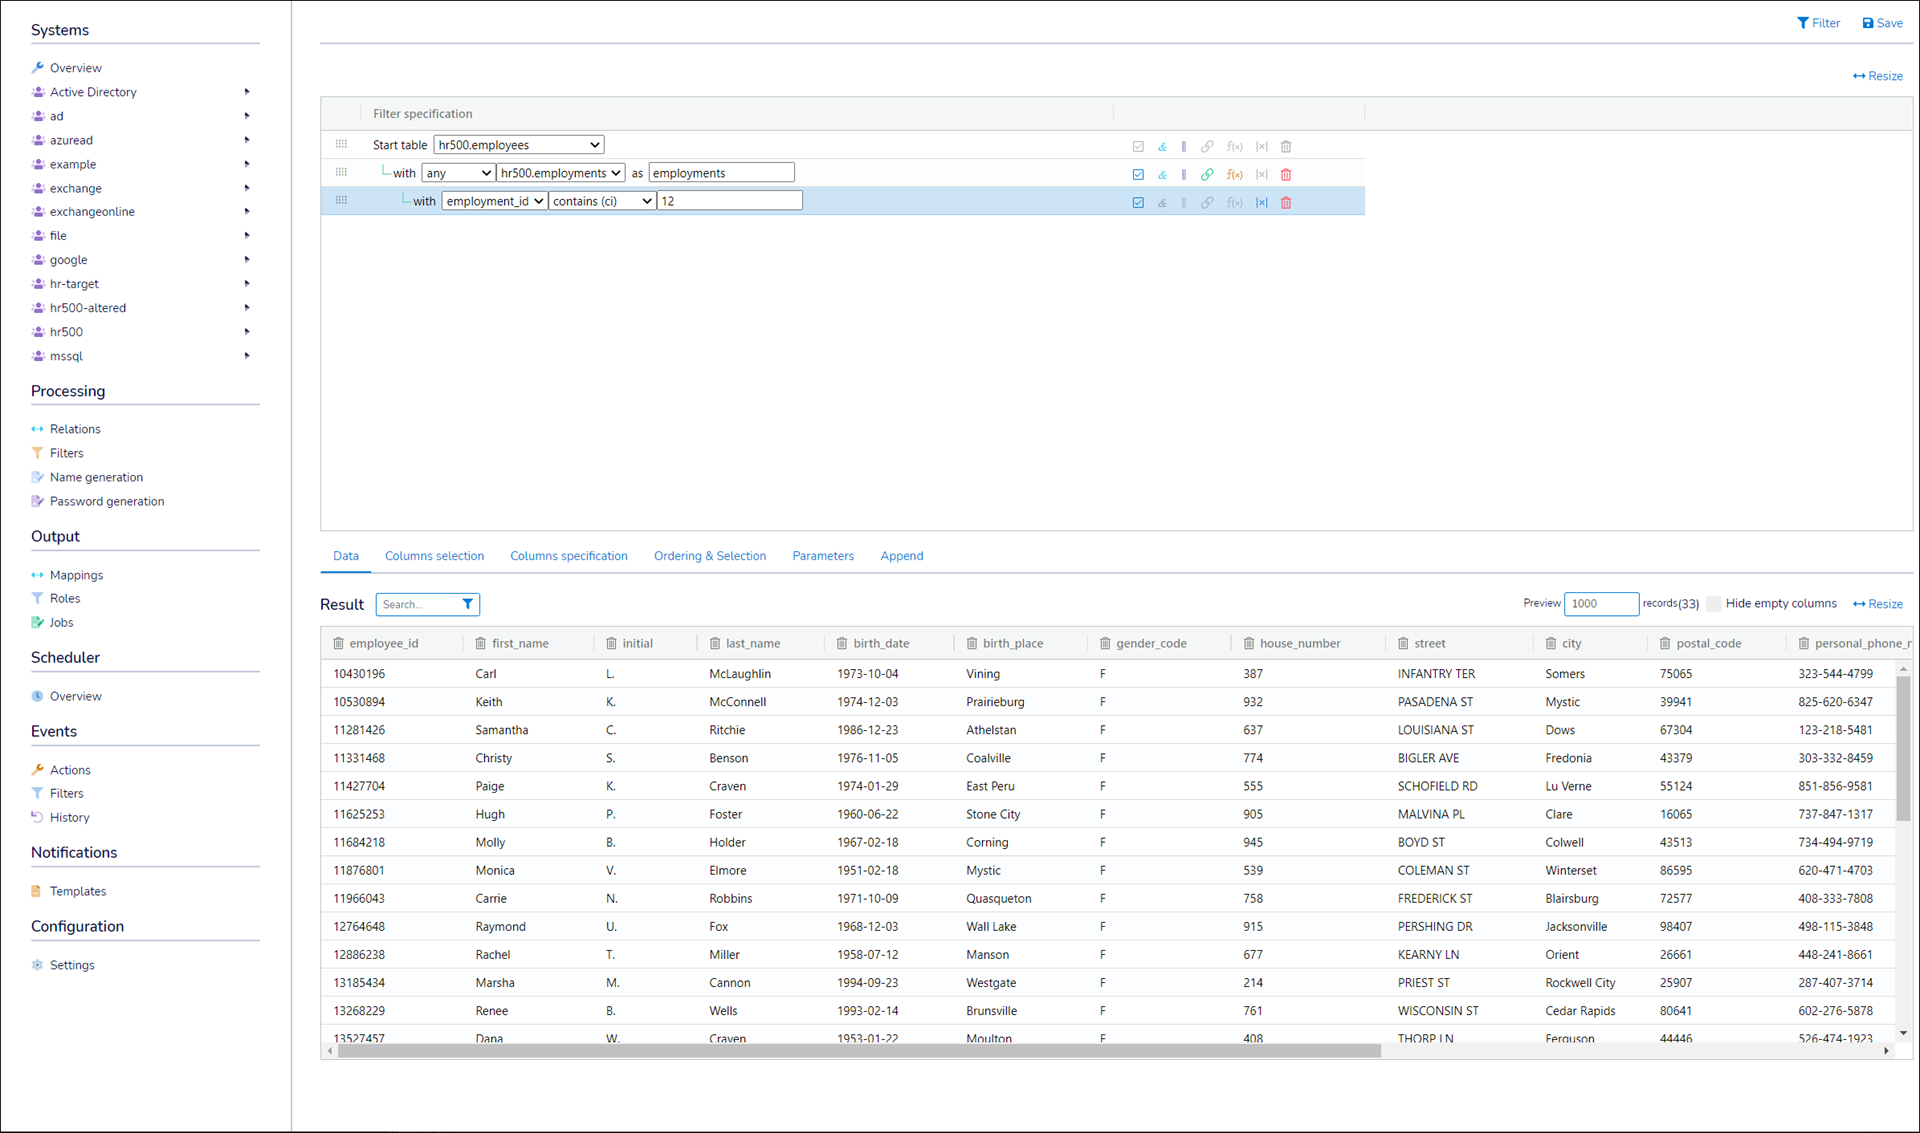
Repeat steps (6) - (9) until the output table contains the desired user sub-population.
Click Save.
Create a Child Filter
Go to Processing > Filters
Find the filter you would like create a child from and click the
 icon next to its name.
Follow the steps to Create a Filter. You can read more about child filters here.
Go to Processing > Filters.
Click
Edit Filter for the relevant filter.
Continue by following the steps in Create a filter.
Go to Processing > Filters.
Click
Remove Filter for the relevant filter.Click Yes.