Step 1: App designer overview (tutorial)
In this step, we'll create a blank app.
Add a new app
Go to Configuration > Apps.
Click Add.
Enter an App Name.
For this example, we'll call our app App_AD_User_Create, following the convention App_TargetSystem_ObjectType_Action. You can use any convention you want, but this is the one we'll follow in this tutorial.
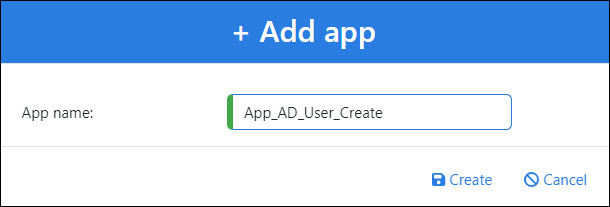
Click Create.
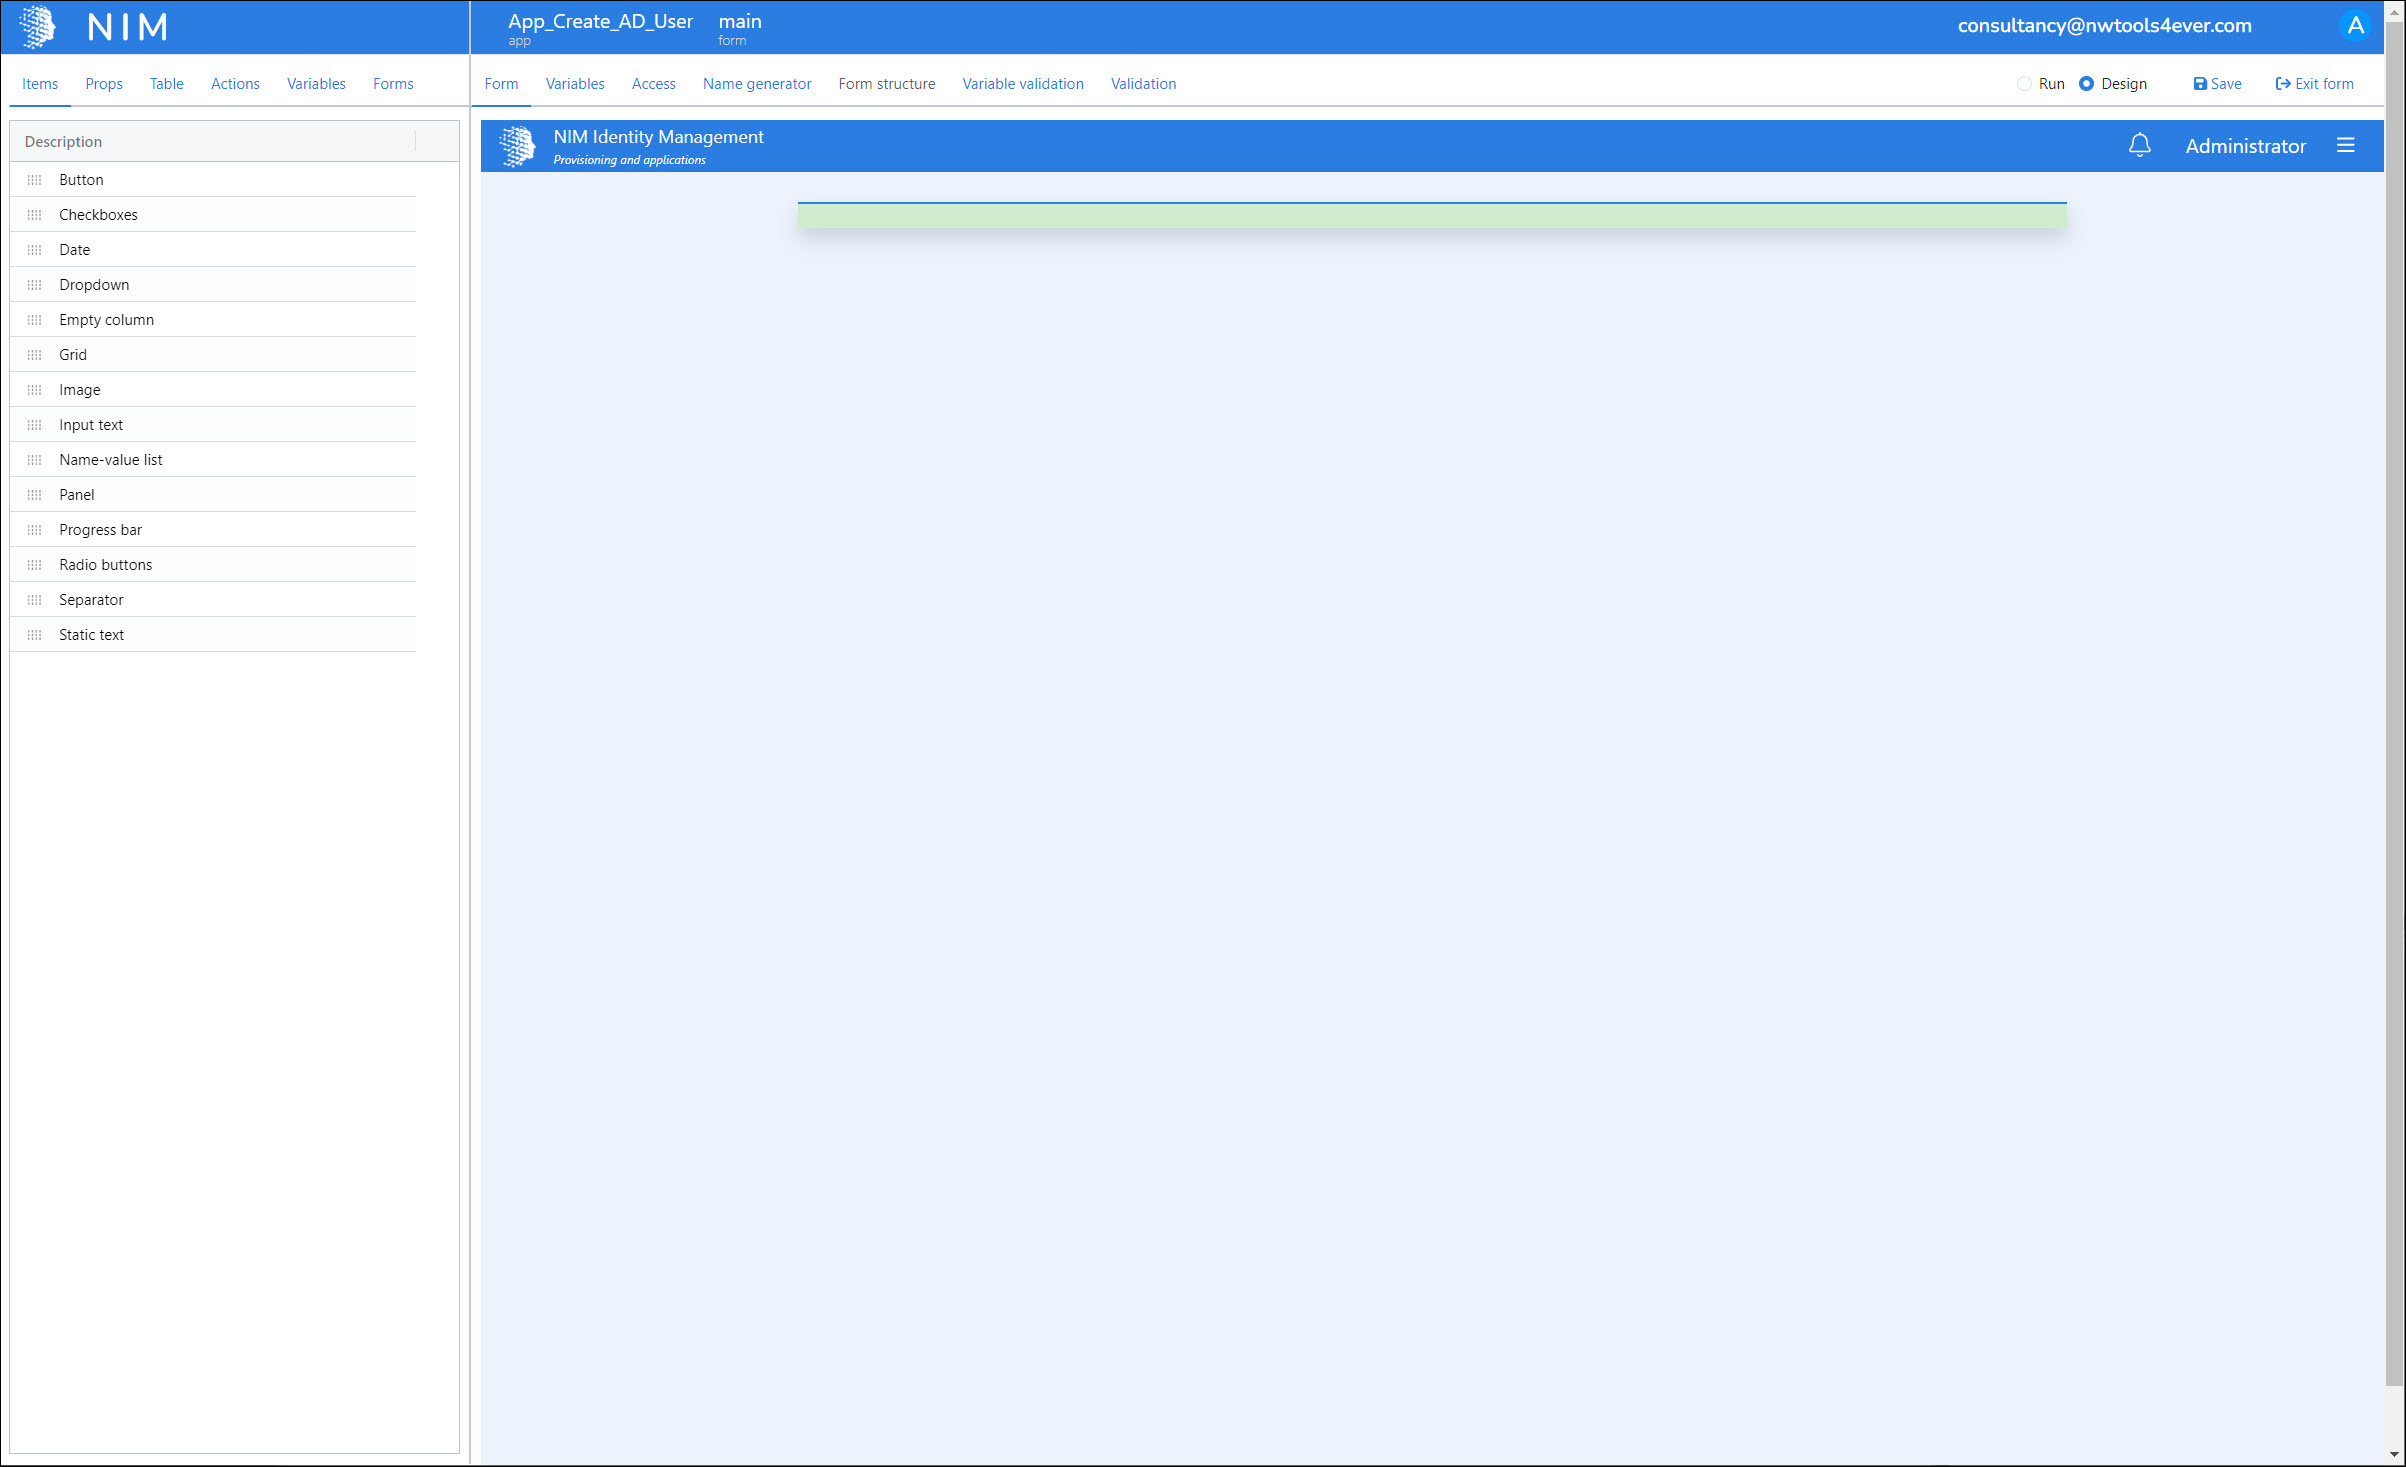
A new app with a single empty form is created, in Design mode.
Every app has one or more forms, each of which represents one screen or step in the app. (Ours will ultimately have three.)
Understand the app designer
Before going any further, let's get to know the NIM app designer:

Items | The various items you can drag-and-drop onto your form. To do so, drag an item's |
Props | View and edit the properties of the currently selected item on your form. Click an item to select it. |
Table | Populate data into Grid-type items using filters. |
Actions | Attach actions to the currently selected item. Most often used with Button-type items. |
Variables | View the current values of all variables in this app. Useful to debug your app. |
Forms | View, add, and delete forms (screens) in your app. |

Form | A WYSIWYG drag-and-drop editor for the form currently selected in the Forms tab. The main workspace. |
Variables | Create JavaScript-based variables, if any of your variables require a calculated value. |
Access | View the internal users & groups that currently have access to this app. For more information, see Apps access control. |
Name Generator | Optionally attach a name generator to this app, to populate variables with generated values. |
Form Structure | Not yet supported. |
Variable Validation | Optionally exclude variables from validation. |
Validation | Not yet supported. (To validate your app, you must exit the app designer and go to Configuration > Validation.) |
Run | View & test your app as a user would see it. Note that actions are committed to production systems during testing. |
Design | Edit your app. |
Delete | Remove the currently selected item from the form. |
🠕 🠗 🠔 🠖 | Adjust top/left/right margins of the currently selected item. (Hold Alt to adjust padding instead, and/or hold Shift to adjust bottom margin/padding.) |
Ctrl | Press and hold after dragging but before dropping, to create a nested grid. |
Next: Step 2: Items