Step 24: Grant internal users access to the app (tutorial)
In this step, we'll grant some of our internal users access to our app.
Grant access to the app's internal group
NIM creates an internal group for each app. We need to grant the group access to our app.
In the app designer, go to the Access tab of the App_AD_User_Create app.
All users and groups in the internal NIM system are displayed here.
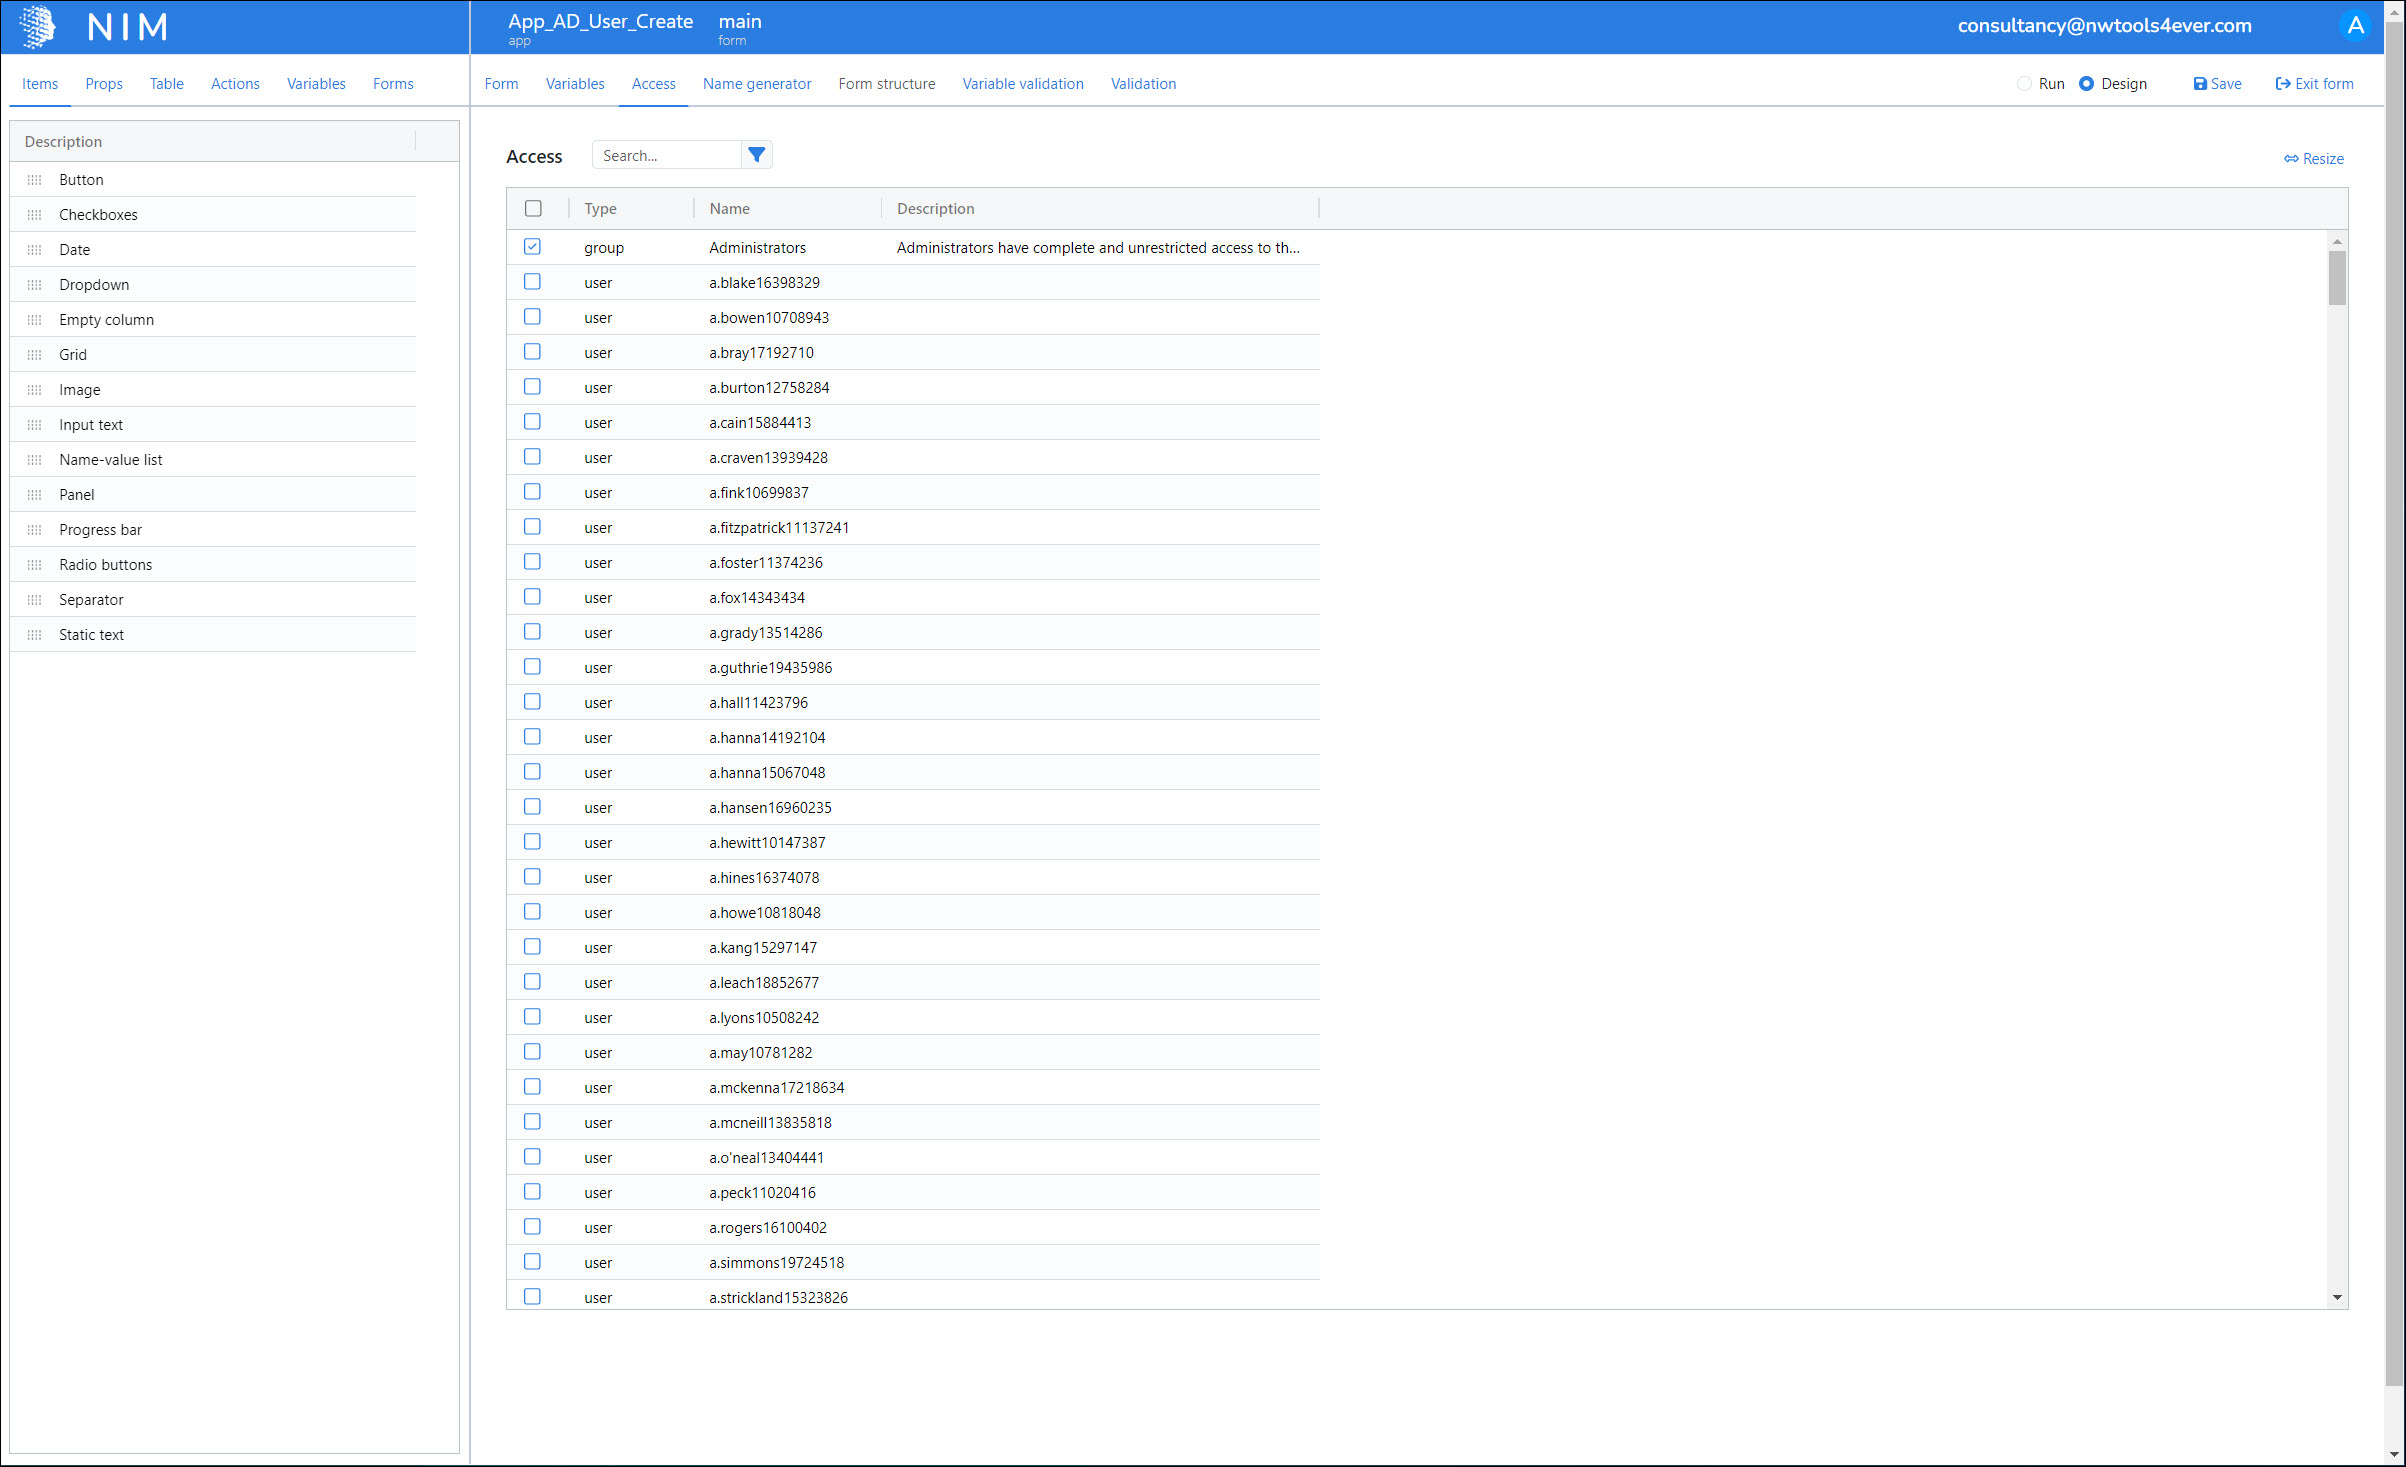
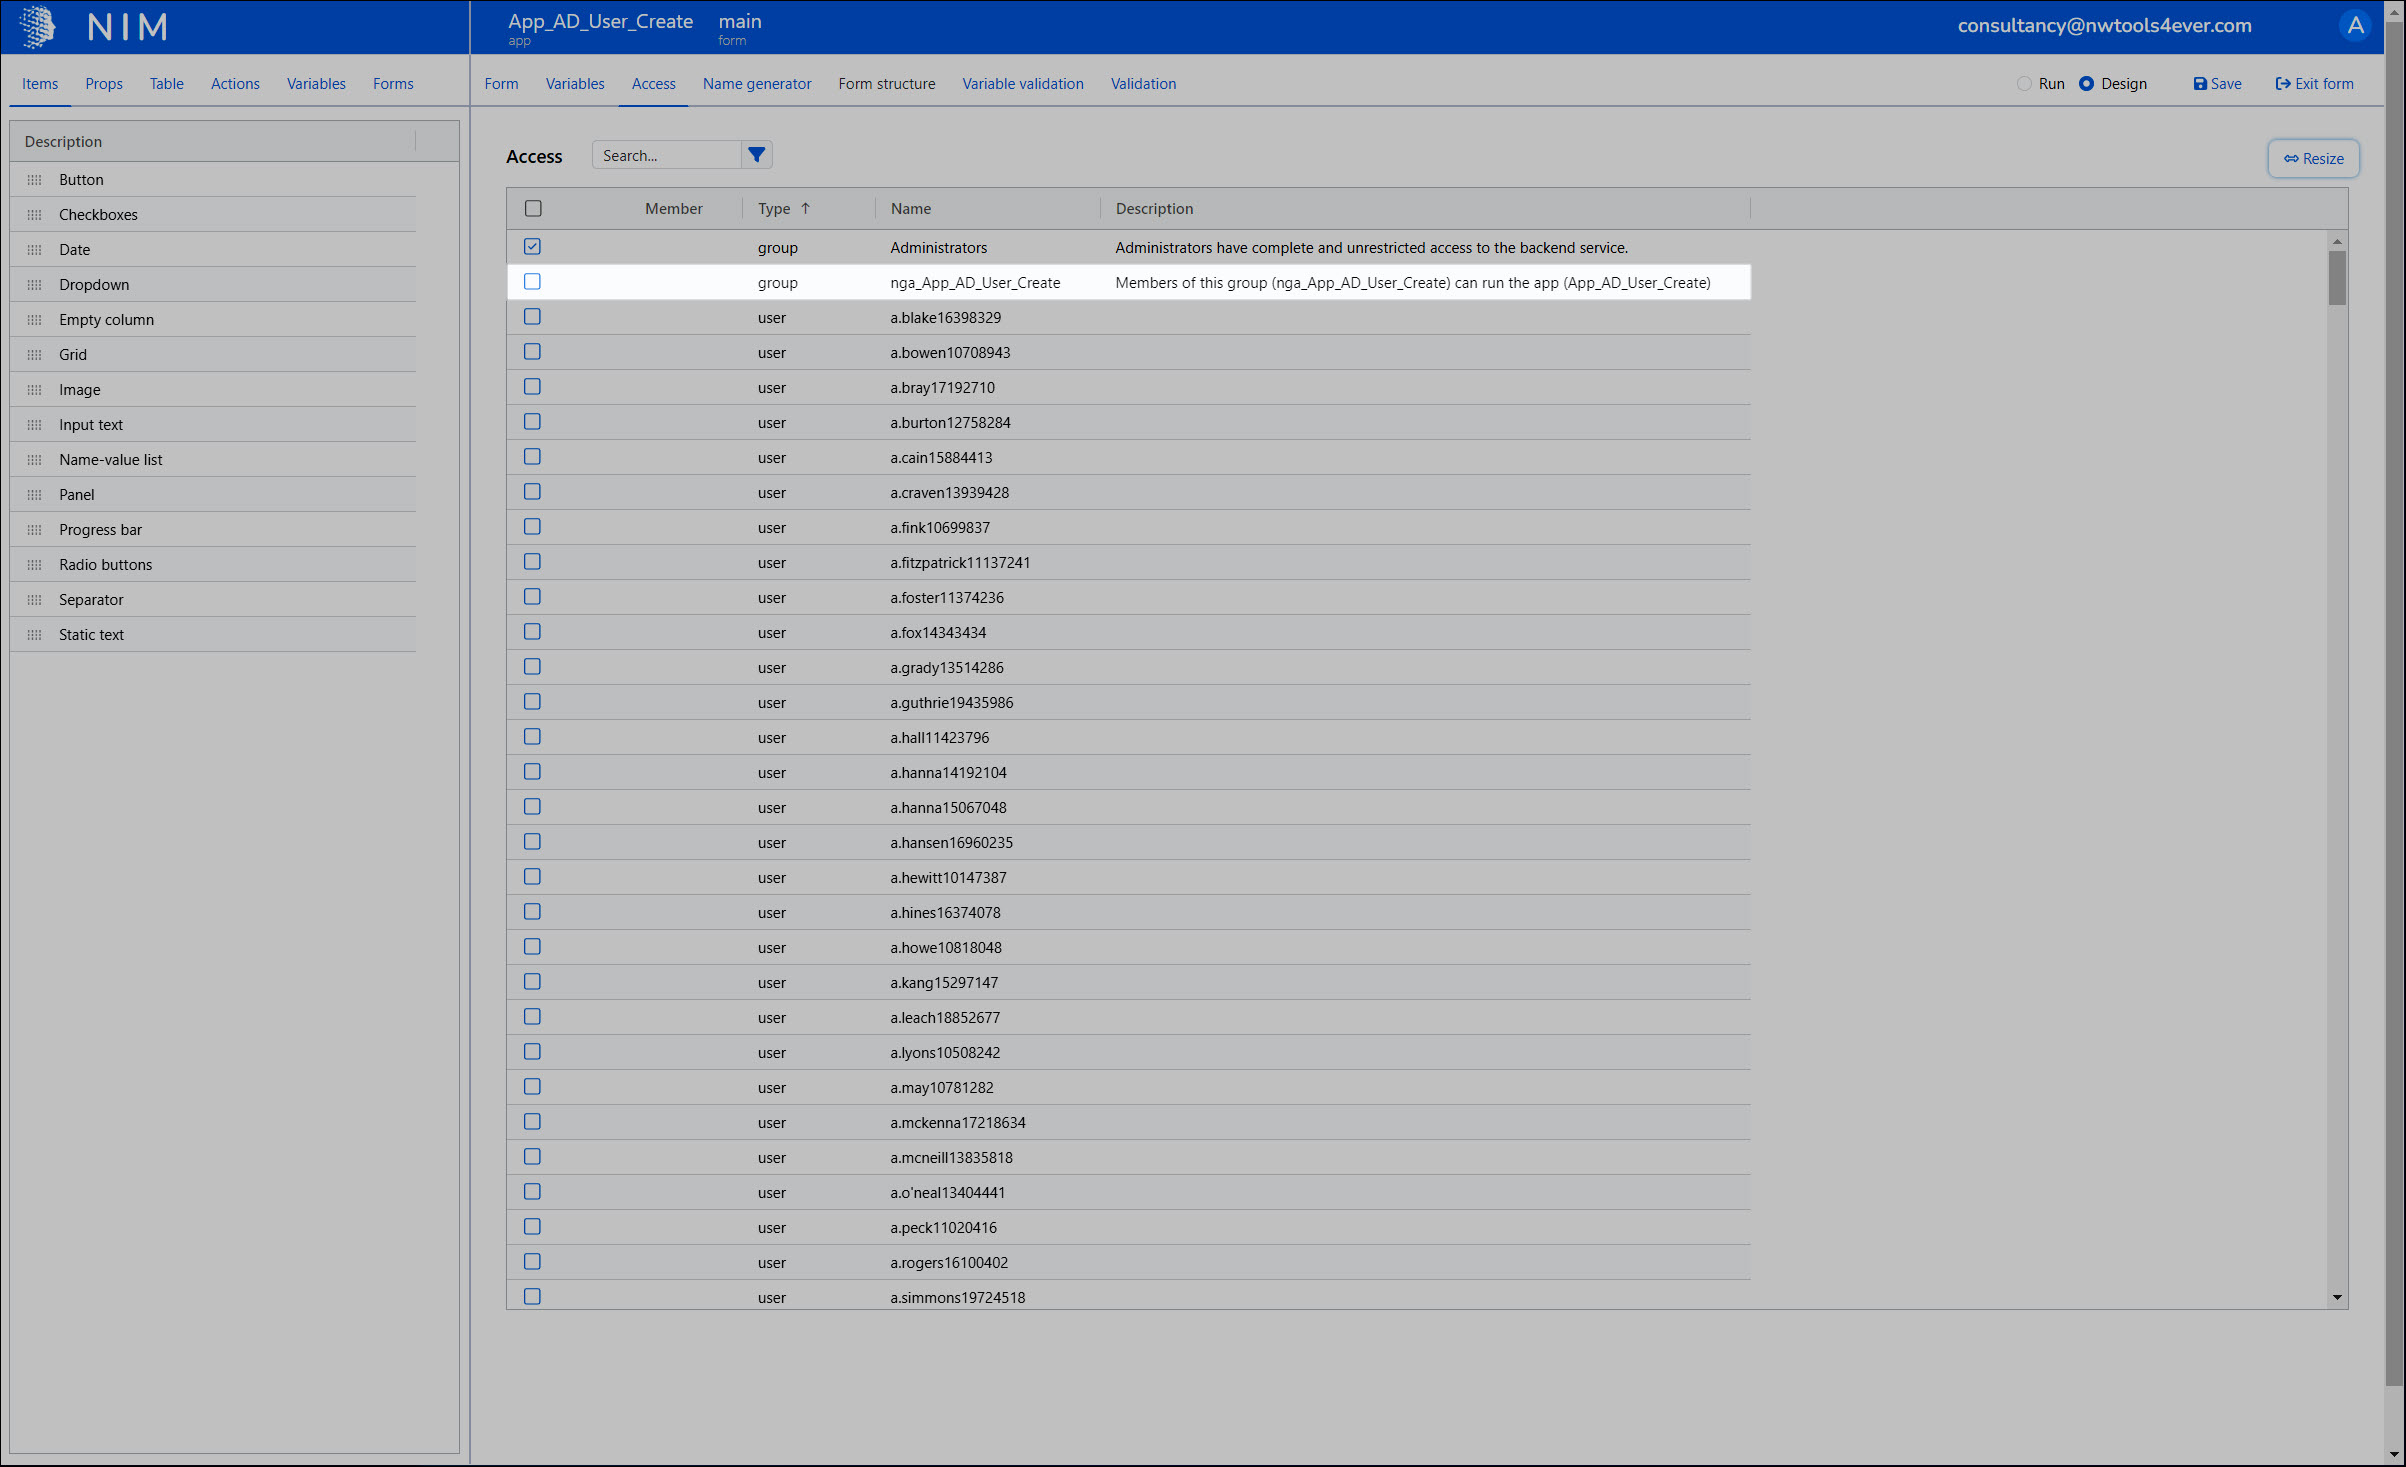
Click the header of the Type column to sort the Access pane by type.
All groups in the internal system are brought to the top of the list. Currently, only the Administrators group has access to this app. However, as we can see, there is an autogenerated group available that corresponds to this app (nga_App_AD_User_Create).
We'll enable the checkbox for the nga_App_AD_User_Create group. Now, all users in this group will be able to access this app.
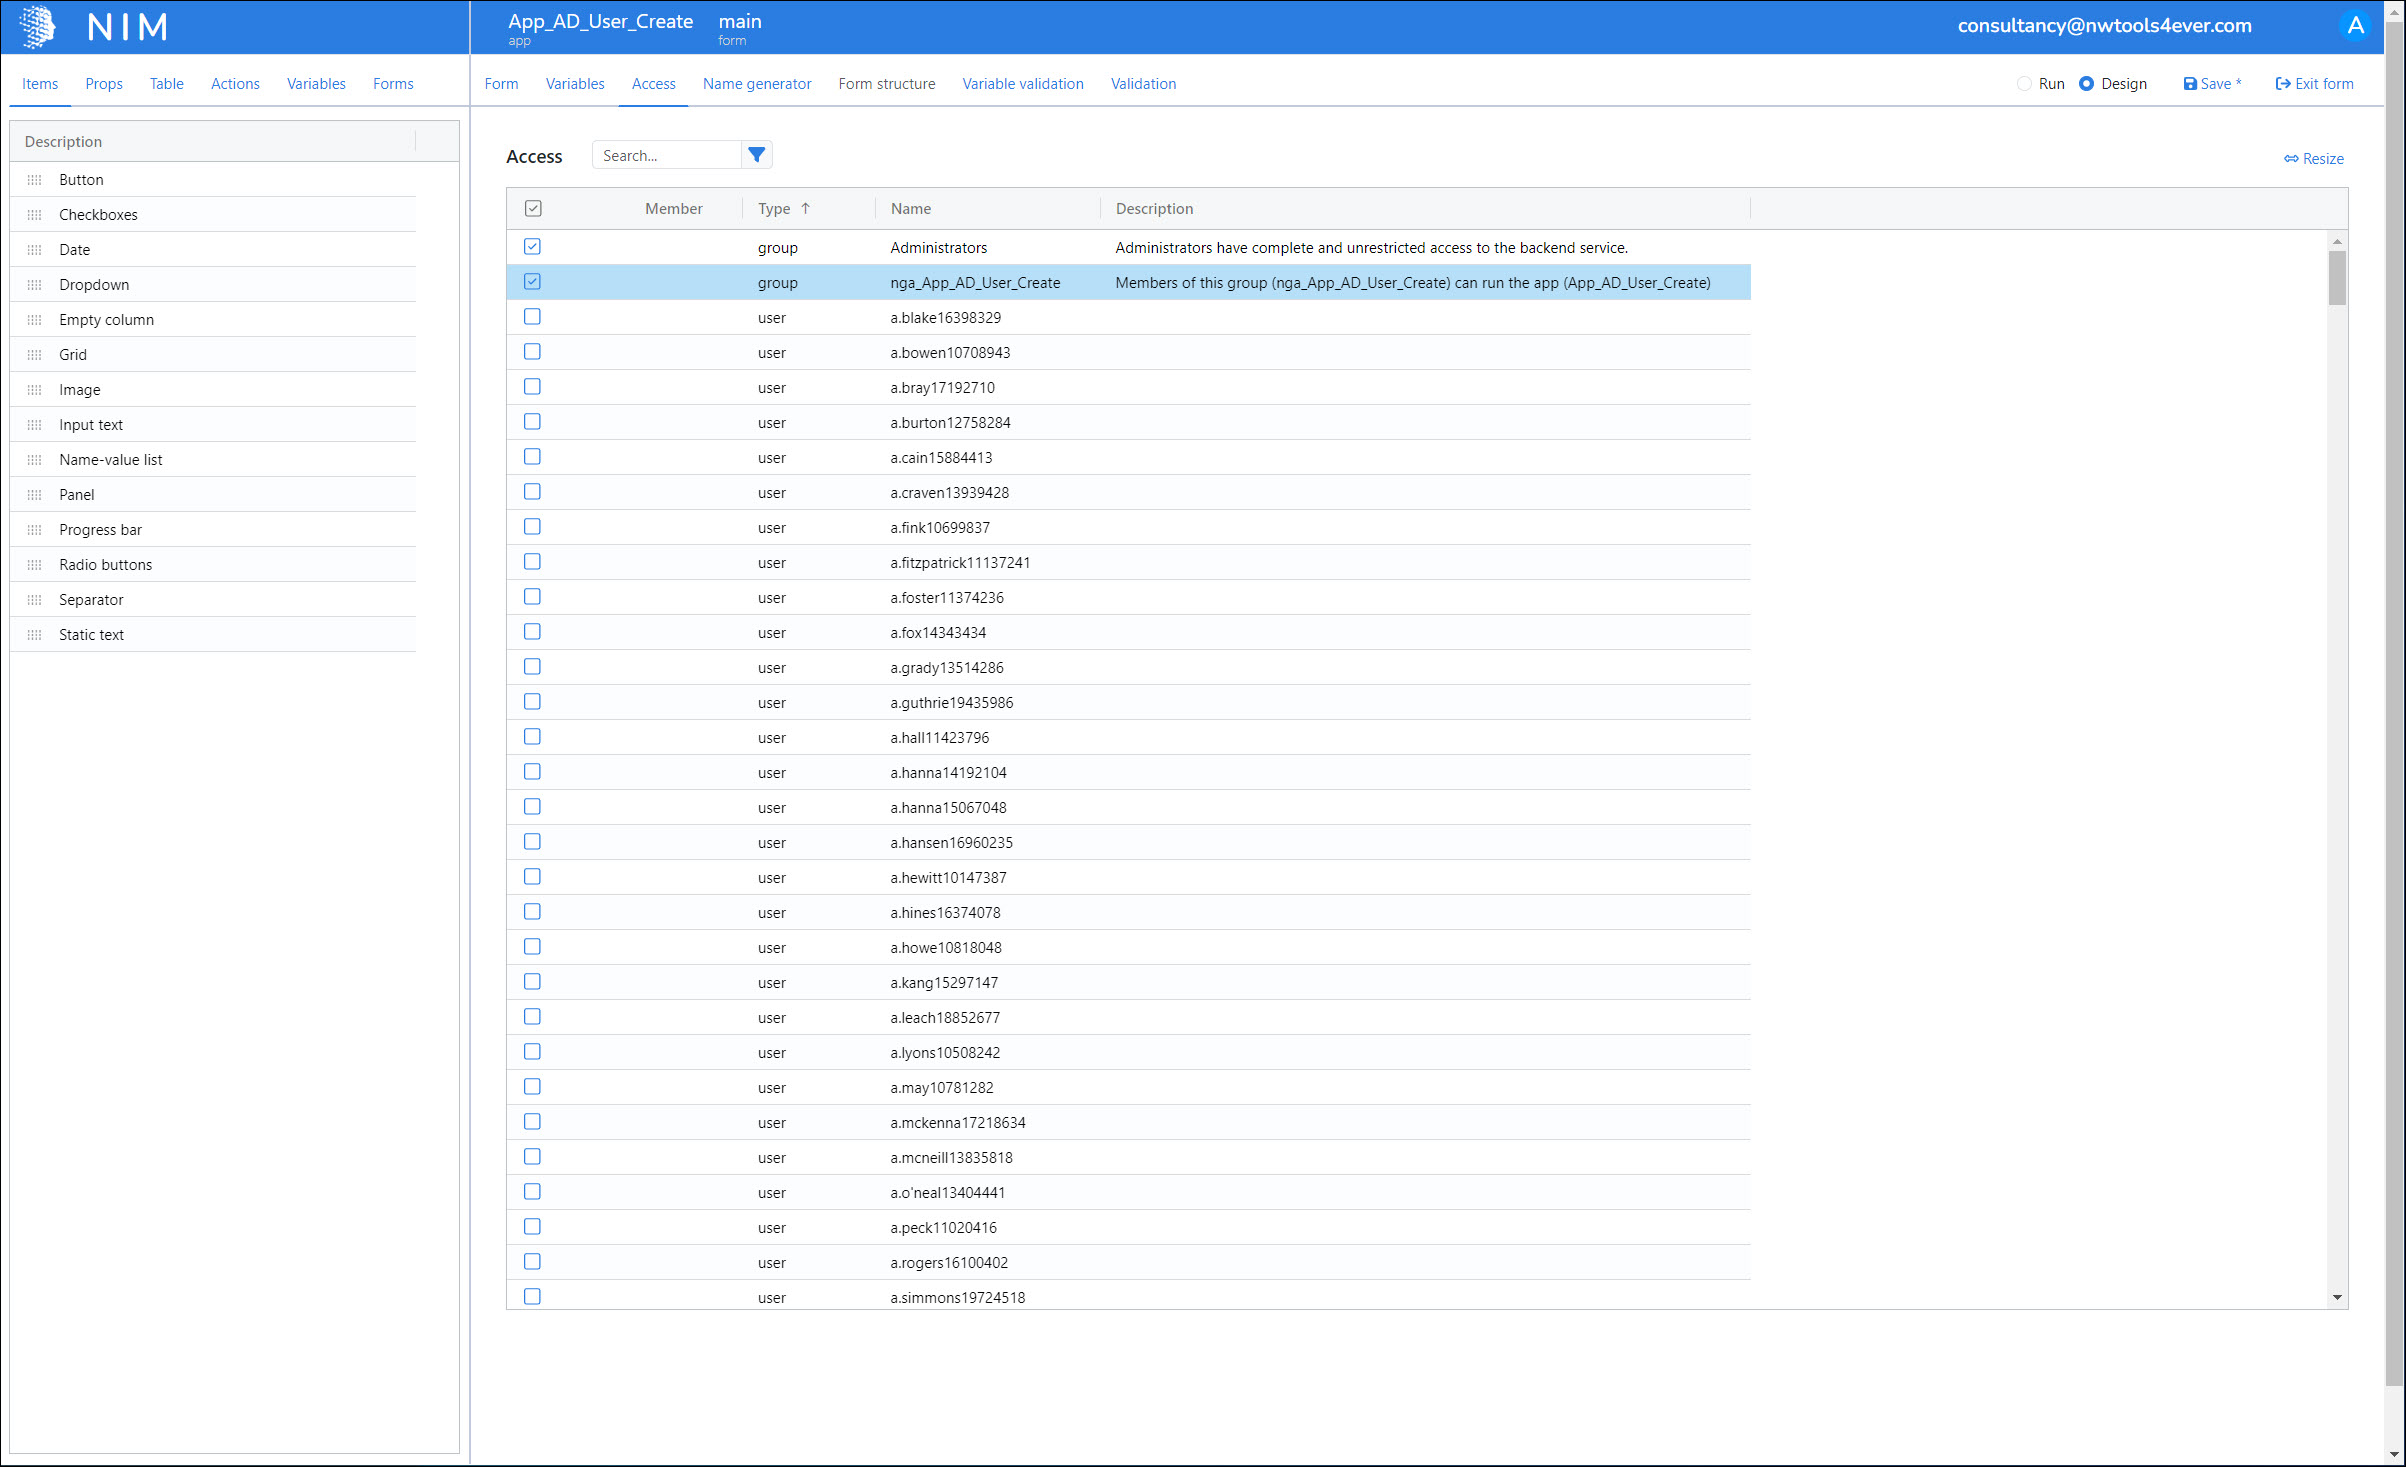
Click Save.
Add users to the app's internal group
Now that the group has access to the app, we can use the role model to add users to the group.
Create a filter named
internal_GroupMemberships_App_AD_User_Create.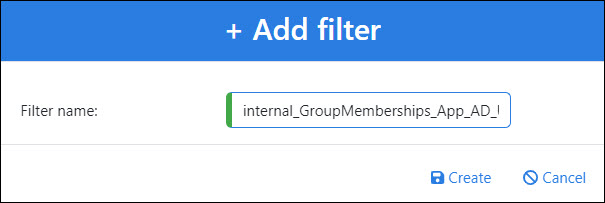
In this example, we will configure our filter to get all employees in the EN_CO (Helpdesk) department who have an internal user account. Your filter configuration will depend on who you wish to have access to your app. Any user returned by your filter must have an internal user account in order to be added to an internal group.
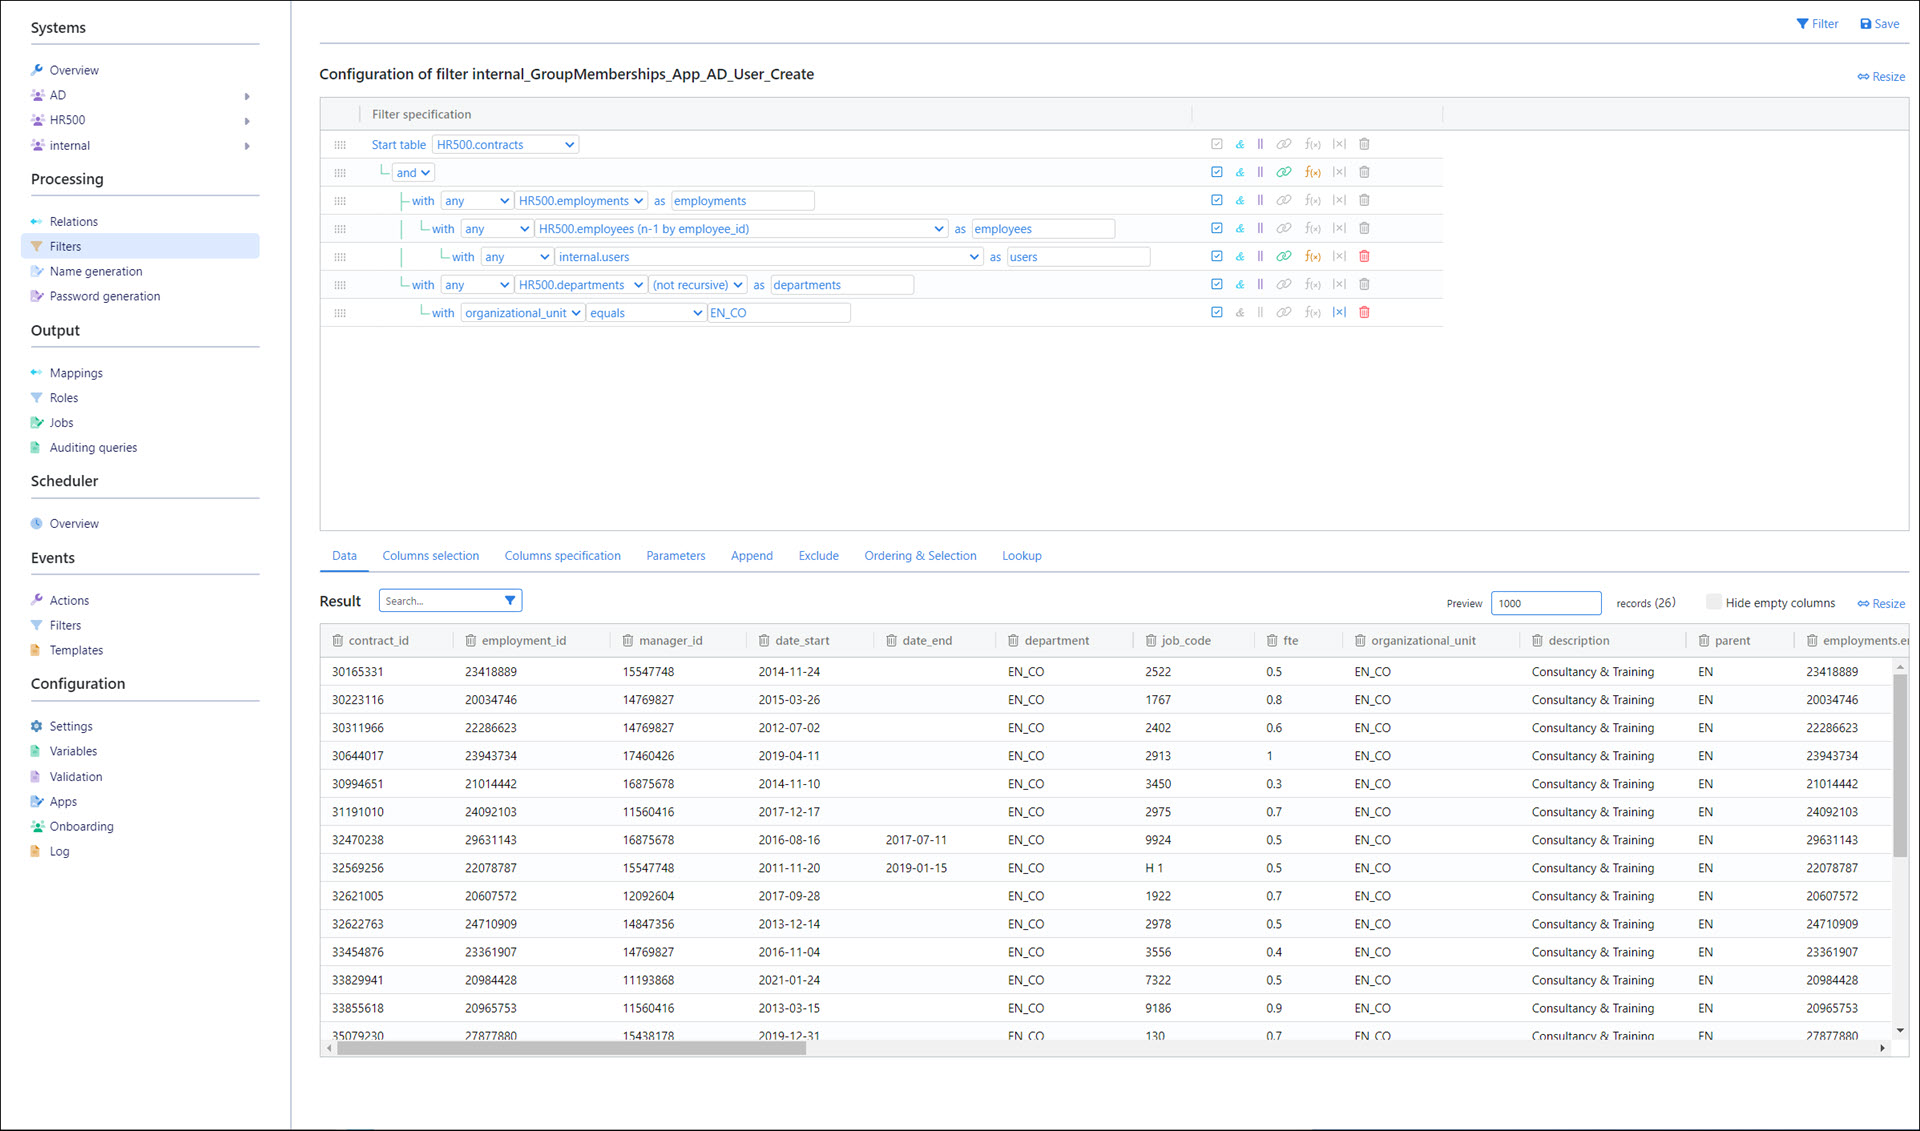
Save the filter.
Navigate to Output > Roles.
Modify the
developmentrole model.Add a new role called
App_AD_User_Create.In the Based on filter dropdown, select the
internal_GroupMemberships_App_AD_User_Createfilter you created earlier.Next to Role items, click +Add.
Double click on the new role item and ensure that
internal : groups - memberships - IDis selected. If you do not see that option, modify your filter so that it returns the ID of the NIM internal users.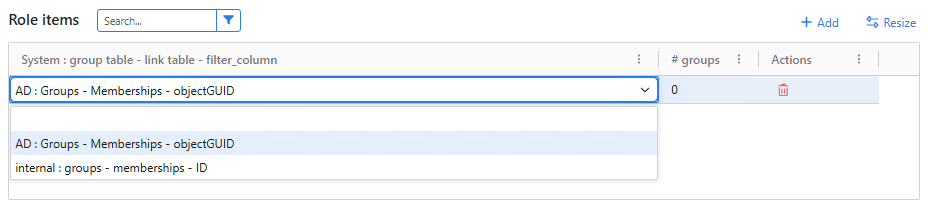
Under the Groups tab, find and select the
nga_App_AD_User_Creategroup.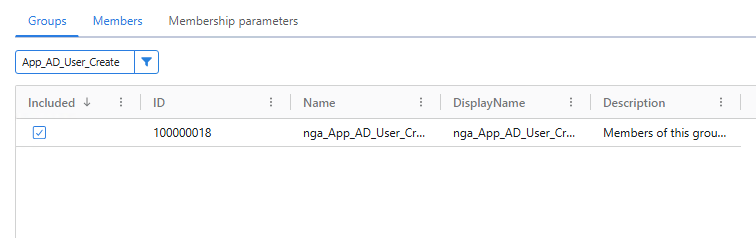
Click Save and return to Output > Roles.
Click the
 button next to the
 developmentrole model to promote it to active status.
The next time the role model is applied, all users returned by the internal_GroupMemberships_App_AD_User_Create filter will be added to the nga_App_AD_User_Create. This will allow them to access the App_AD_User_Create app, and see it on the NIM dashboard.
Next: Step 25: Production test