Step 2: Add a role model & role generator (tutorial)
The next step is to create a NIM role model, to manage the memberships of the groups we just provisioned into AD. A role model can be created either manually, or programmatically using a role generator. We'll take the latter approach.
A role generator takes two filters as input. These two filters are the most important parts of a role generator, and must be configured in a specific way:
The Role Generation Filter is used to determine the roles that a role generator generates.
The Role Member Filter is used to determine which target accounts will become members of which roles.
Create a role generation filter
We don't need to create a new filter for our Role Generation Filter, because we can use the include lookup on the HR500_AD_Group_Create filter we already created.
Create a role member filter
Go to Processing > Filters.
Click Add.
Enter a Filter Name.
For this example, we'll name it
HR500_AD_RoleMembers, following the convention Source_System_TargetSystem_RoleMembers.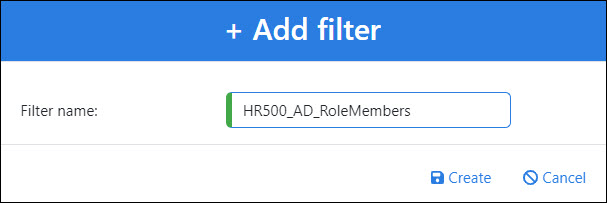
Click Create.
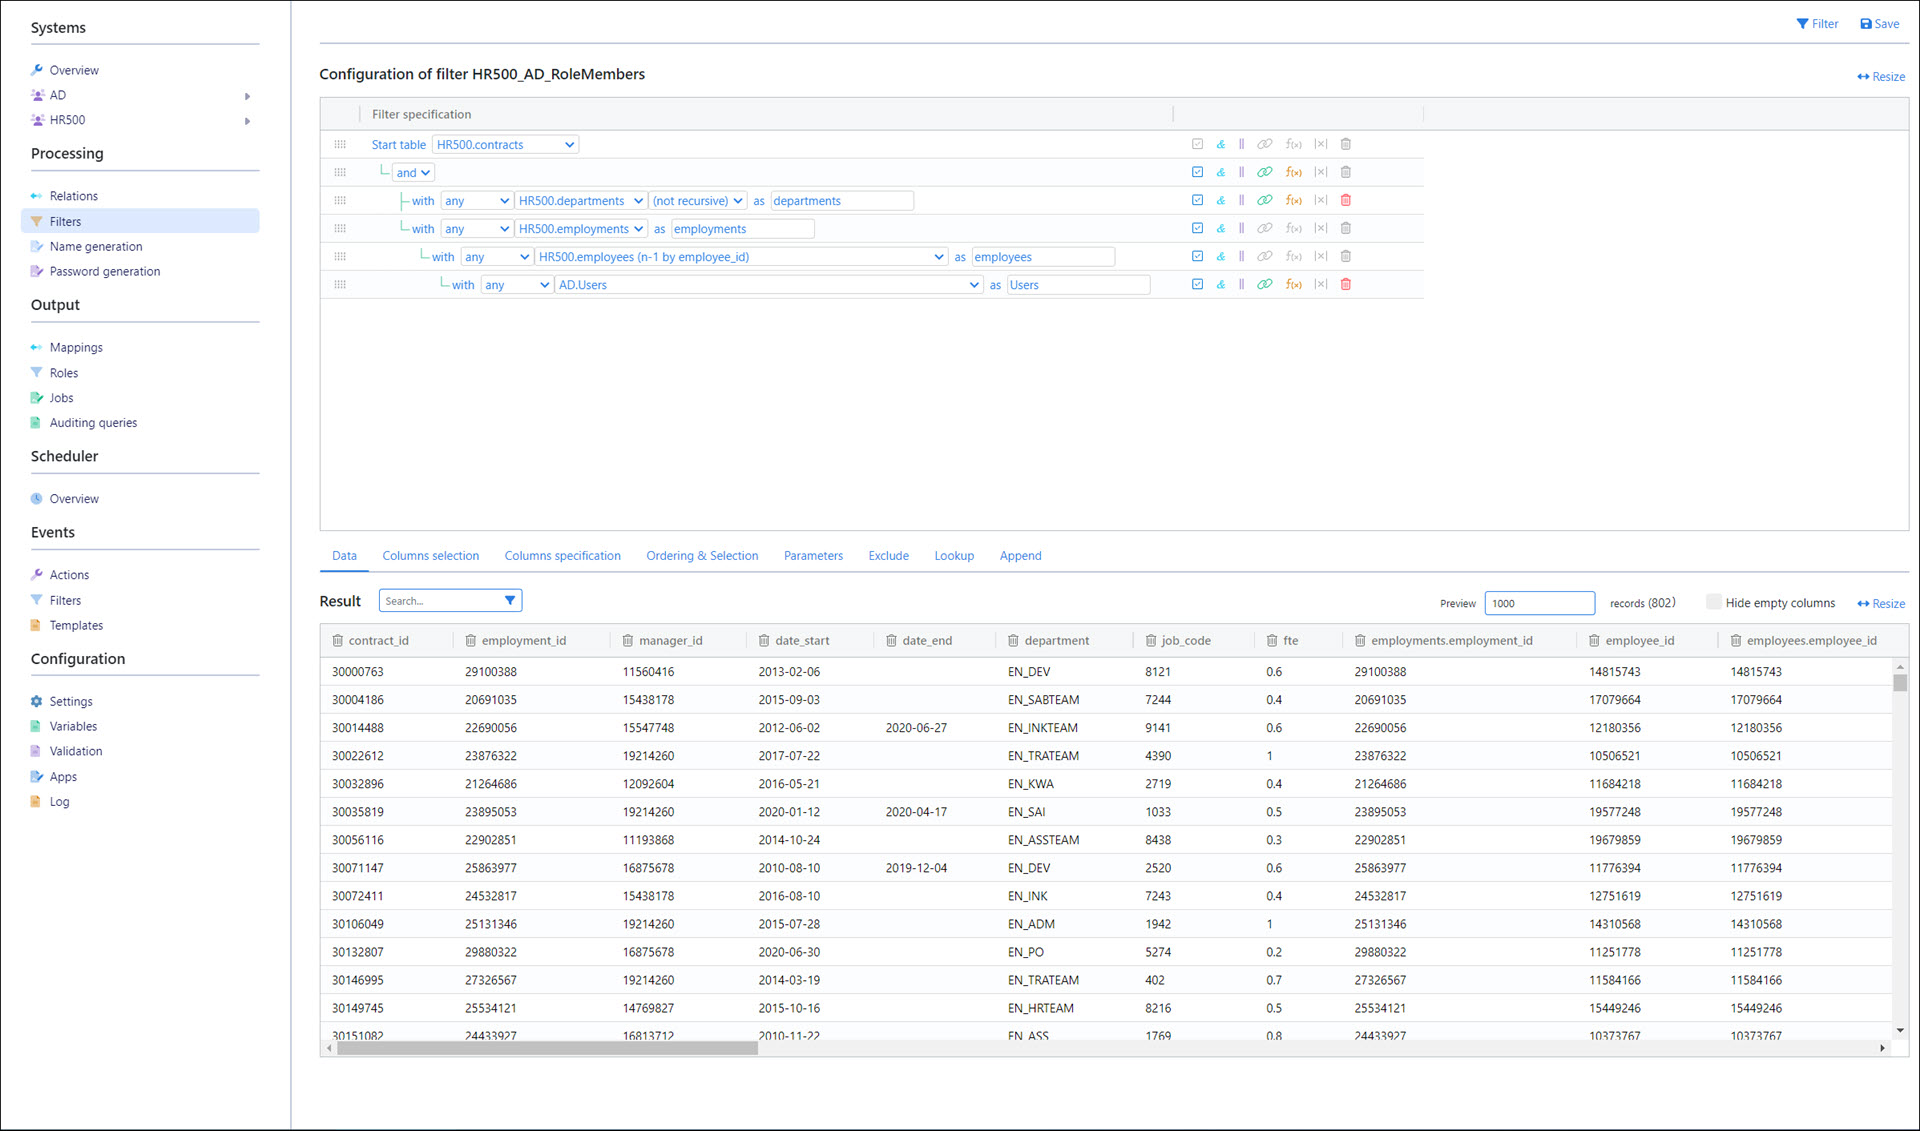
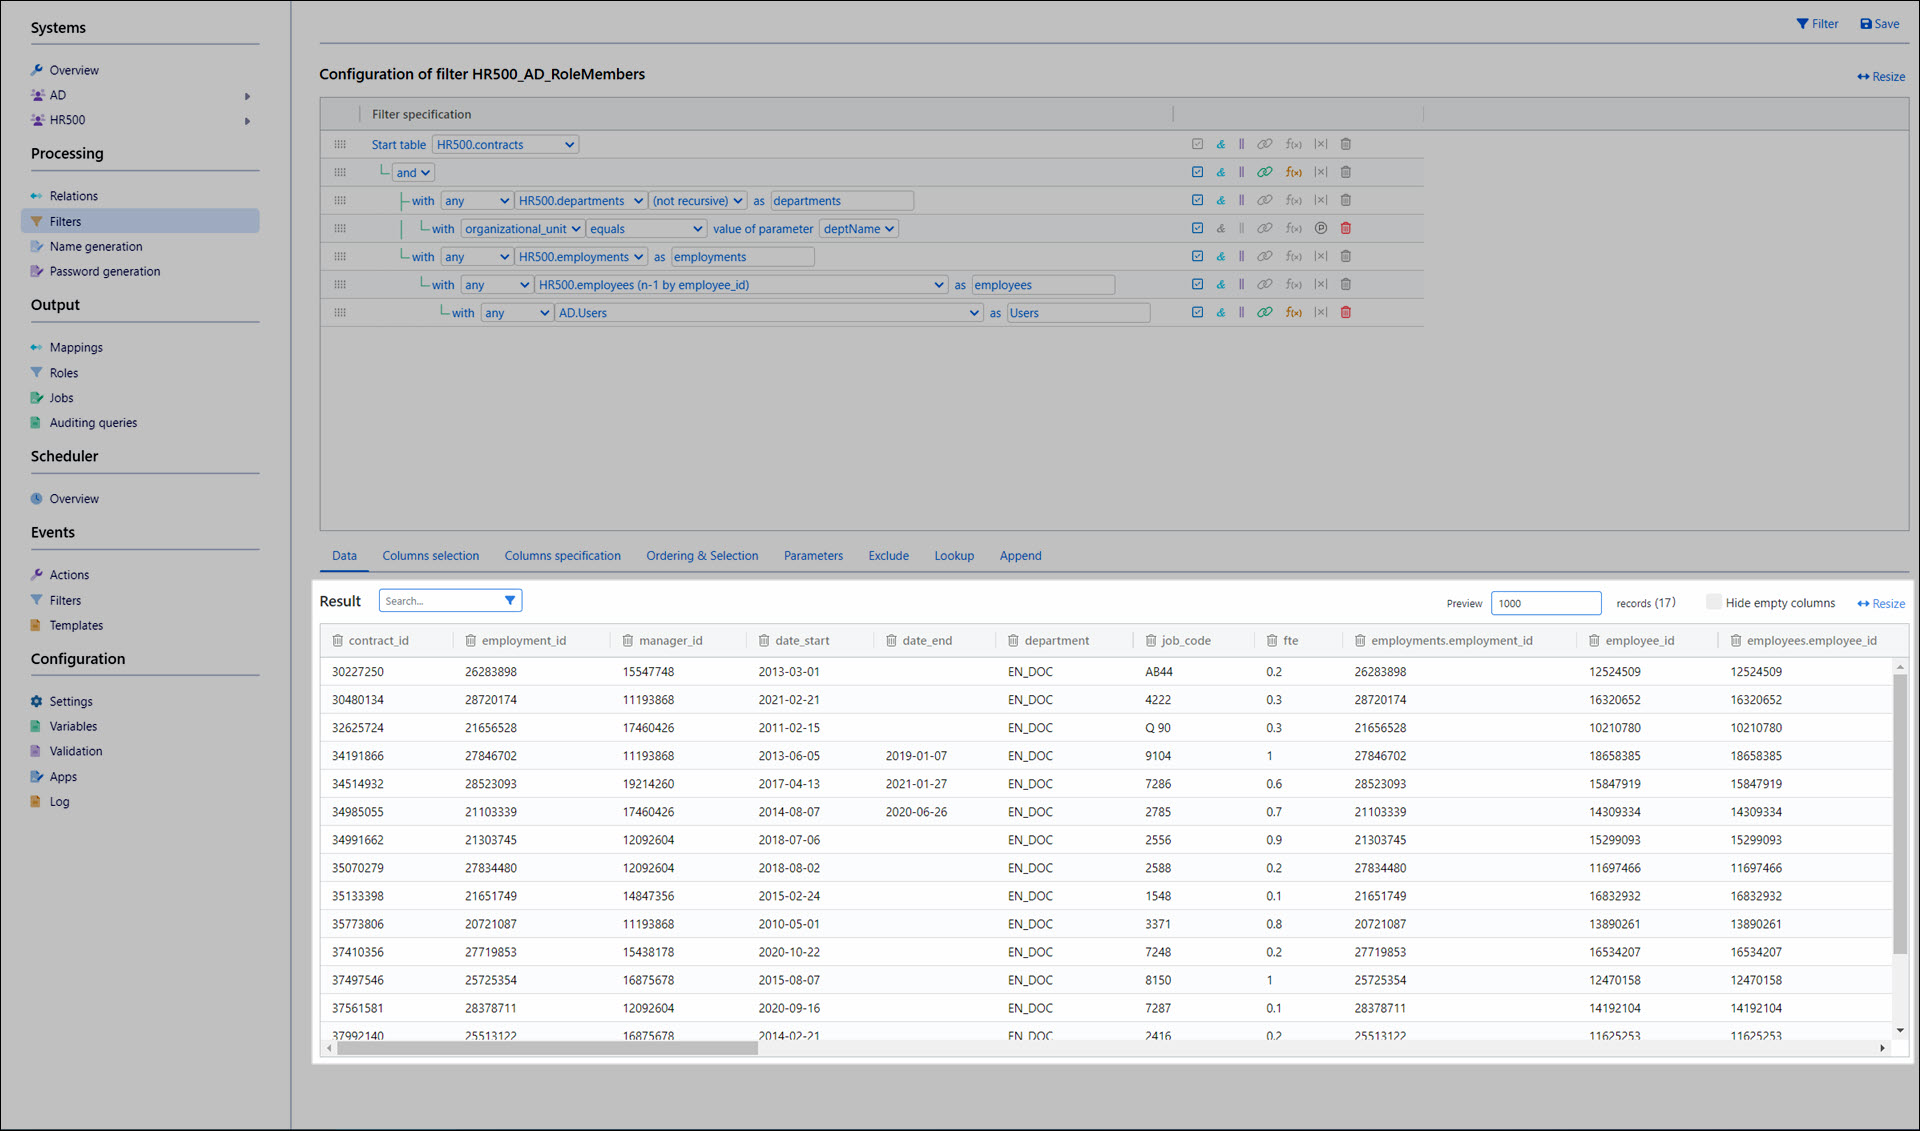
In this filter, we need employees by department, joined to their AD user accounts. We'll do this by joining HR500.contracts to HR500.departments and AD.Users.
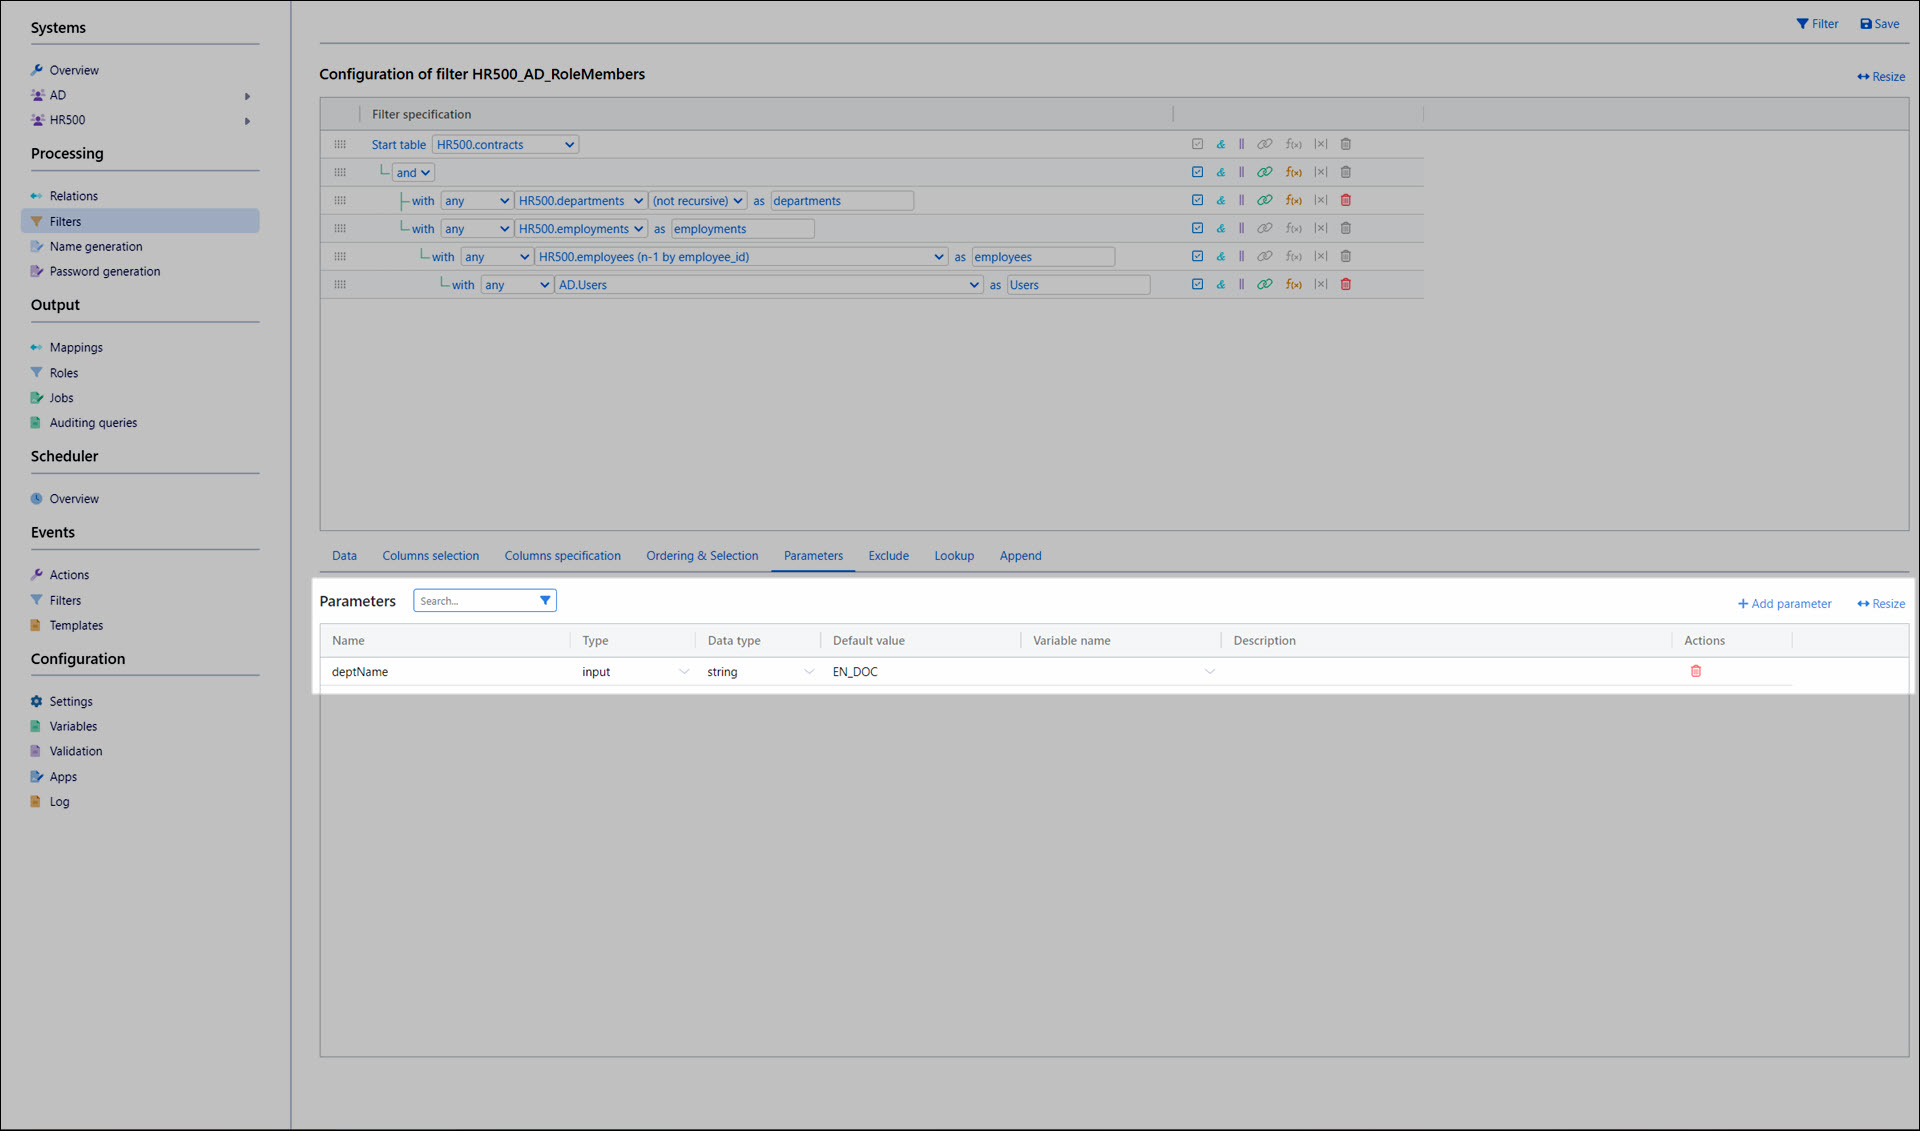
Next, we'll parameterize the organizational_unit column of the HR500.departments table. This lets us dynamically filter employees by department. Thus, we only need one filter total, rather than one filter per department.
We'll go to the Parameters tab, and add a parameter with a Name of
deptName, a Type of input, a Data Type of string, and a Default Value ofEN_DOC.Tip
The specific department we use as the Default Value doesn't matter, and is only used to preview the filter results. In production, our role generator will iterate the necessary values through the parameter.
On our with any HR500.departments filter item, we'll click
 Expression filter item to add an expression item.
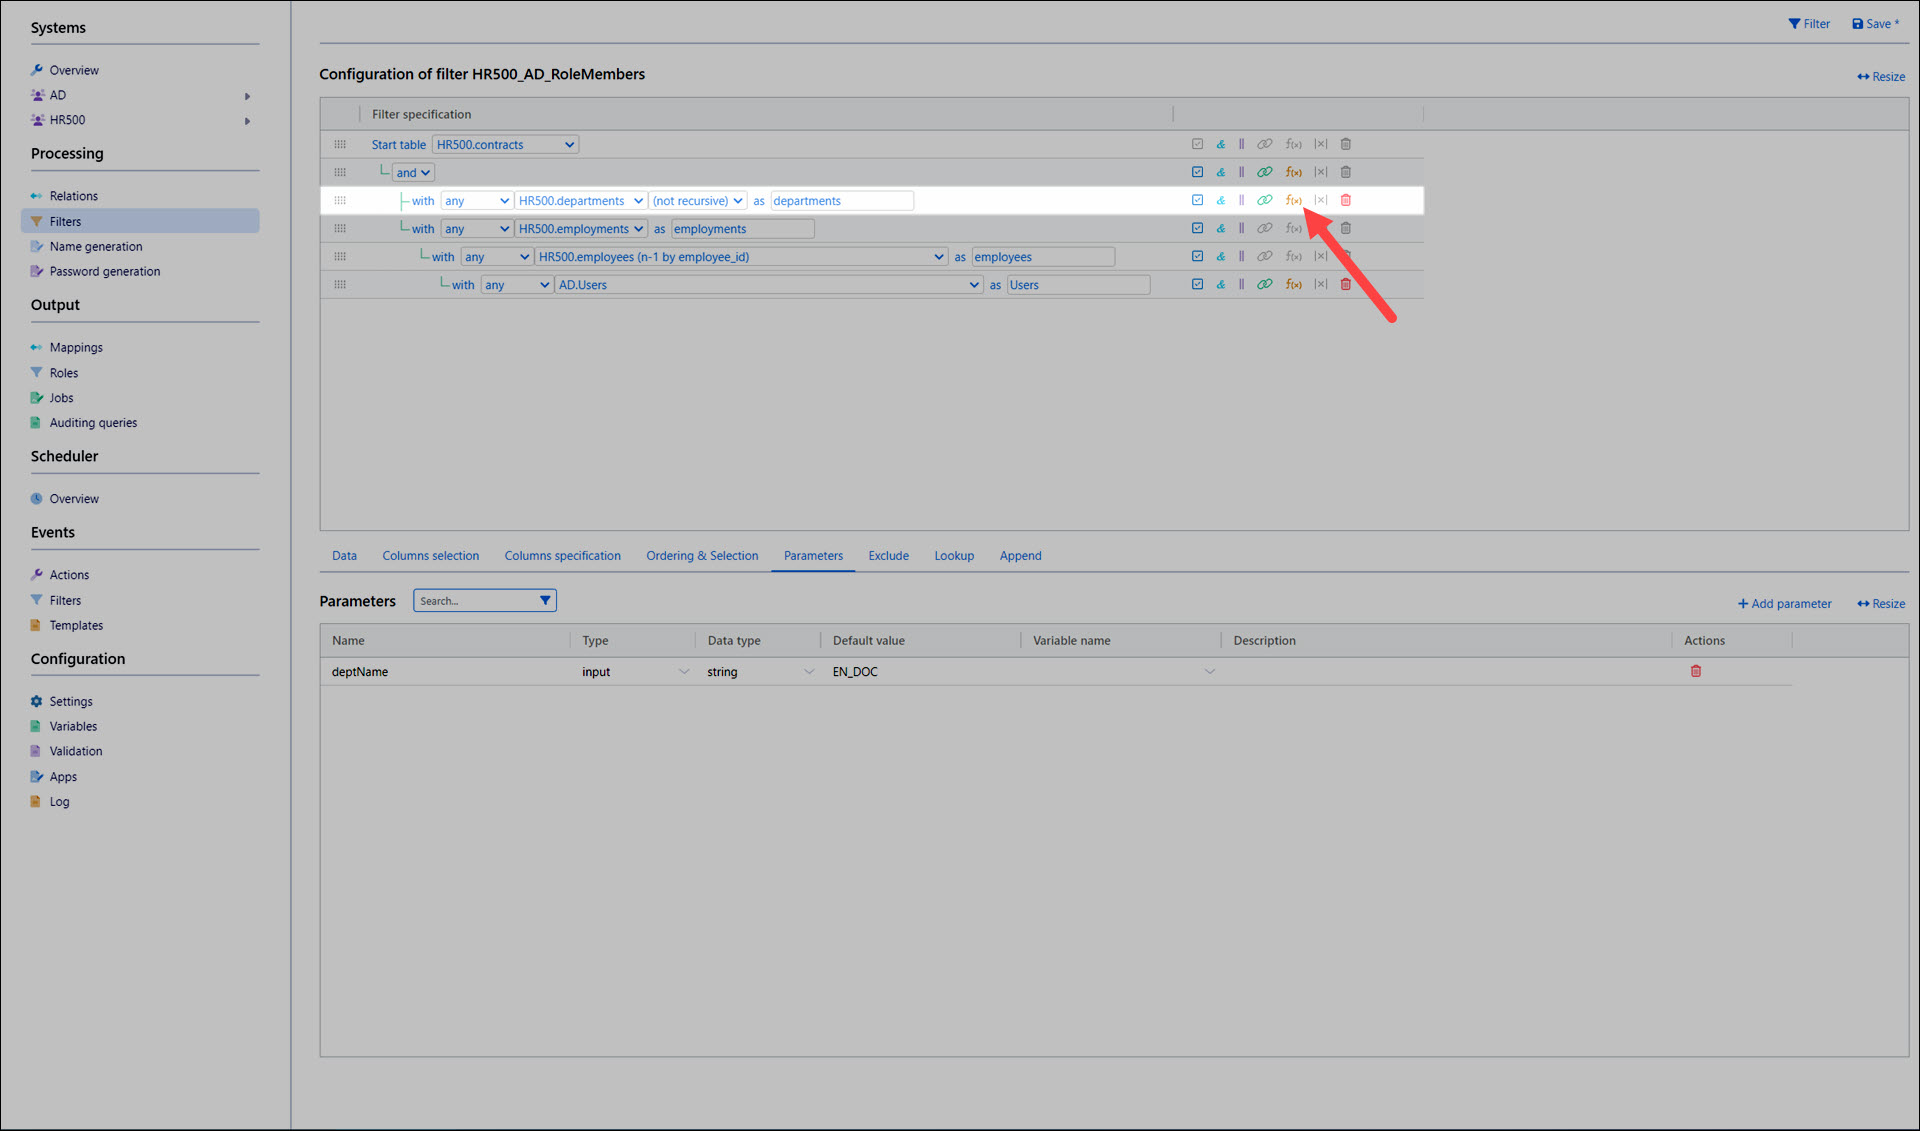
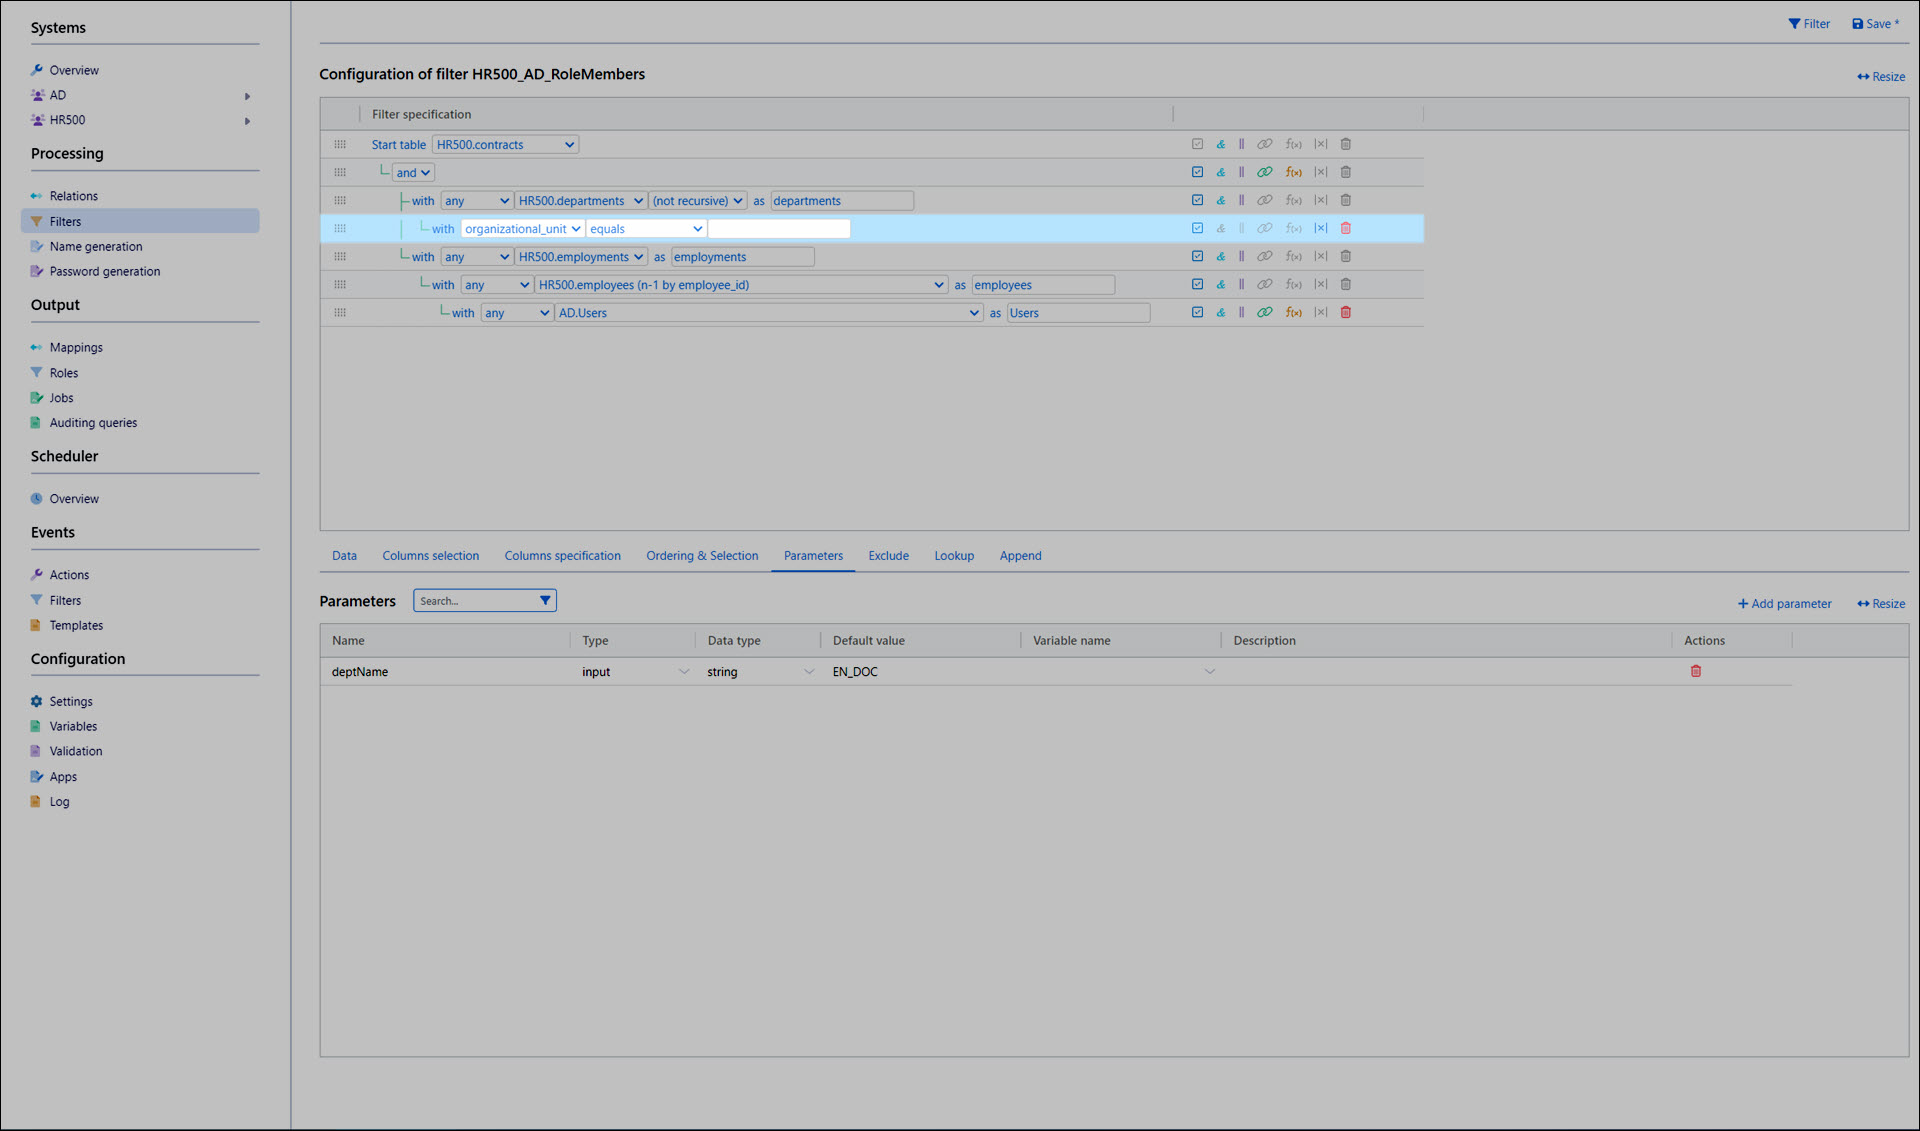
We'll set it to with organizational_unit equals.
For the new expression item, click
Constant/Parameter to change the expression item from a constant to a parameter.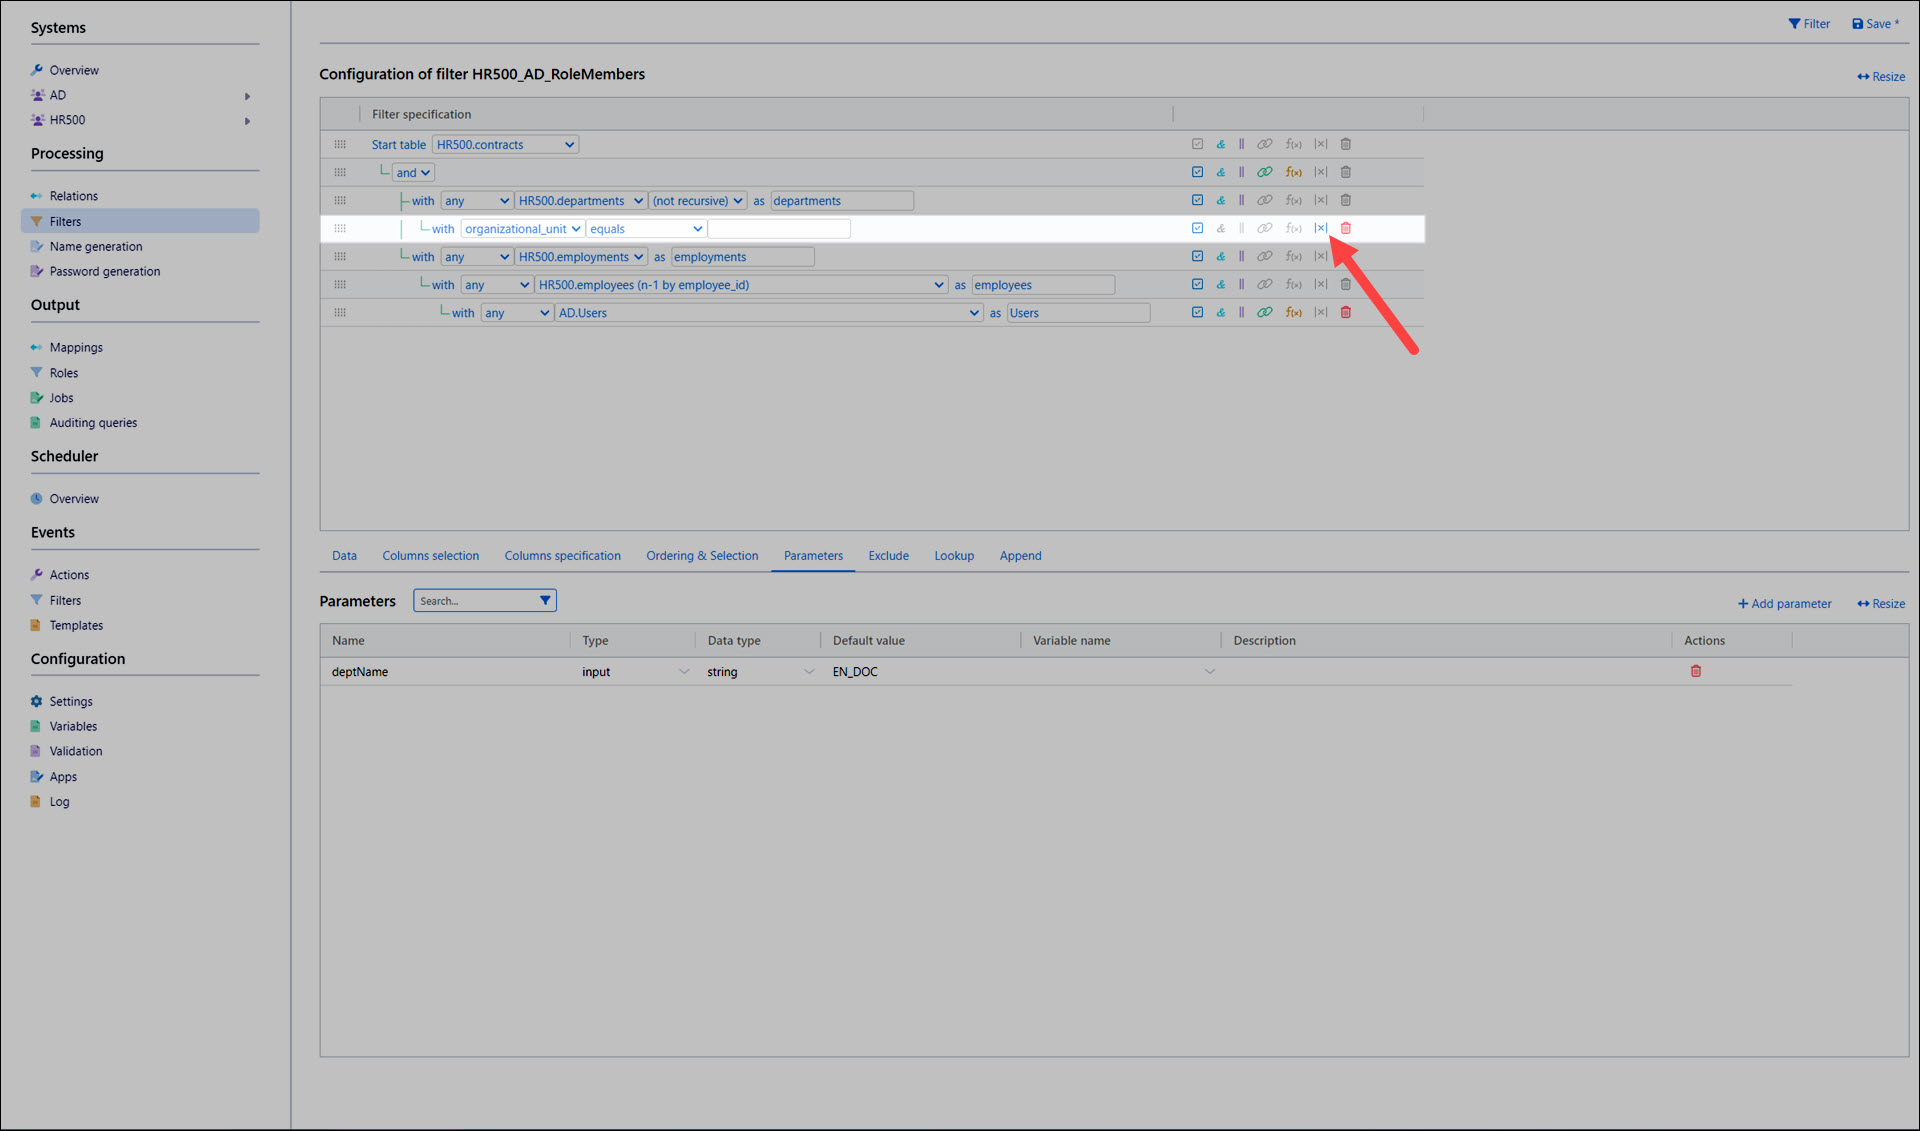

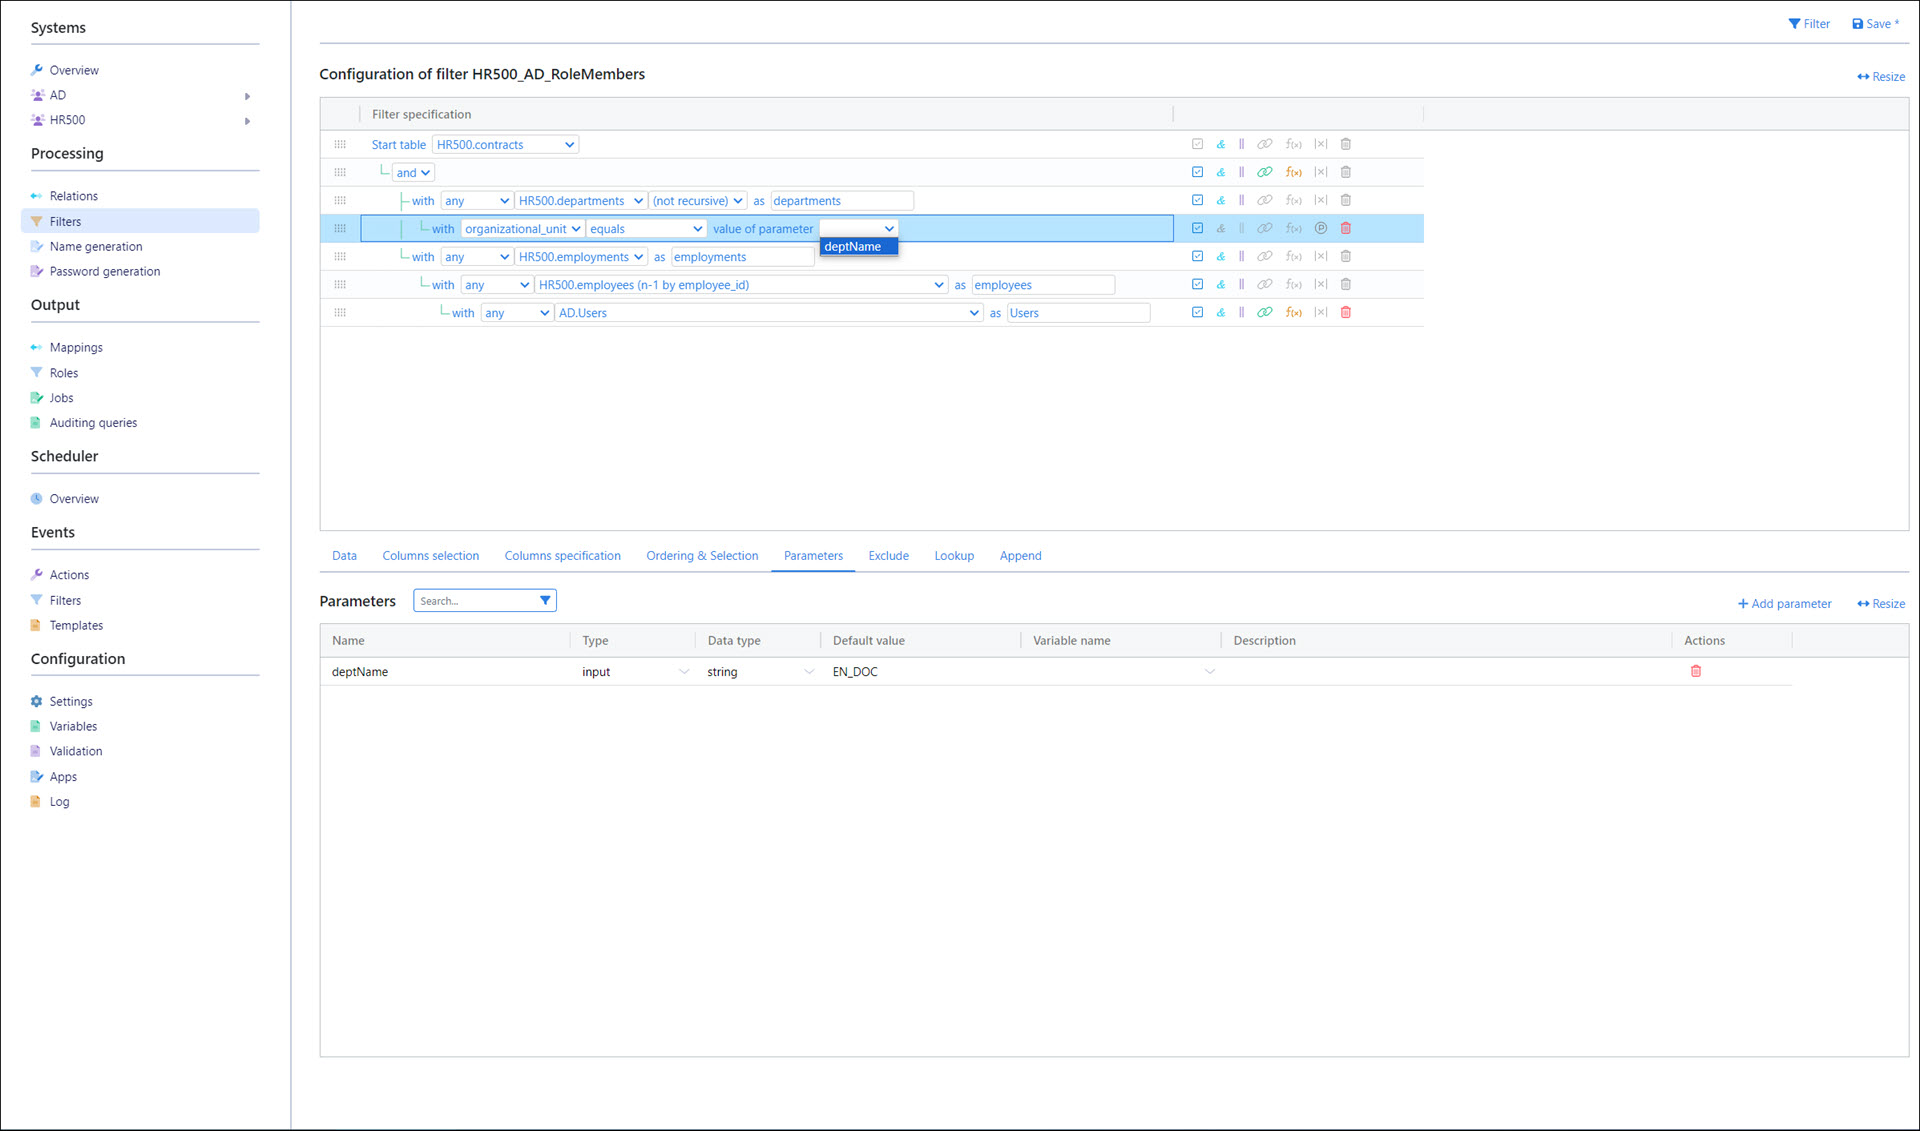
Set the parameter dropdown to deptName.
Go back to the Data tab.
Click Filter to test the parameterization.
Only the 17 employees in the department EN_DOC are returned.
Click Save.
Create a new development role model
Before we can create a role generator, we need to create a development role model for the generator to work on.
The development role model is the role model you work on, prior to activating it (i.e., putting it into production).
Go to Output > Roles.
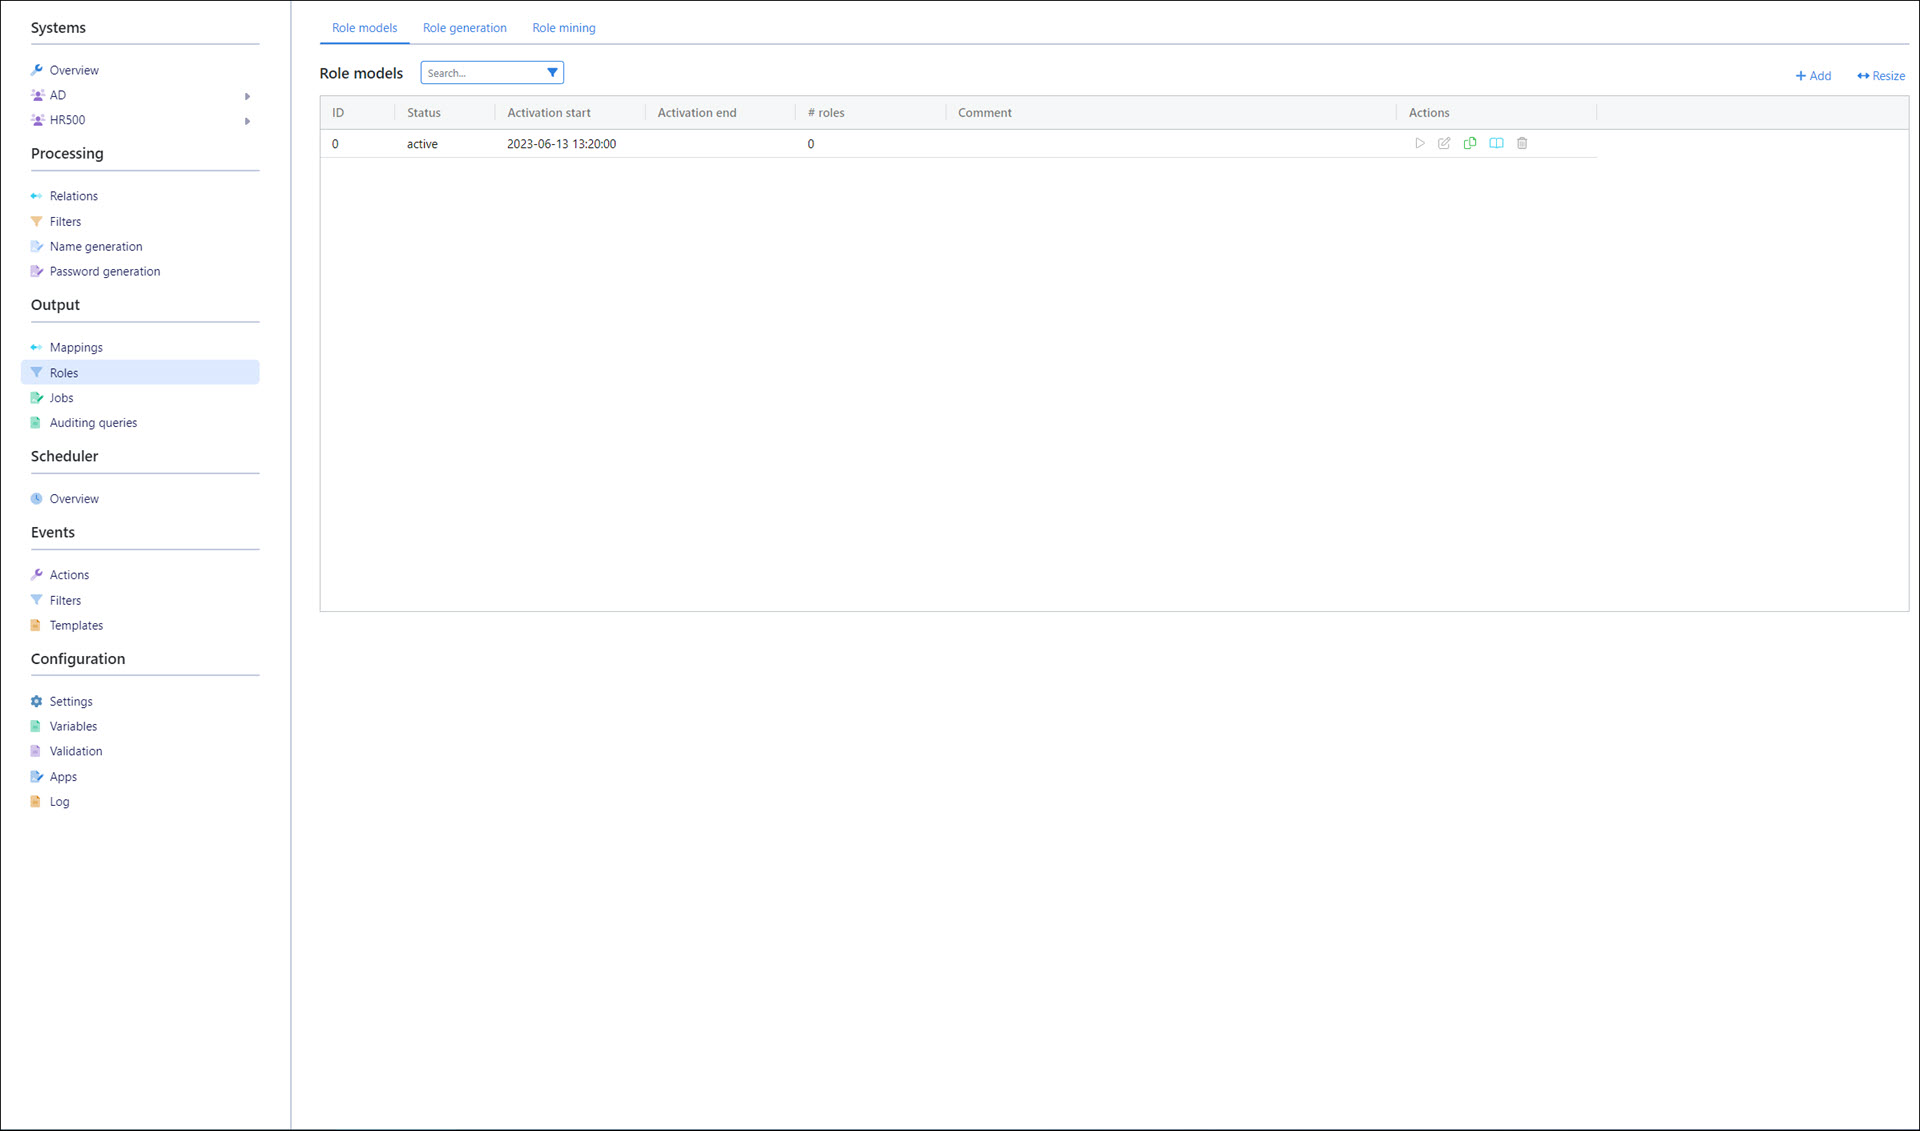
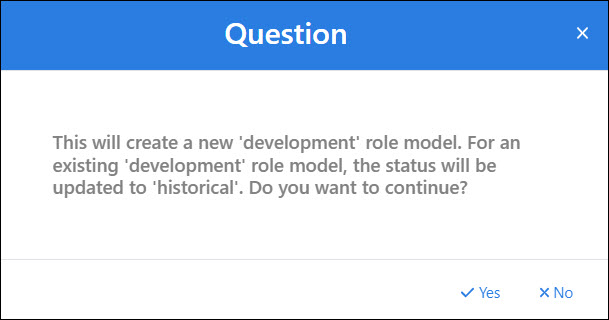
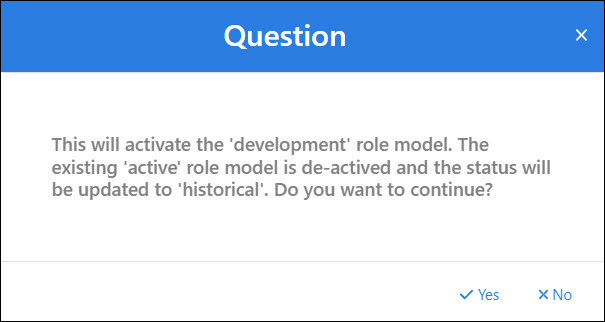
On the Role Models tab, click Add to create a new development role model.
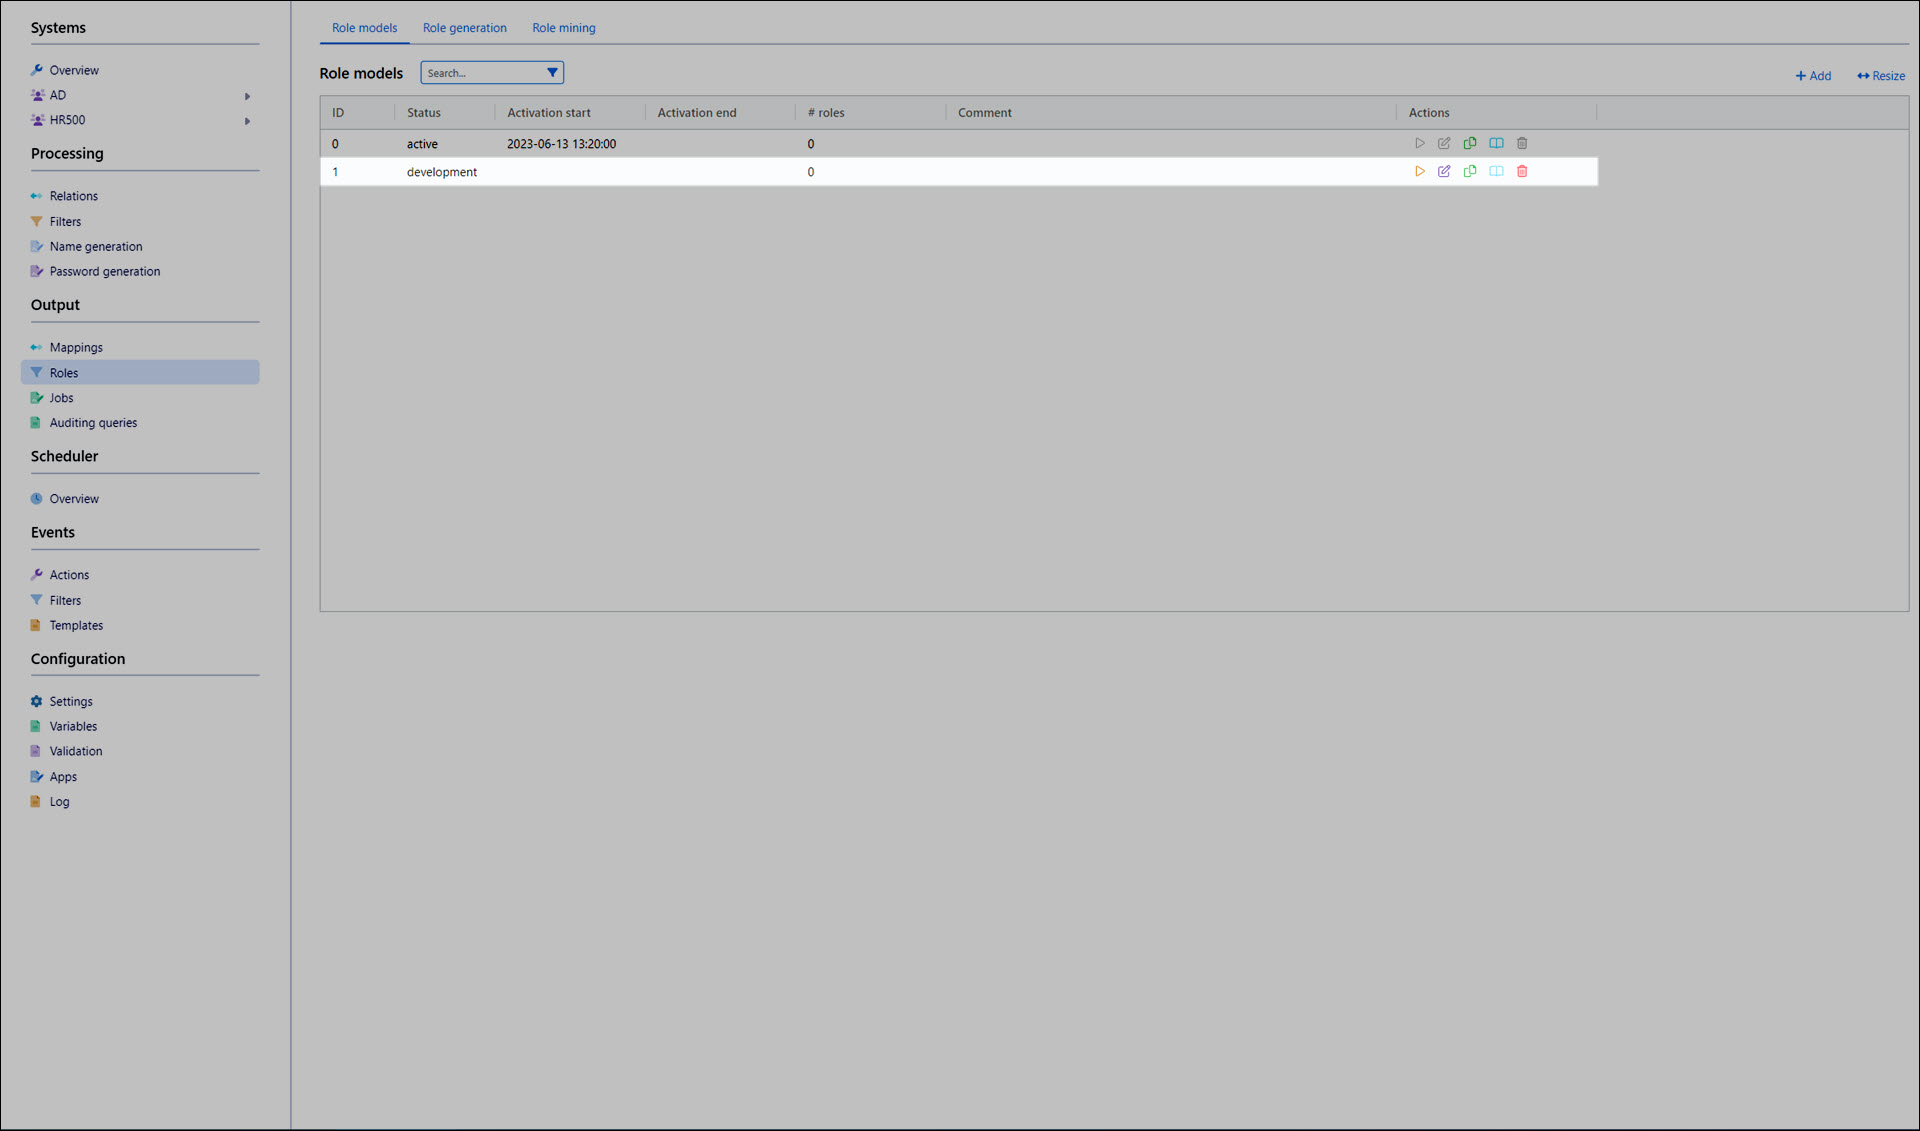
In the dialog box, click Yes to confirm.
A new development role model is created.
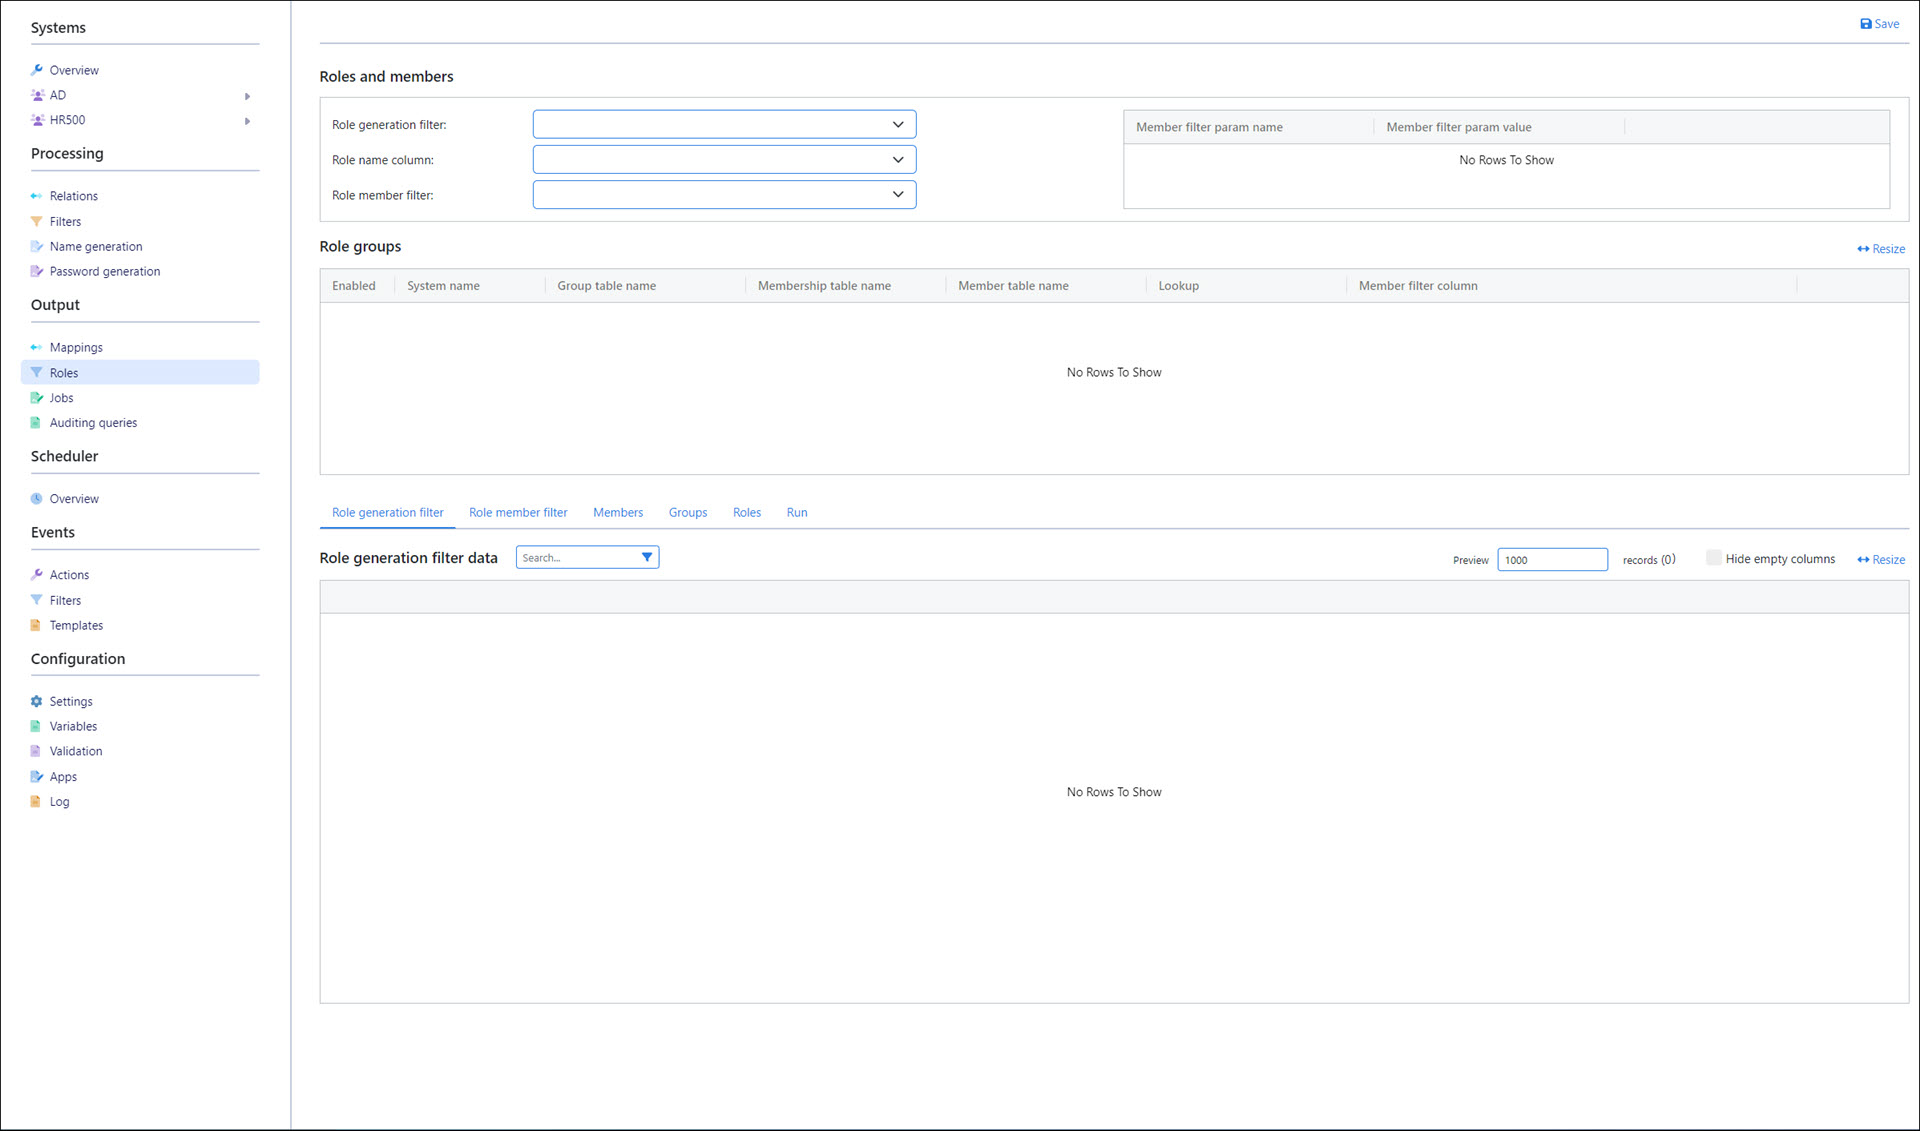
Create a role generator
Go to the Role Generation tab.
Click Add.
Enter a Role Generator Name.
For this example, we'll call it
rg_AD, following the convention rg_TargetSystem.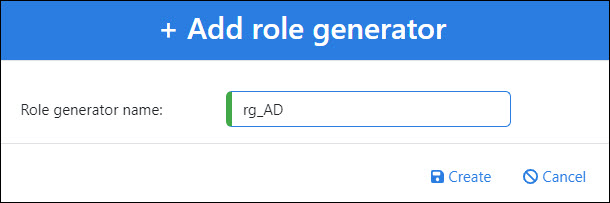
Click Create.
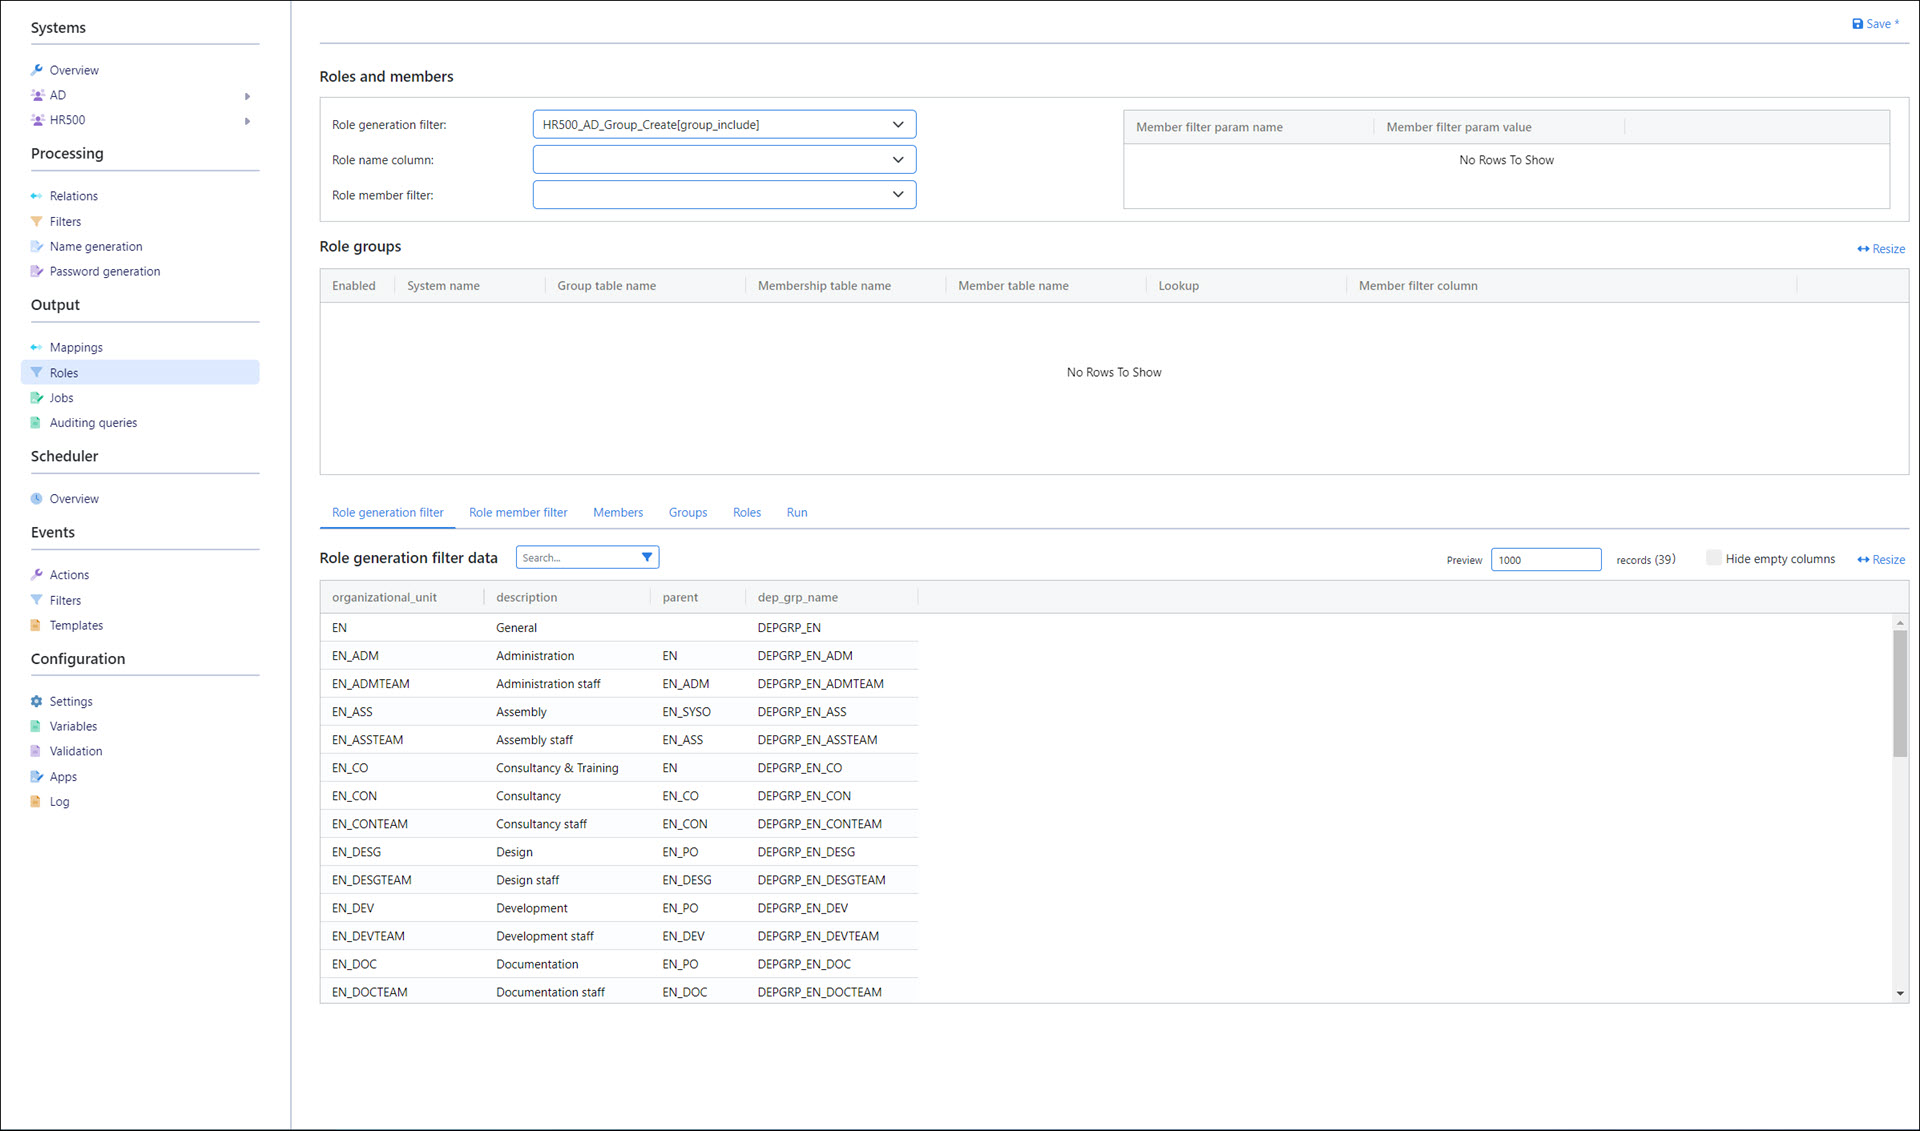
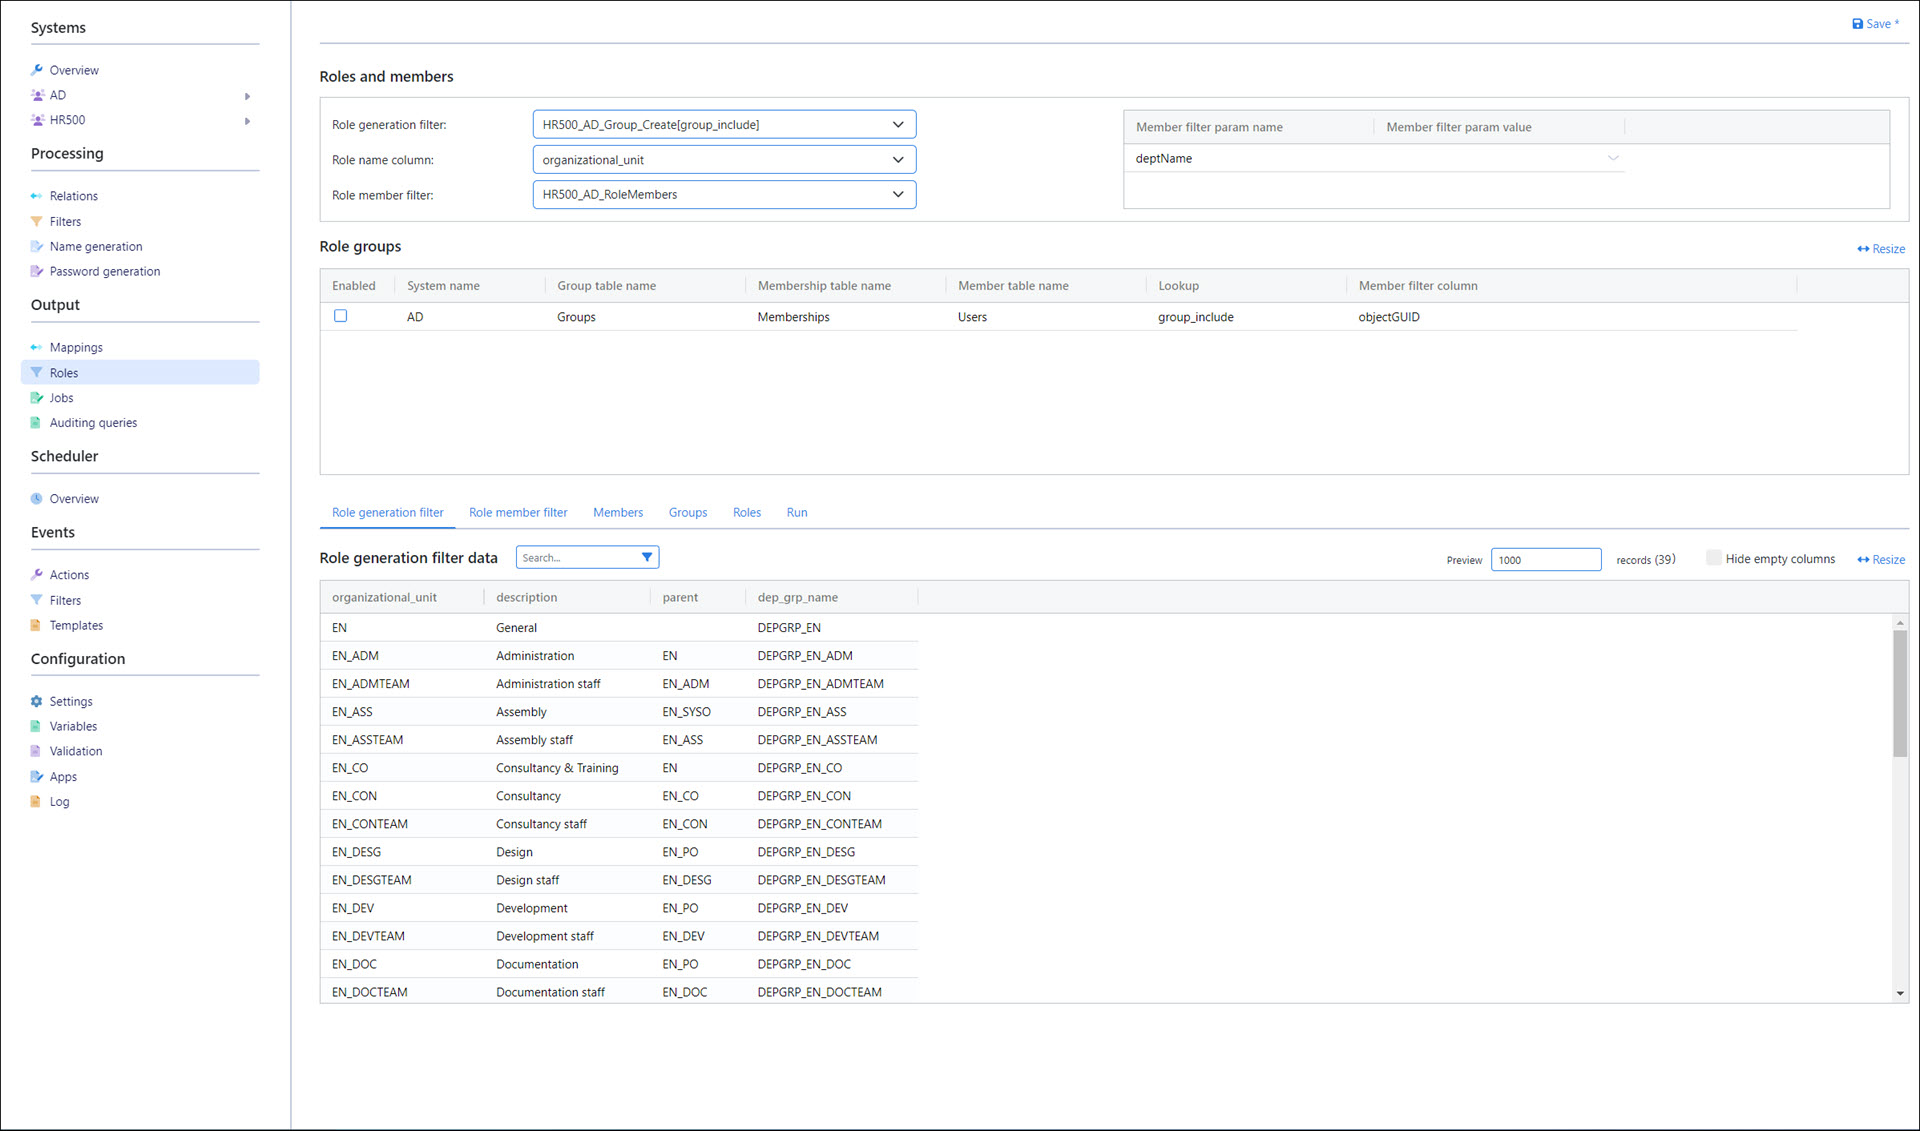
For the Role Generation Filter, select the HR500_AD_Group_Create[group_include] filter we created earlier.
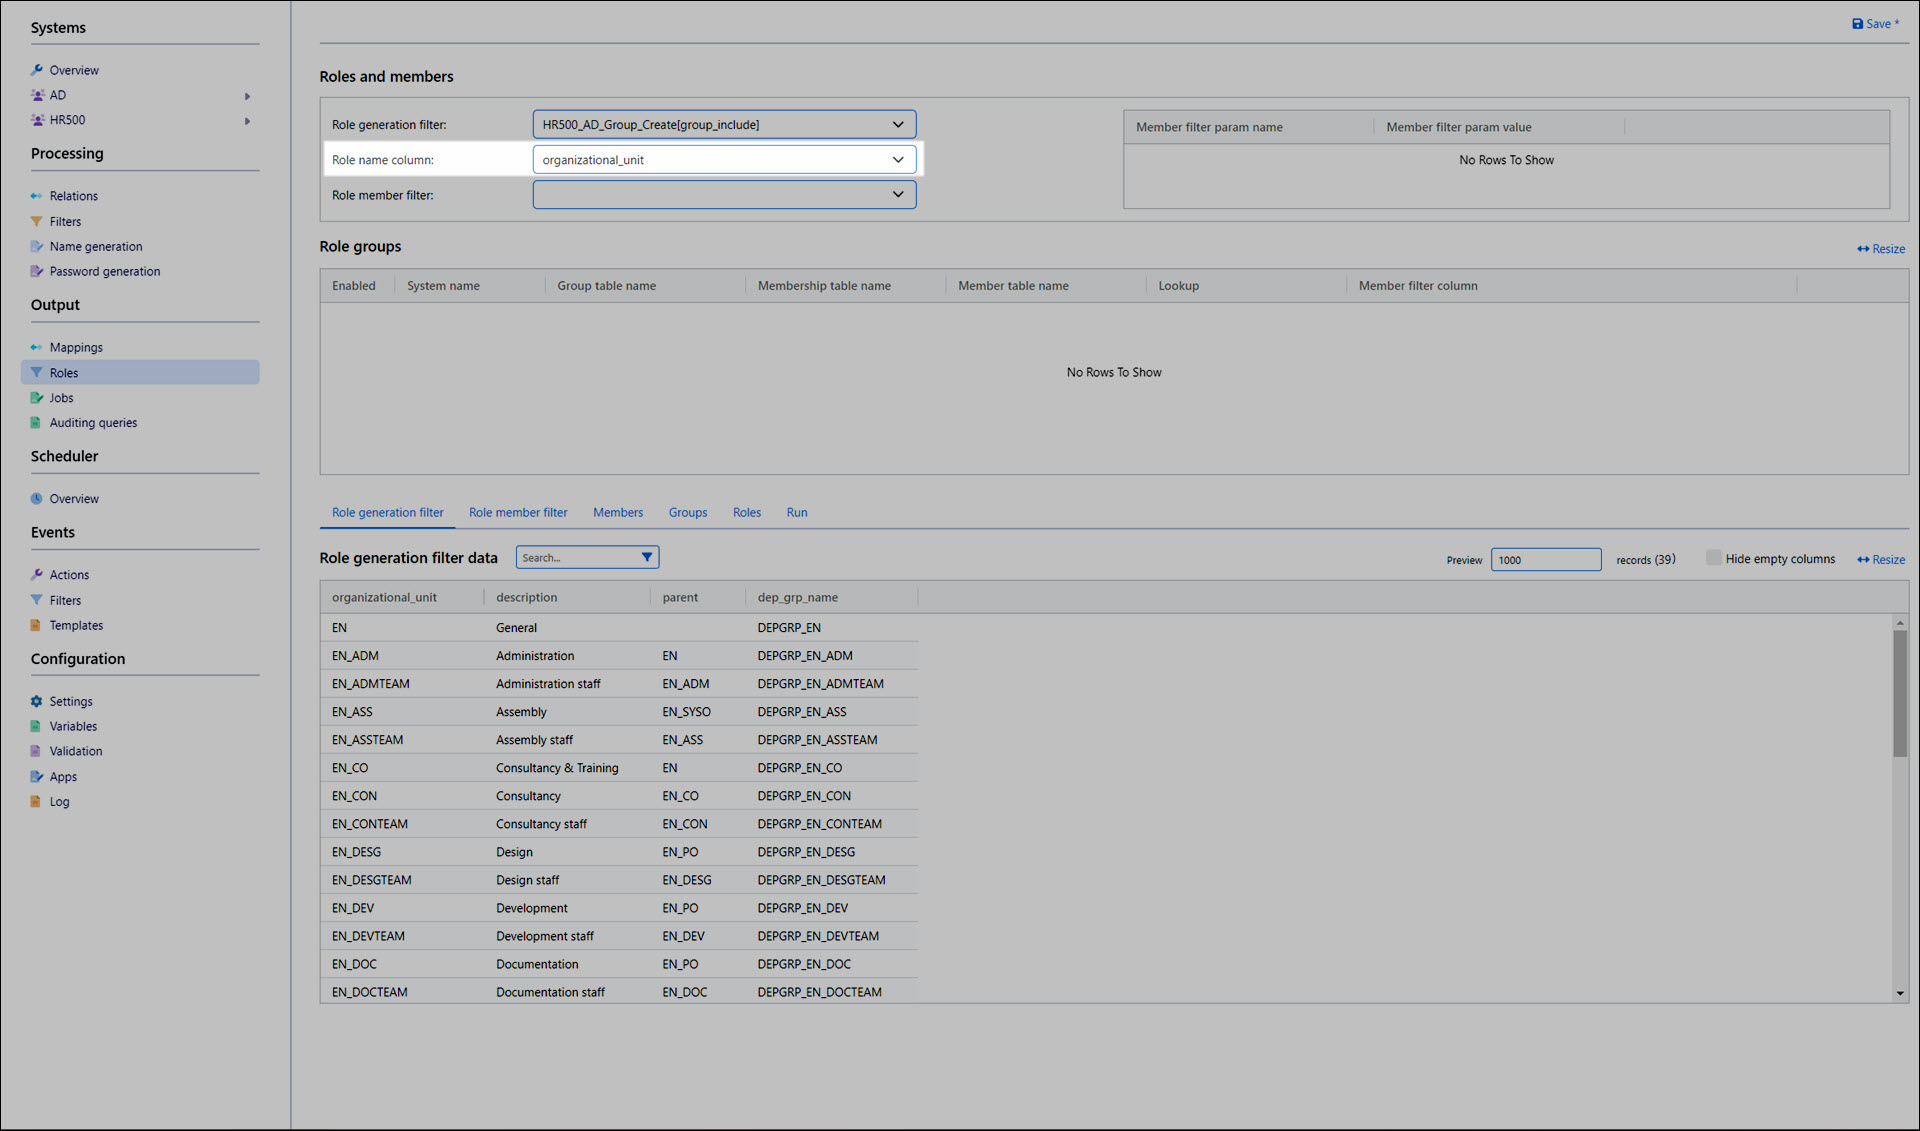
For the Role Name Column, select the column of the Role Generation Filter which contains the names of the roles to be generated.
For this example, we'll select the organizational_unit column.
For the Role Member Filter, select the HR500_AD_RoleMembers filter we created earlier.
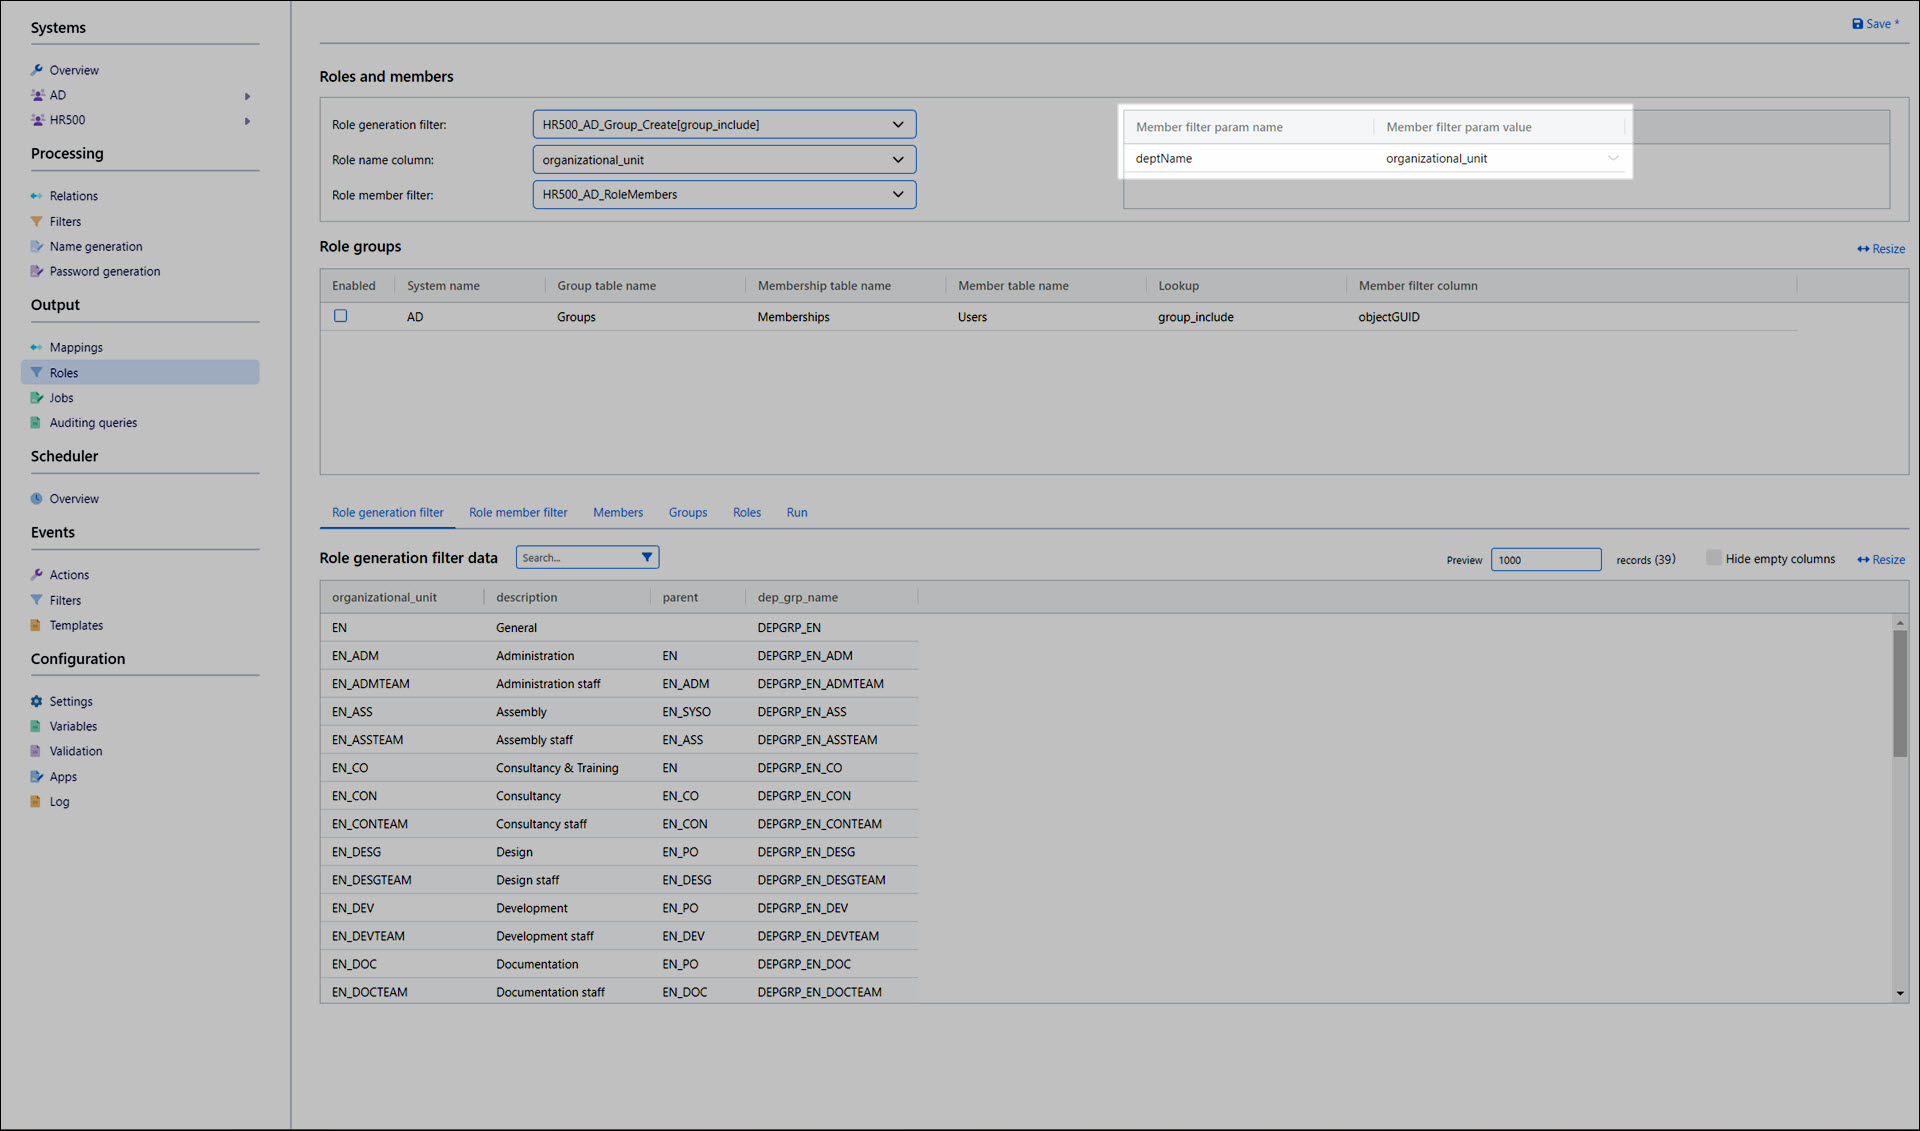
For the Member Filter Param Value, select the column of the Role Generation Filter whose rows should be iterated through the Member Filter Param Name of the Role Member Filter, to find the target accounts for each role.
For this example, we'll select the organizational_unit column.
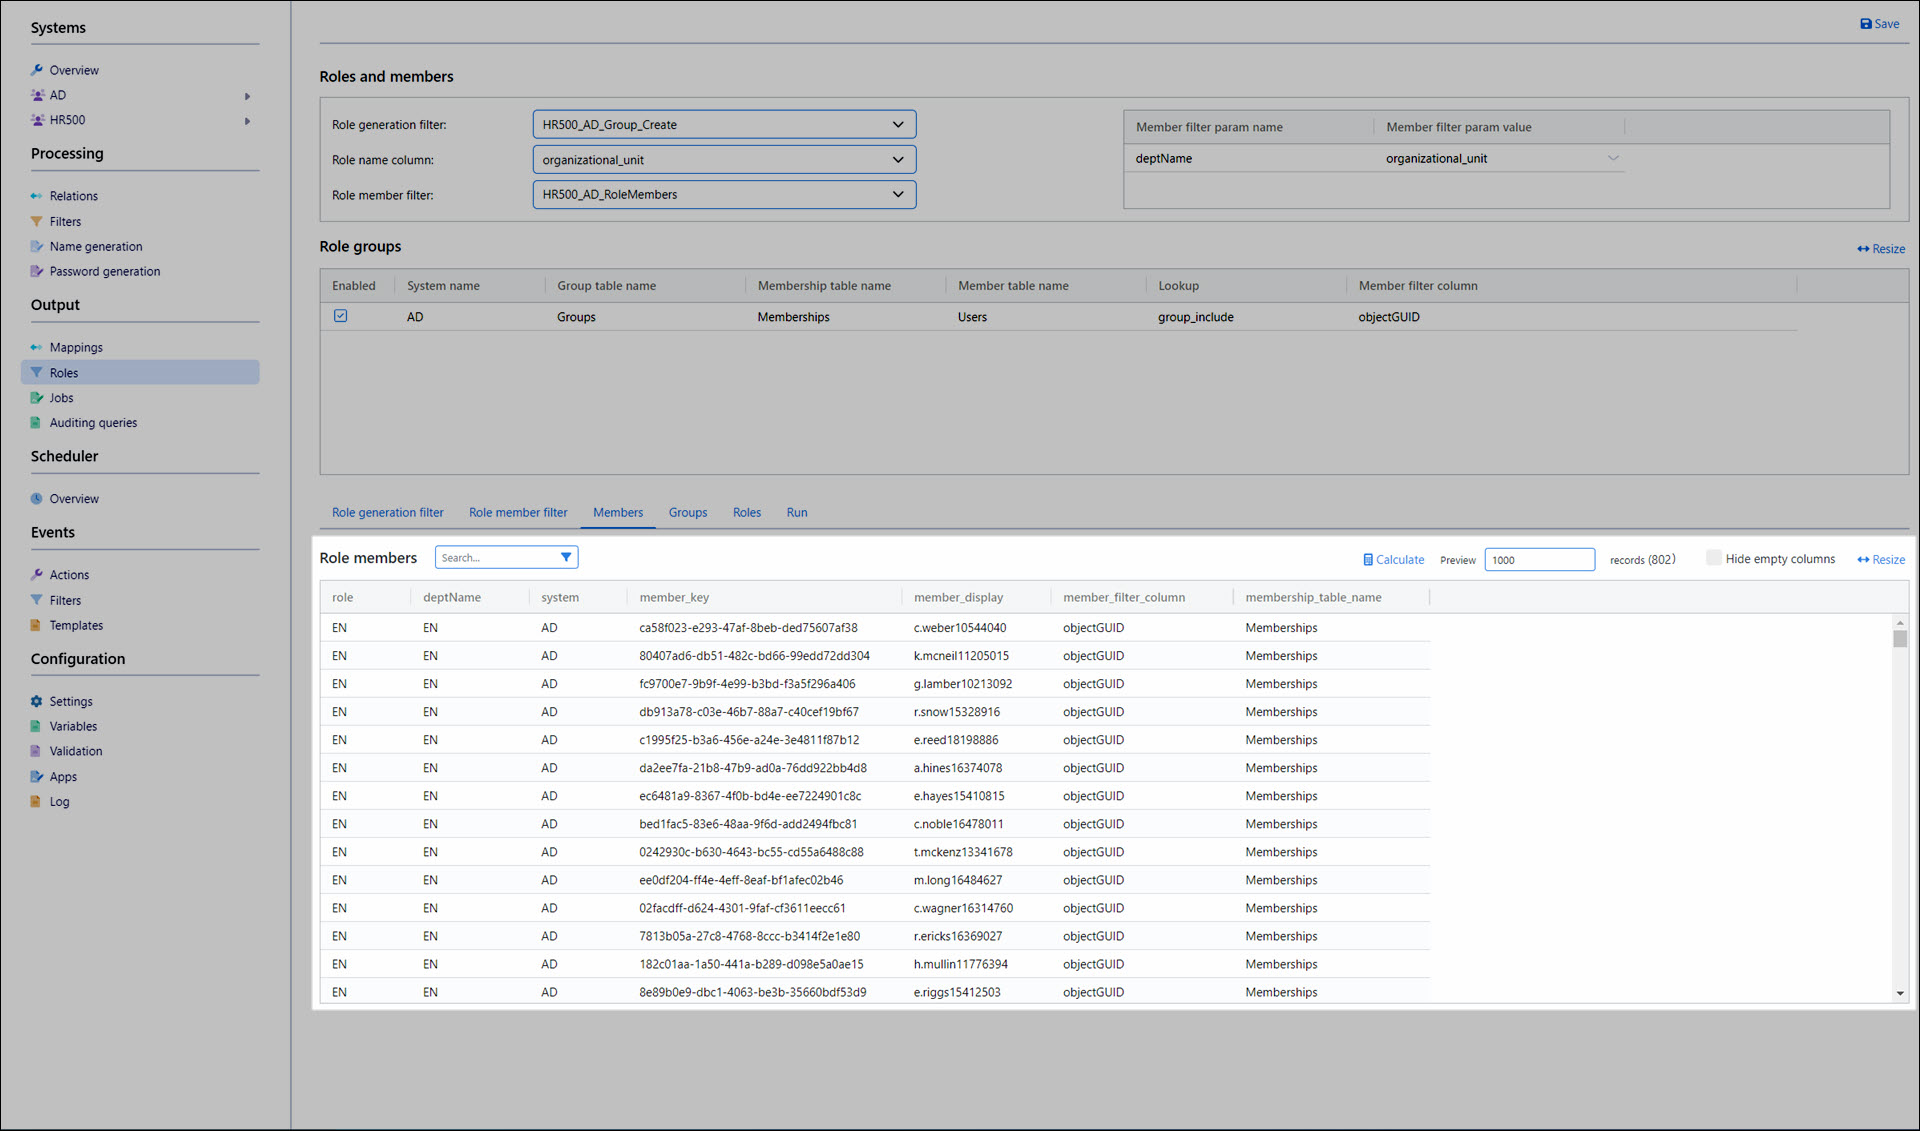
In the Role Groups pane, select the Enabled checkbox for the AD system.

Click Save.
Go to the Members tab.
Click Calculate to preview all role memberships.
Go to the Run tab.
Click Calculate to preview all role & group operations that will be performed.
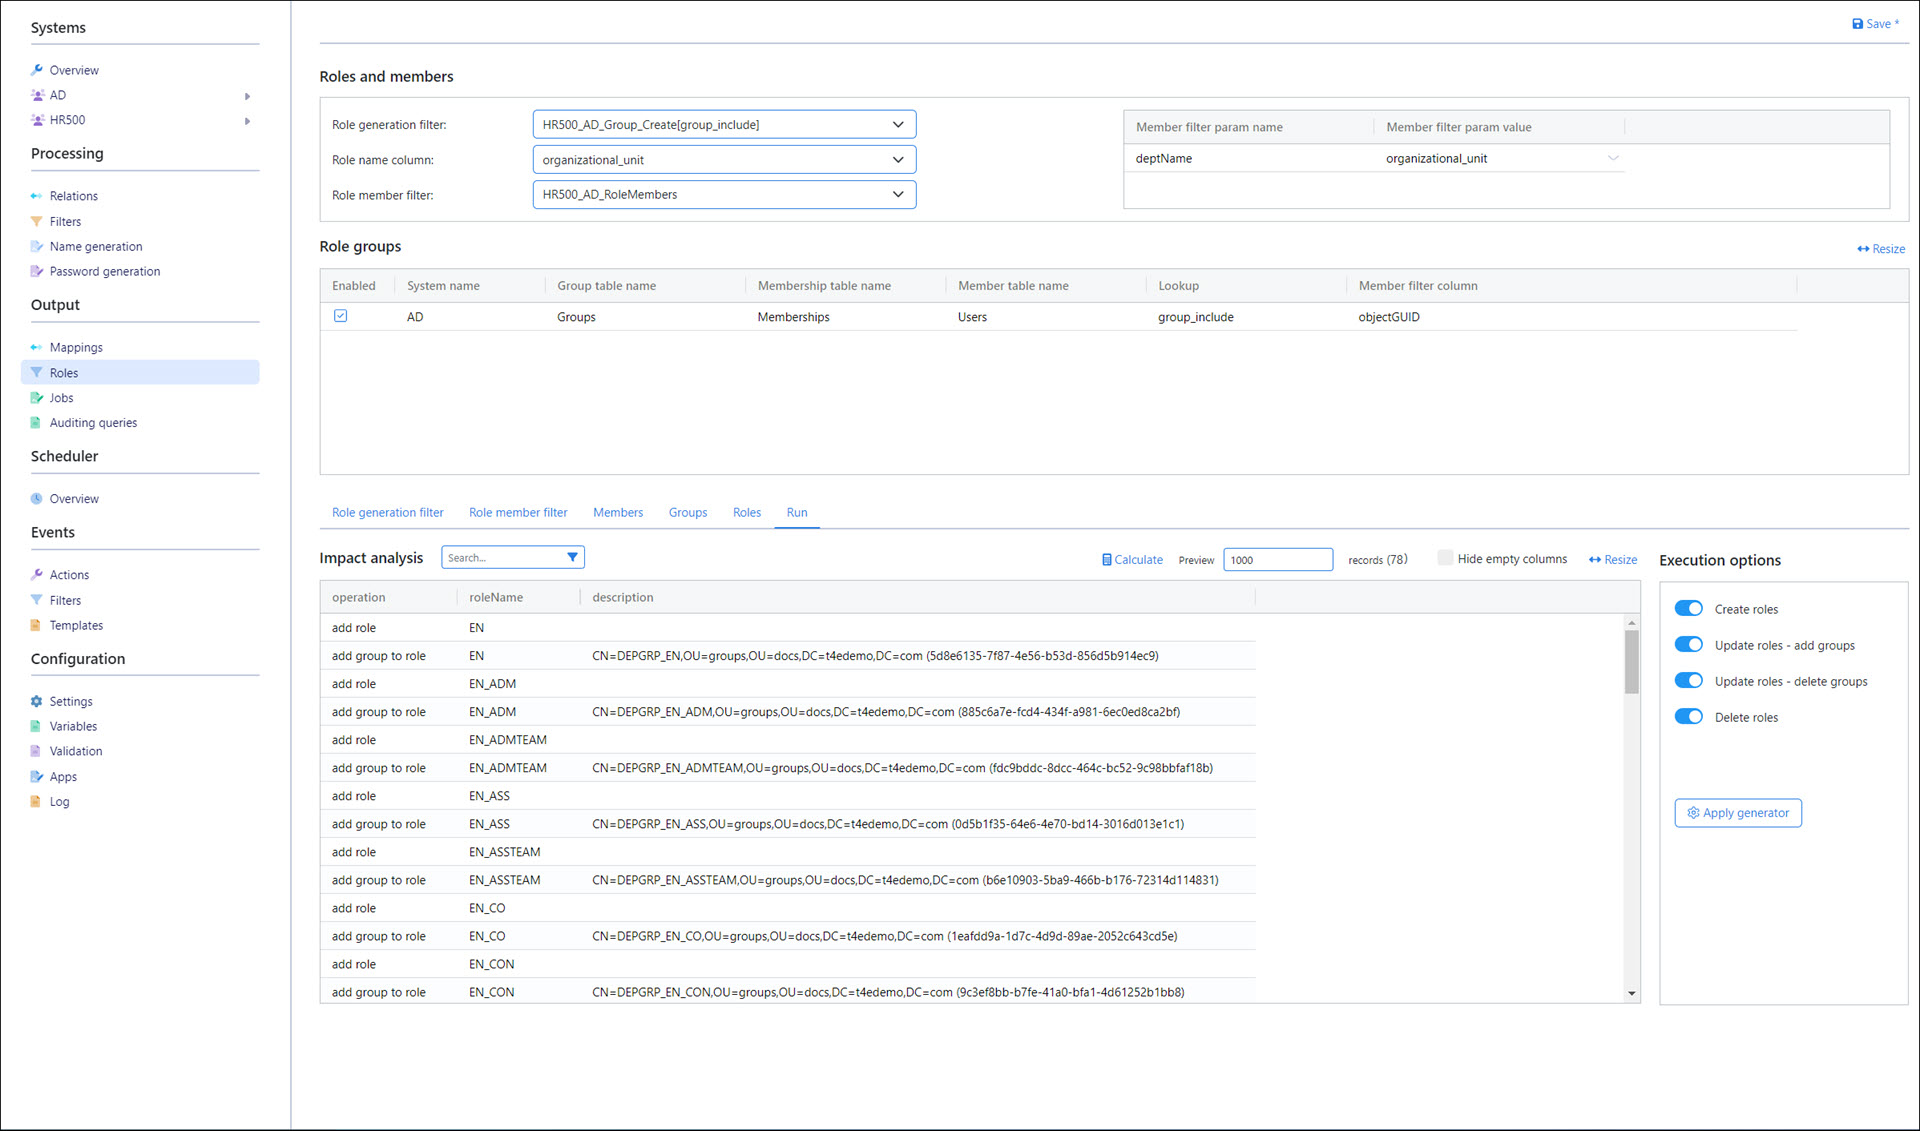
Click Apply Generator to execute the role generator.
The development role model is populated with the generated roles and groups.
Verify the role generator's output
To verify the roles we generated and their members, go to Output > Roles and click
Edit Role Model for the development role model. All generated roles are displayed.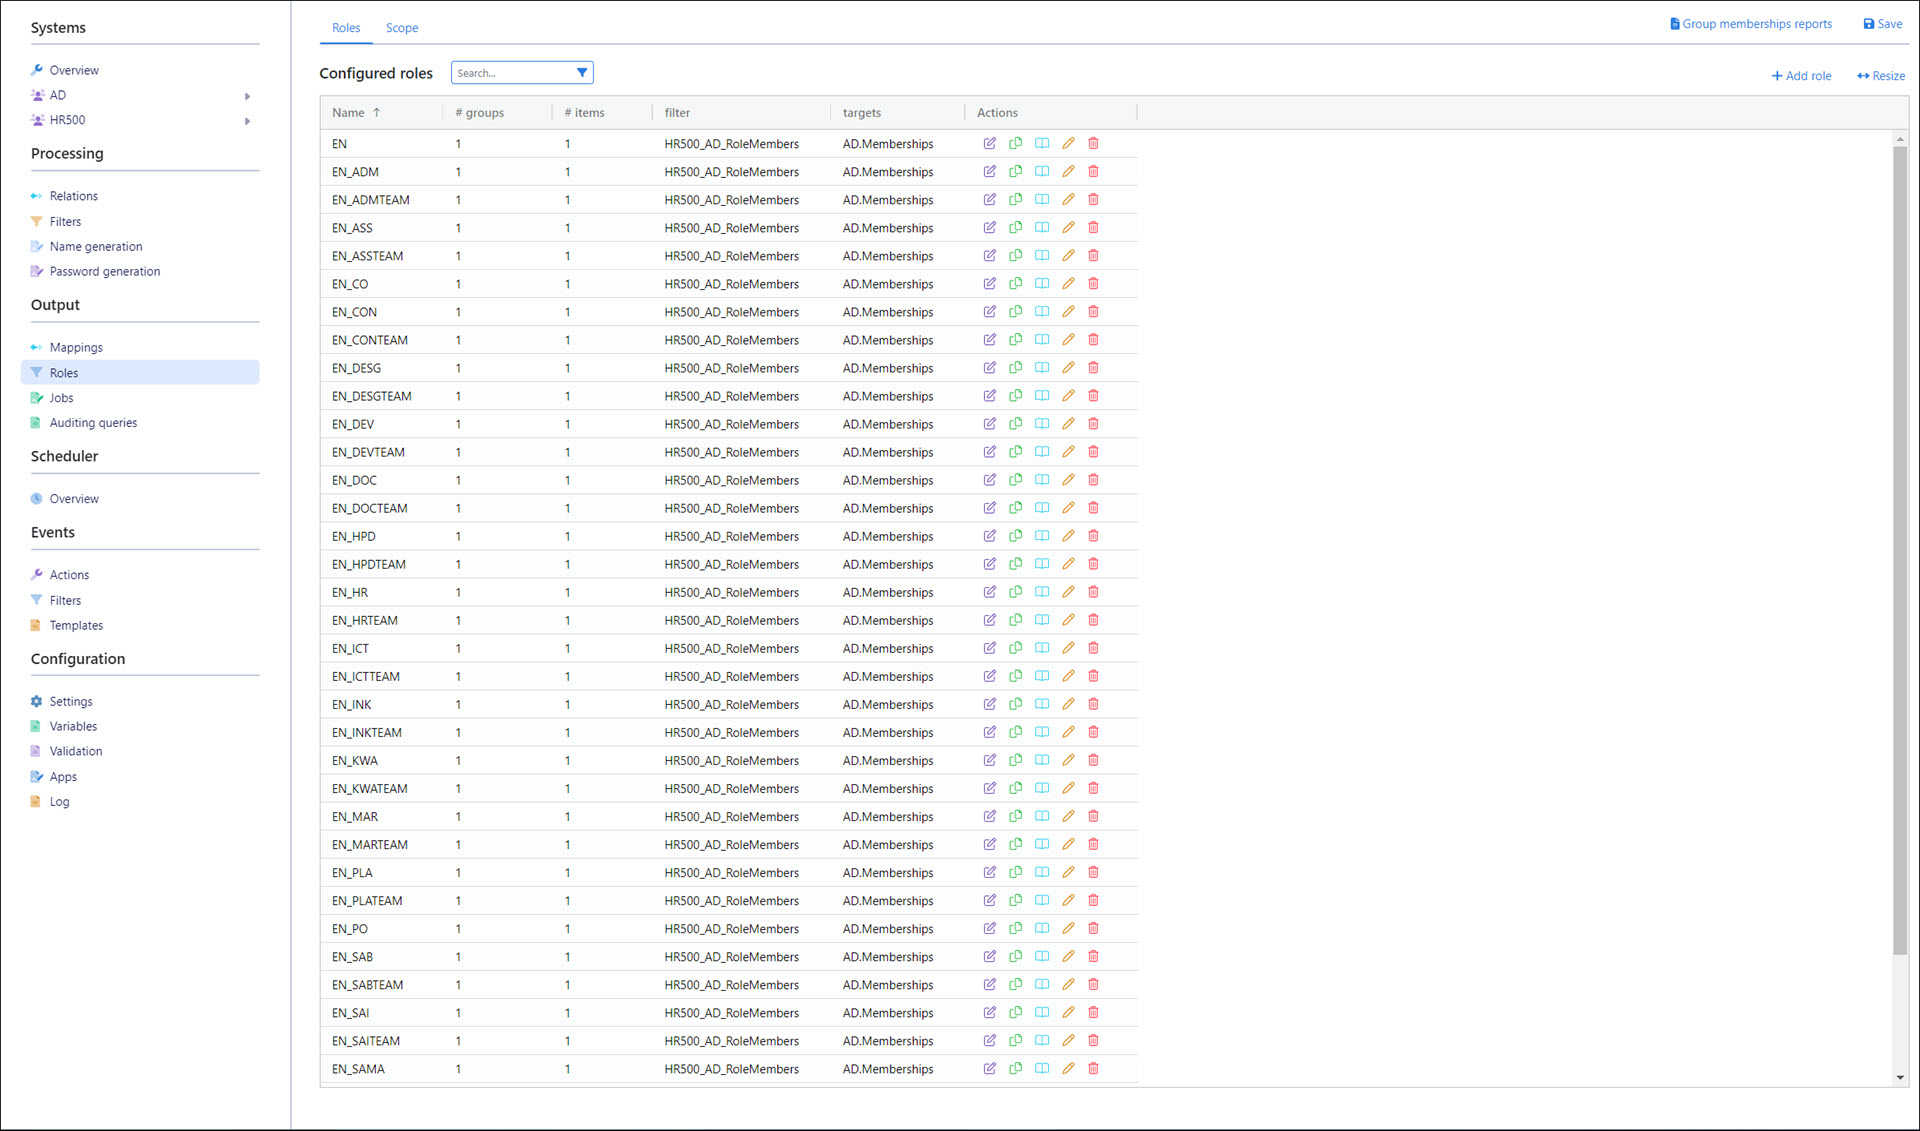
Click Group Membership Reports.
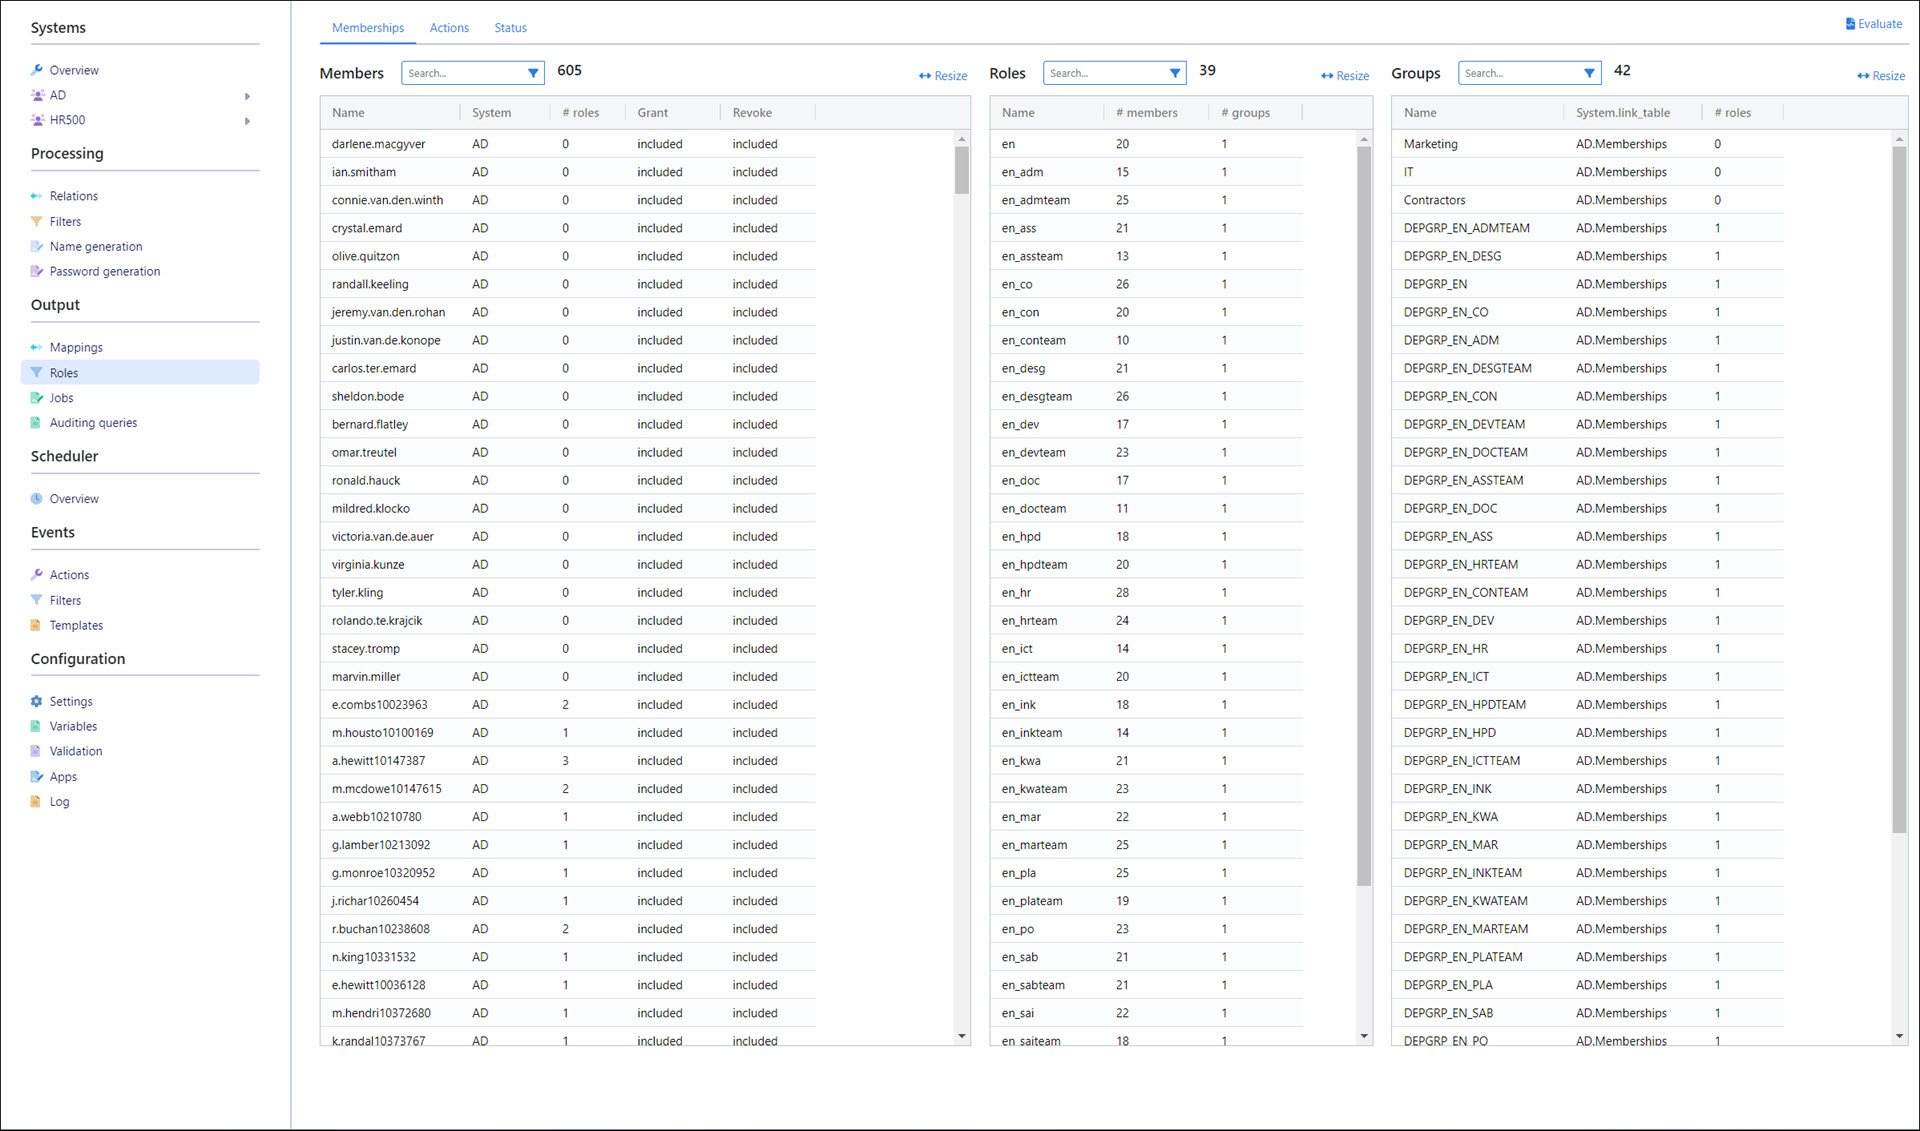
Click Evaluate to ensure the report is up to date.
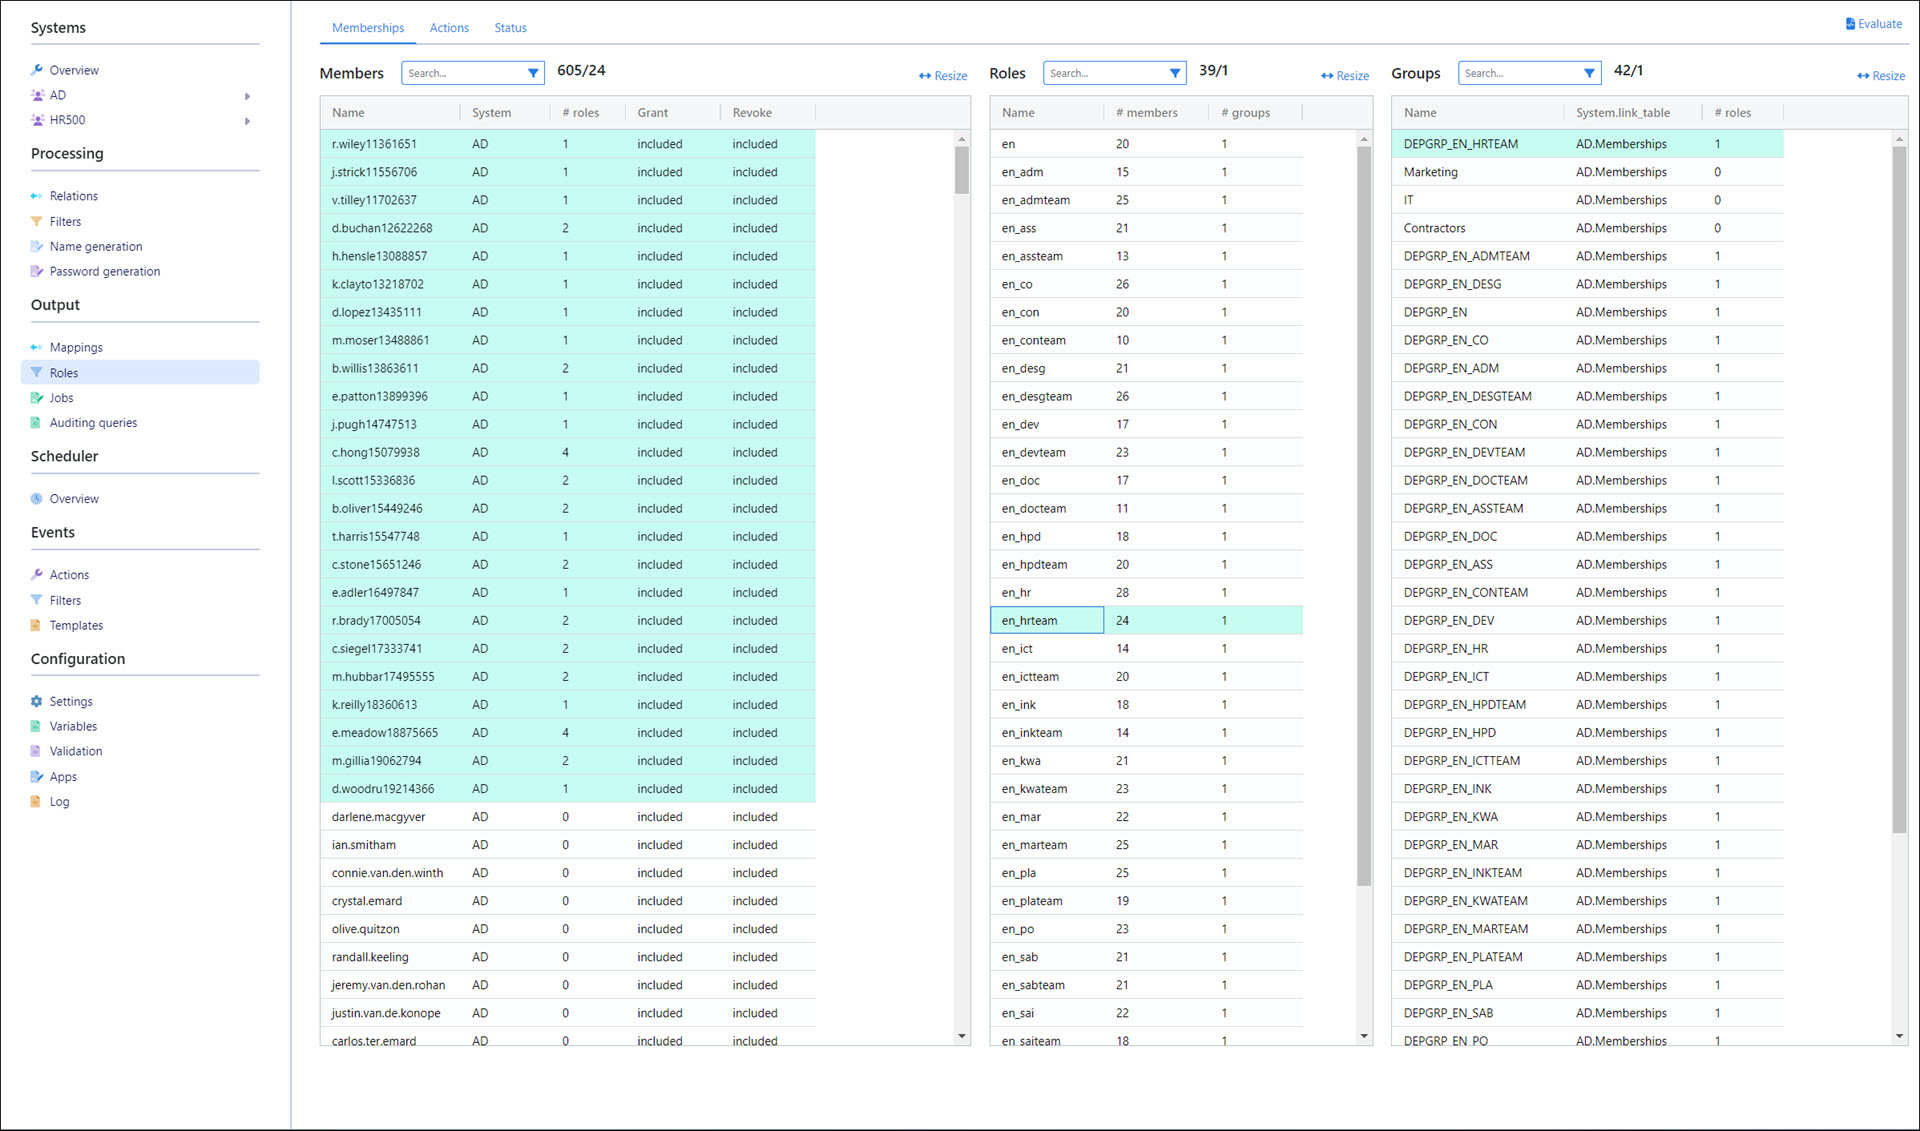
Click a member, role, or group to see the other objects it's associated with. Click a role to see its groups and members. Click a group to see its roles and members. Or click a member to see its roles and groups.
For example, here we are viewing the members and groups of the EN_HRTEAM role.
Activate the development role model
To stage our roles for production, we need to activate our development role model.
Go to Output > Roles.
For the current development role model, click
Activate Development Role Model.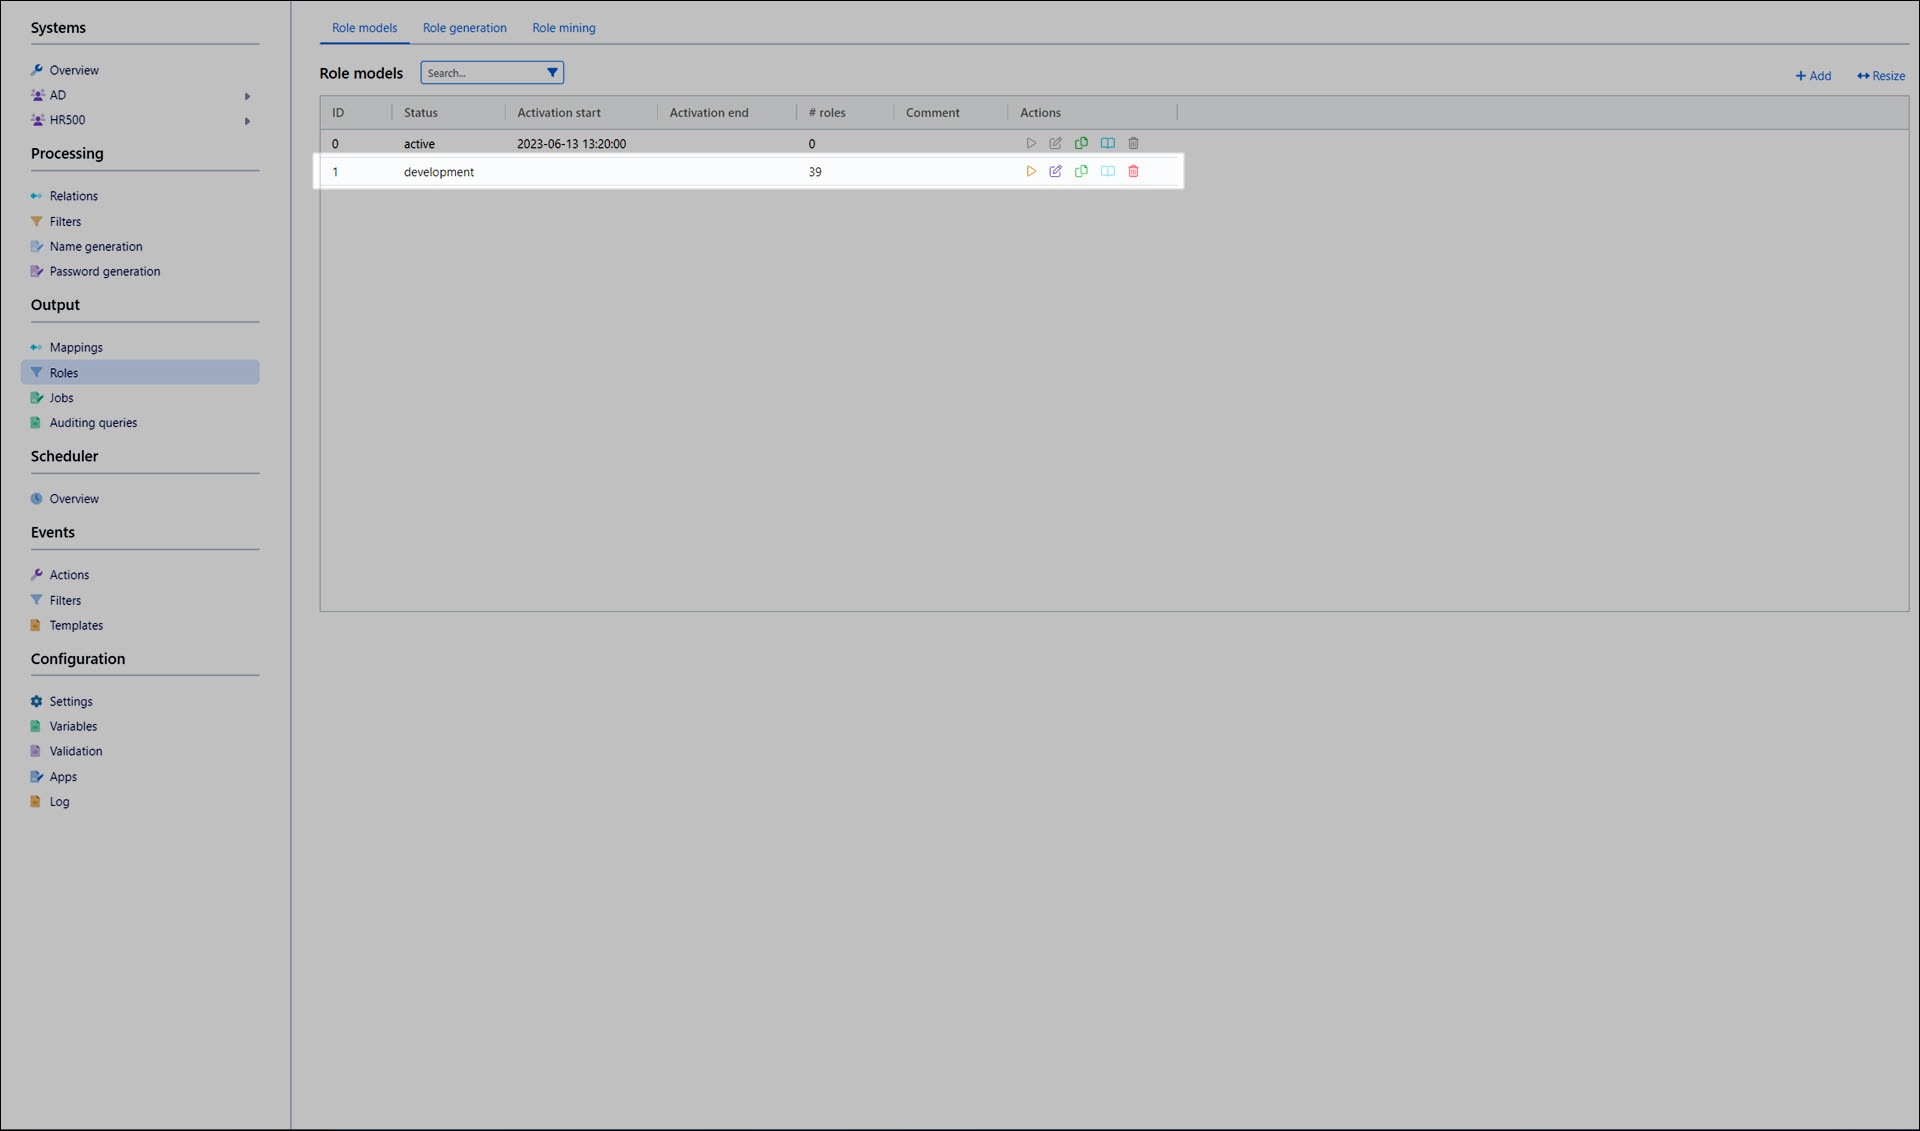
In the dialog box, click Yes to confirm.
The development role model is now the active role model.

Update the HR500_AD job
Go to Output > Jobs.
For the HR500_AD job, click
Edit Job.Go to the Configuration tab.
Click Add.
For this job item, we'll select a type of groupmembership, and for the Name, we'll select AD. We'll set the Threshold to
10000.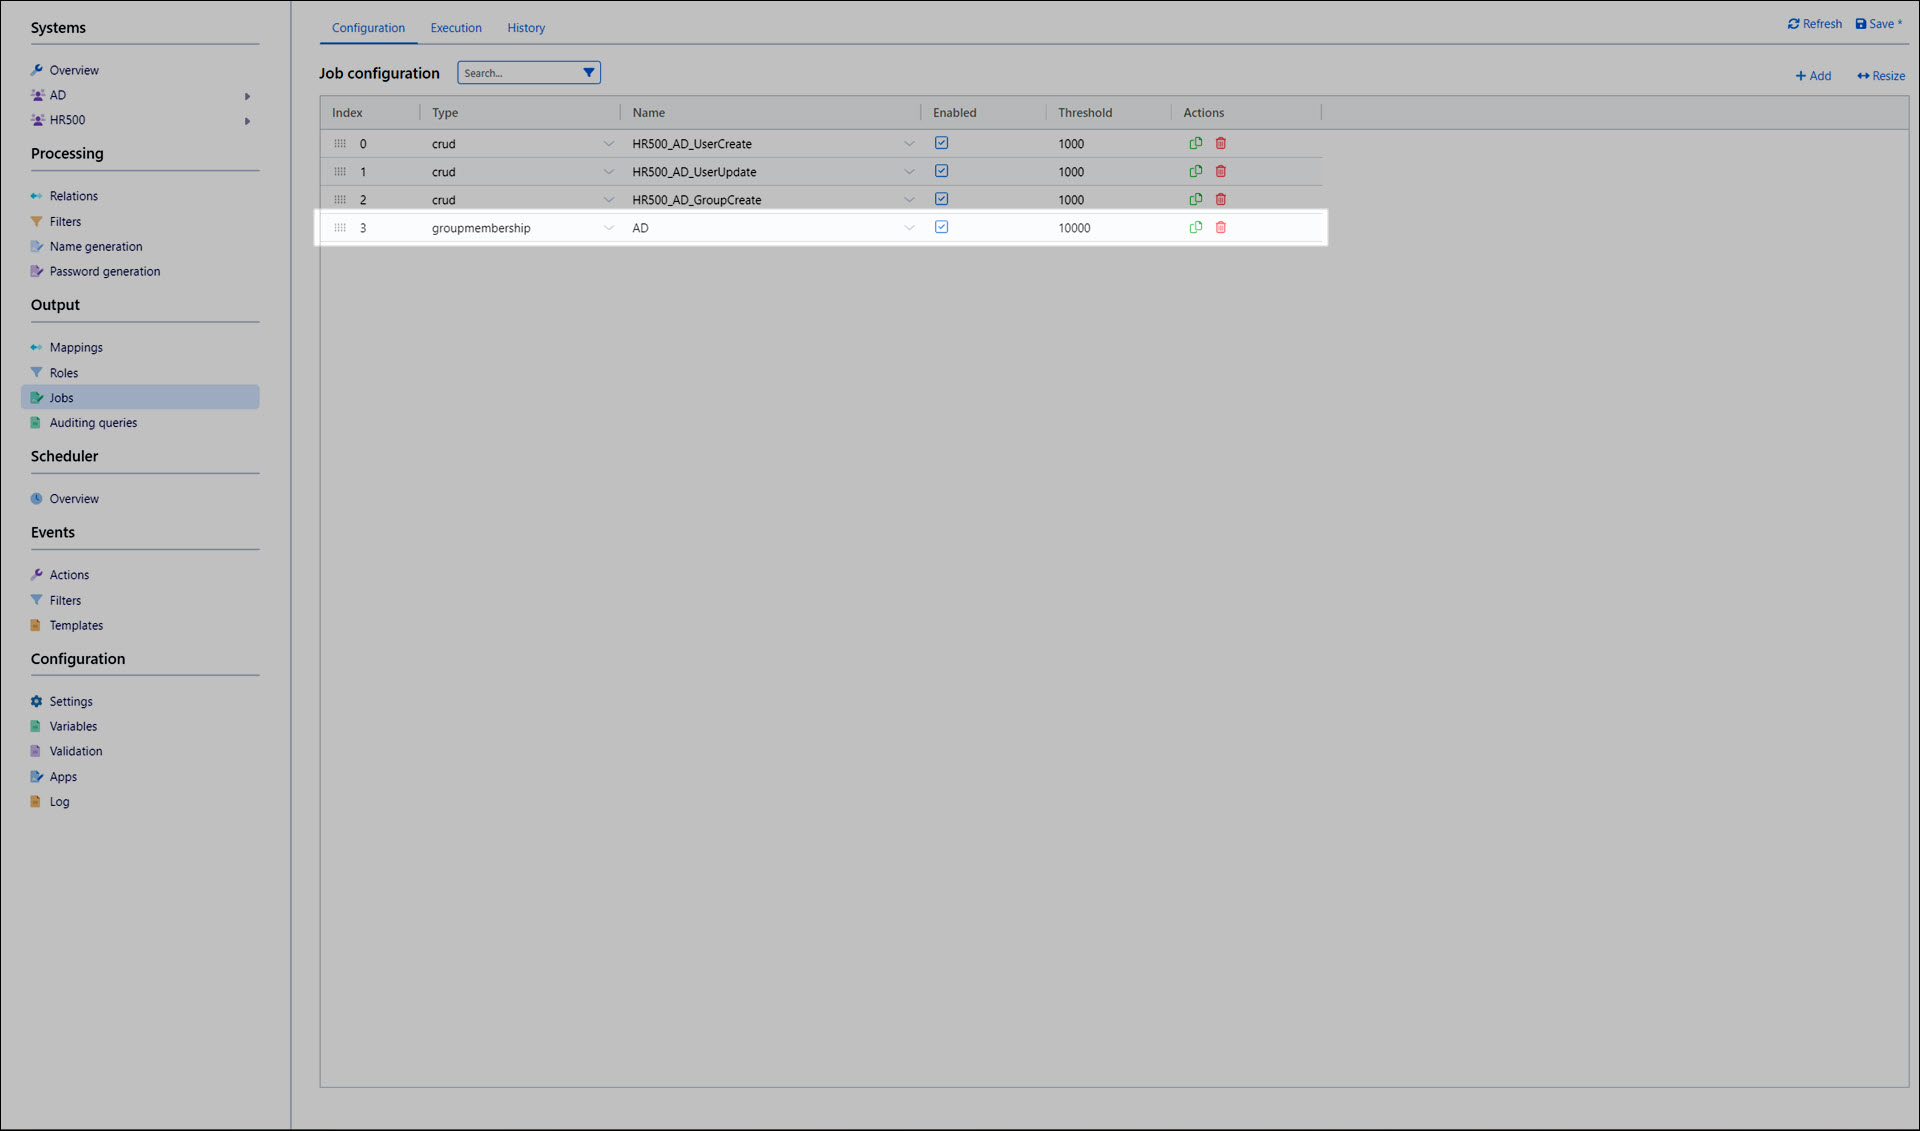
Click Save.
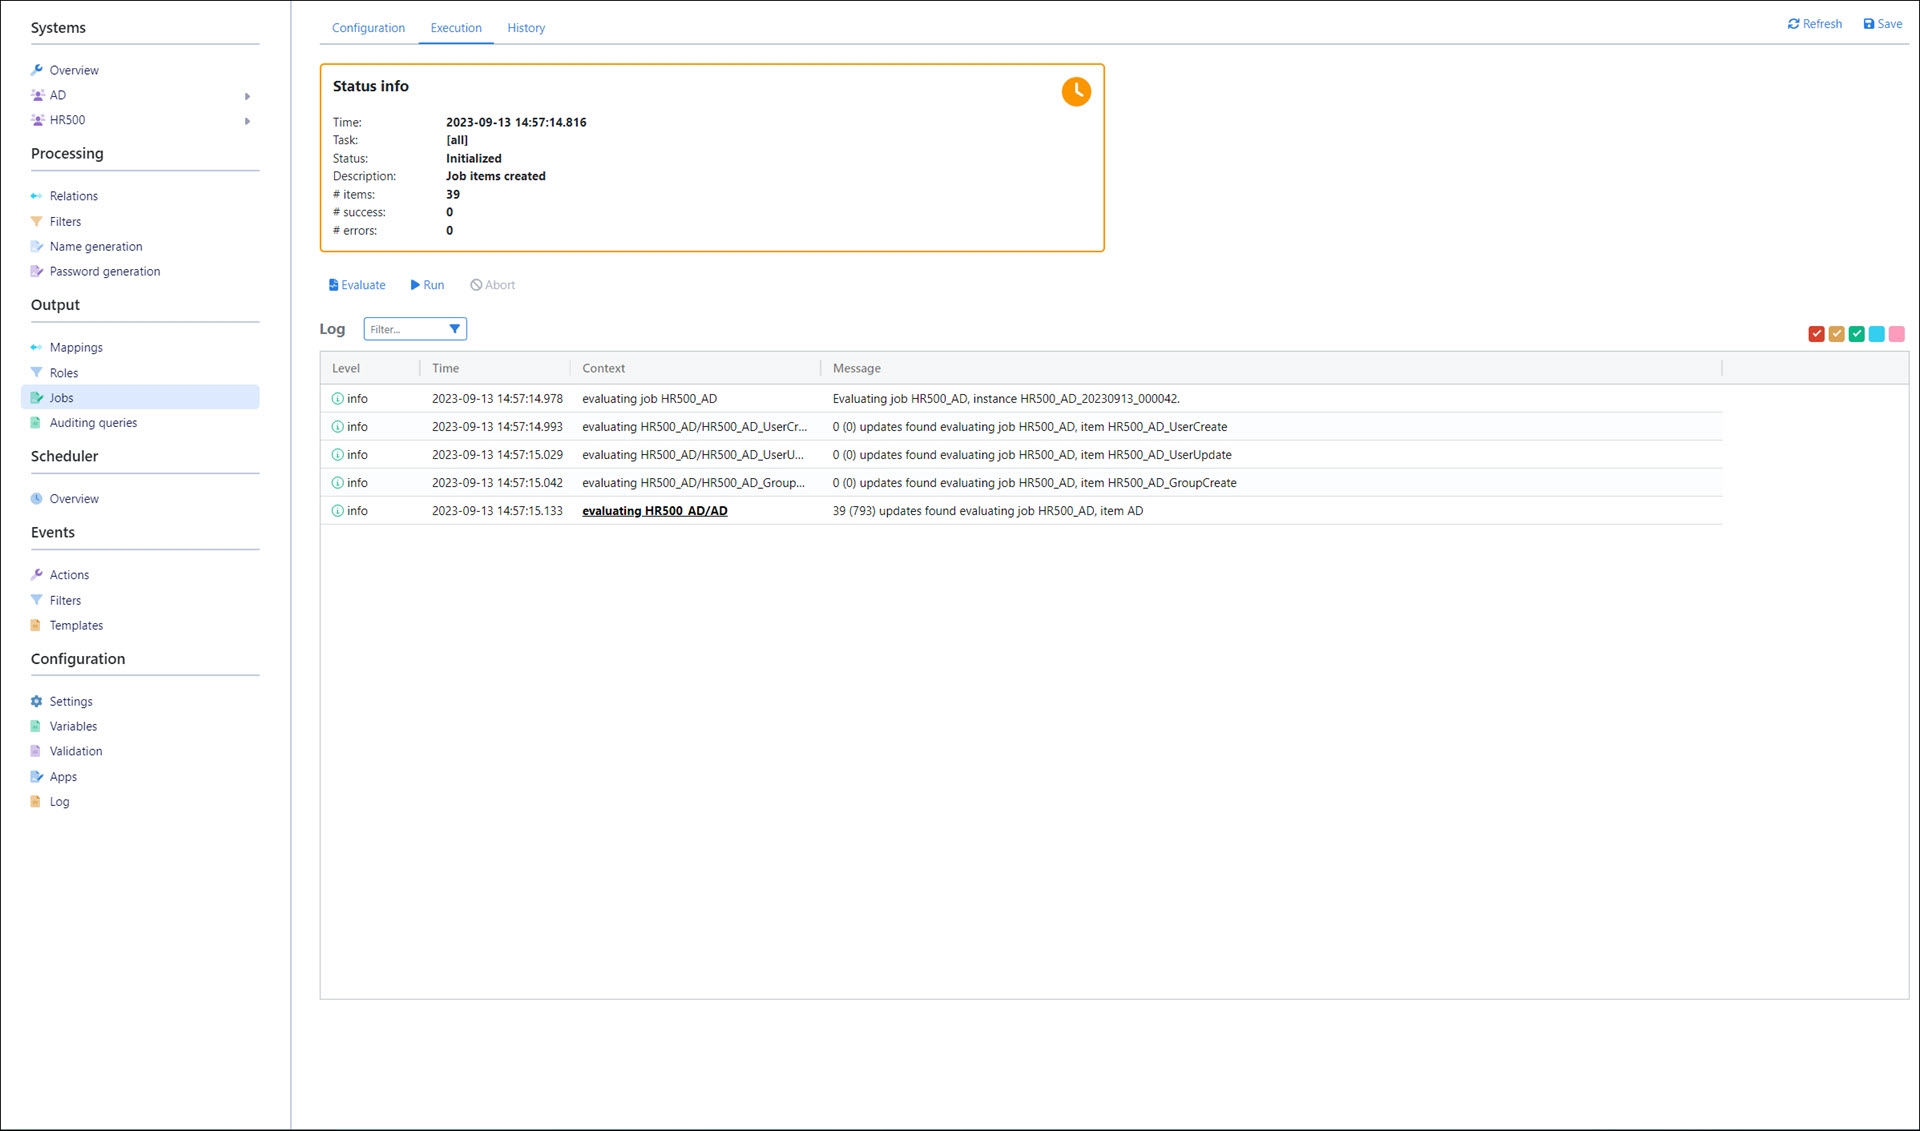
Go to the Execution tab.
Click Evaluate.
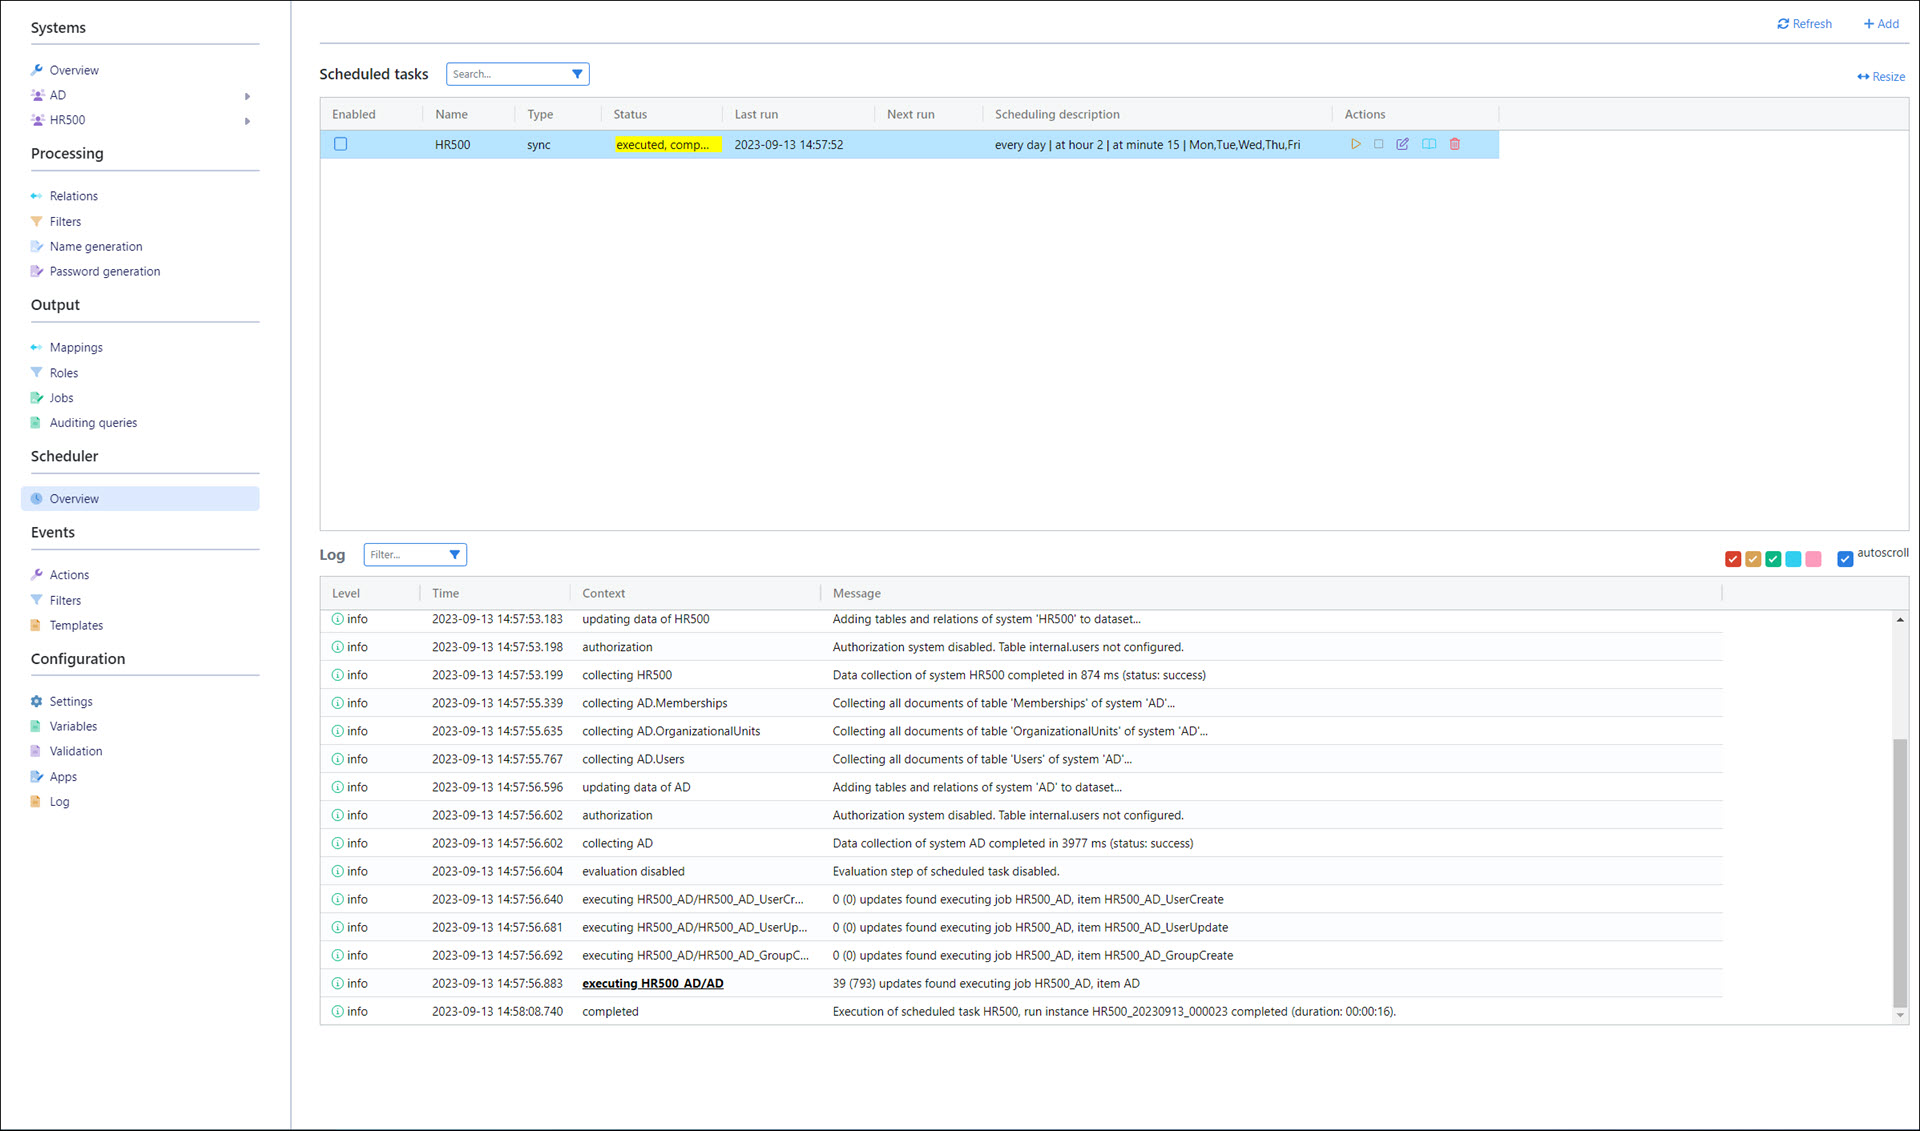
39 group updates, with 793 total membership alterations will be performed when this job is executed.
Run the job from the schedule
Go back to Scheduler > Overview.
Click
Manual Run for the HR500 schedule.Ideally, the schedule executes successfully, and all group memberships specified in the role model are assigned in AD.