Lookup Tables
Lookup Tables are a common tool used in NIM to be able to store data or custom tables that otherwise are not found in your database. These tables can be used in relations and filters through the NIM internal system. There are a couple ways that lookup tables can be created in NIM
Creating a New Table
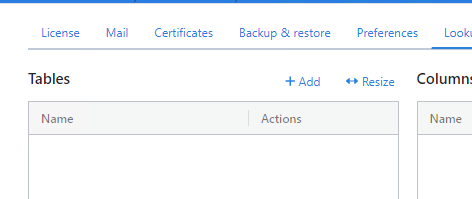
Go To Configuration > Settings > Lookup Tables
Look for the section titled Tables. Click Add
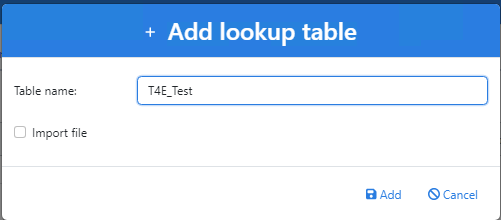
Provide a name for the table. Click Add
Use a Previous CSV File
Follow steps 1 & 2 from Creating a New Table
Check Import File
Click ... and selected a CSV to import
Specify the delimiter for the file, default is comma
If the first row of the file contains column name (header row) then check First line contains column names
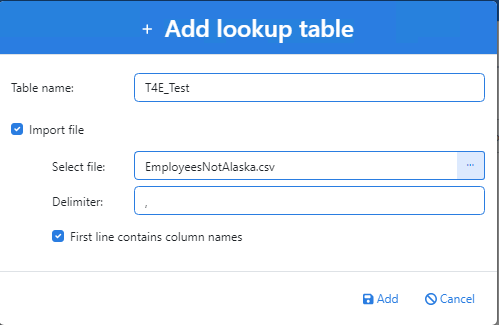
Click Add
Adding a Column
One the table has been imported or created, columns can be added to the new or existing table.
Click on the desired table under Tables section

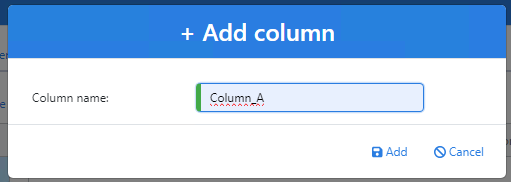
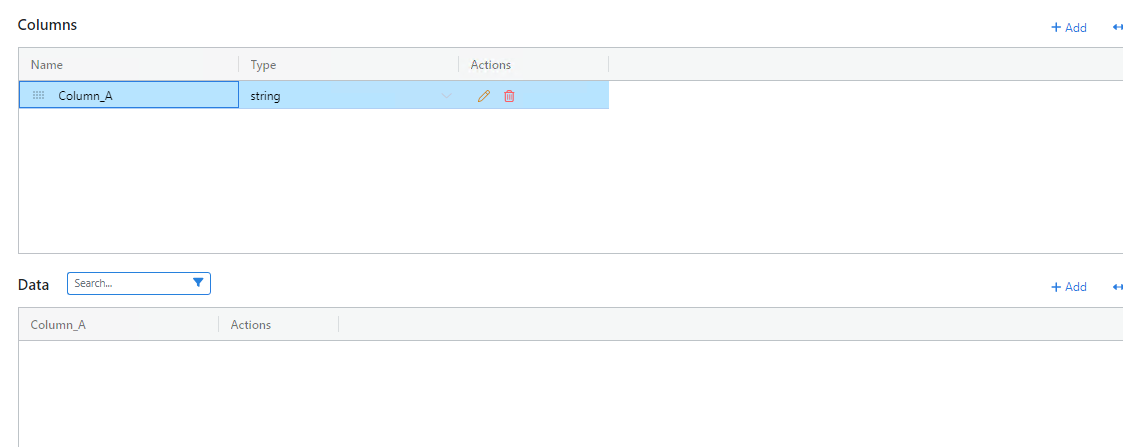
Click Add under the Columns section
Give your column a name and then click Add
At this point, the type of the column can be changed by clicking on the dropdown. By clicking the yellow pencil button, the column can also be renamed. The last section is the Data section which will display the data in the table. Once the table is created with at least one attribute, custom data can be added for the table
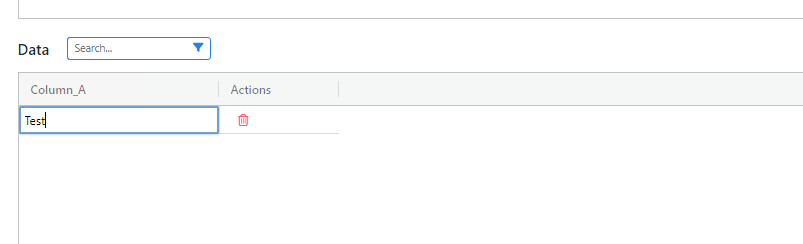
Adding a Row of Data
Click on Add under the Data section (An empty row will appear in the Data section)
Add the data wanted under the desired column
Adding a Lookup Table to the Internal System
Go to Systems > Internal > Configuration
Under Available tables, check the box for the lookup table that is needing to be added
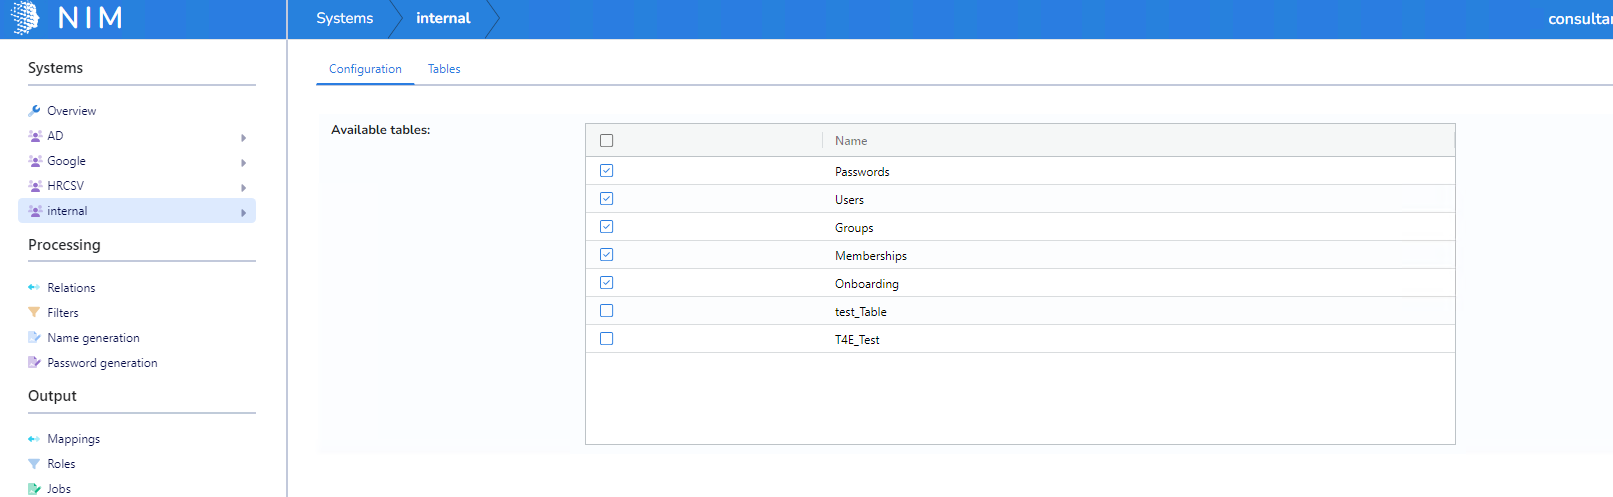
Once the boxes are checked and saved, these tables can be used in filters