Create, edit, or remove a mapping
For more information, see Mappings.
Create a mapping
Go to Output > Mappings.
Click Add.
Enter the following values:
- System
The system that the mapping will target.
- Target
The specific table in the system that the mapping will target. For example,
Users.- Function
The type of data that the mapping will write into the system. For example,
UserCreateorGroupCreate.The function must be appropriate for the target table. For example, targeting the
Groupstable with theUserCreatefunction will cause errors.- Name
A name for the mapping.
For example:

Click Save.
On the Mapping tab, select a Filter. The Items pane is populated with the filter's output.
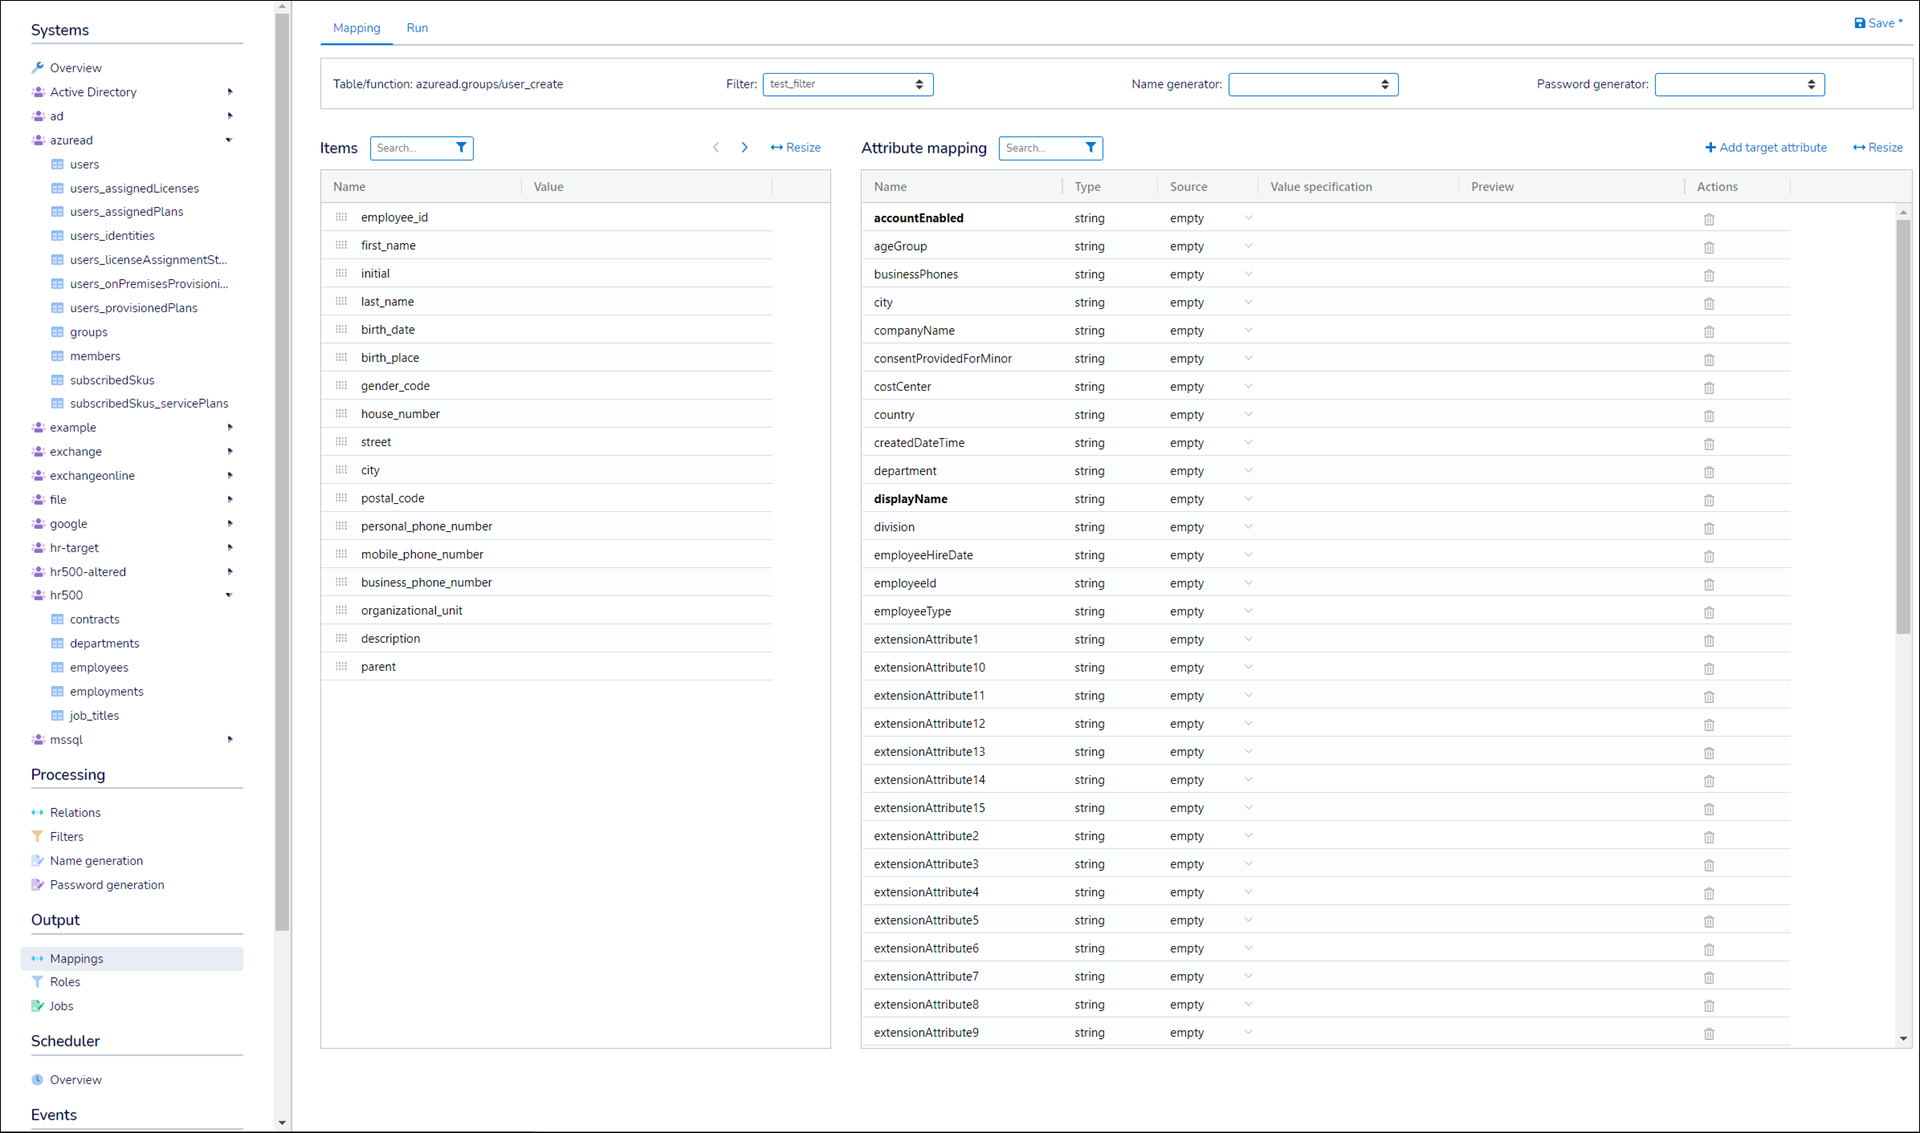
Optional: Select a Name Generator and/or Password Generator that you previously created.
Optional: Map a custom target attribute.
To map attributes, drag and drop their rows from the Items pane into Value Specification fields in the Attribute Mapping pane.
To map another mapping, see Map a sub-mapping.
Attributes with bolded names are required.
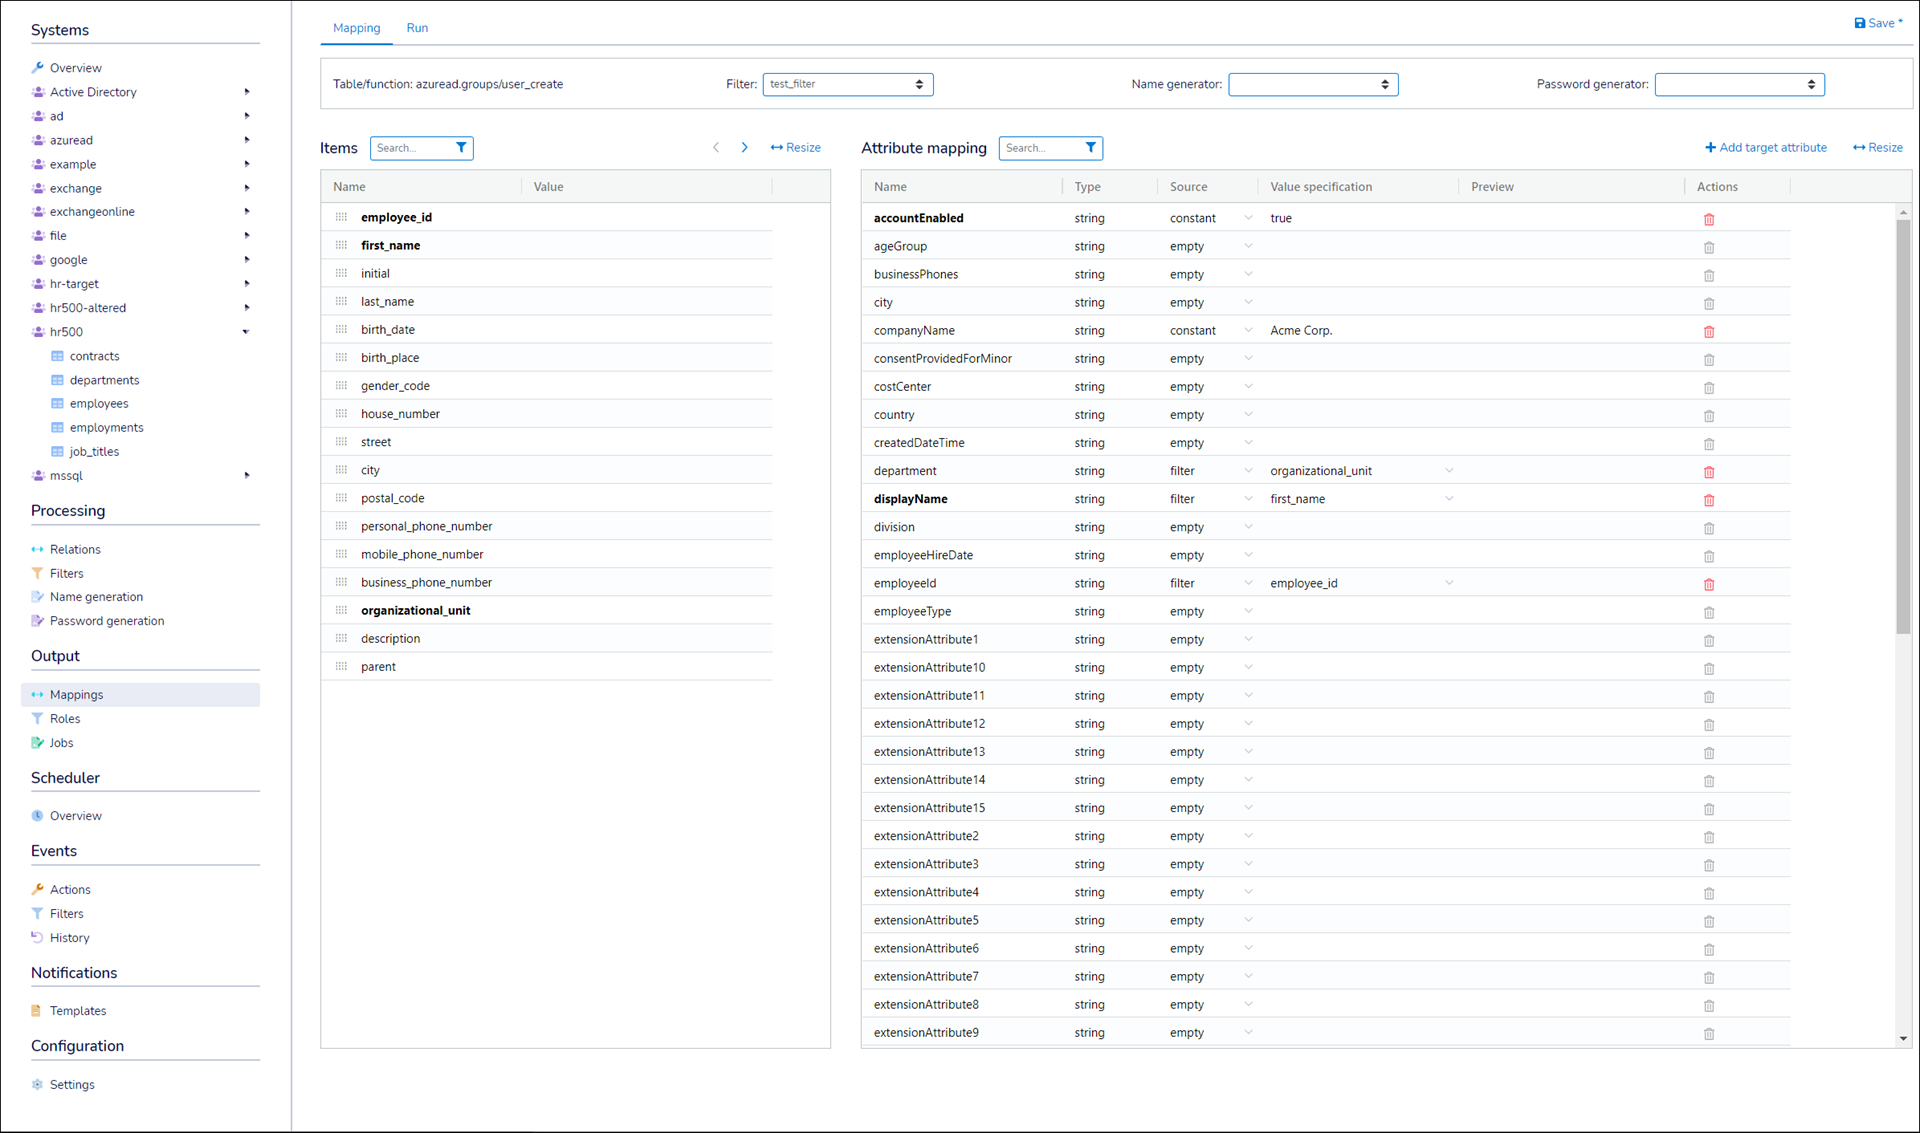
Optional: Test run a single mapping operation to verify that all attributes are mapped correctly.
Click Save.
Go to Output > Mappings.
Click
 Edit Mapping for the relevant mapping.
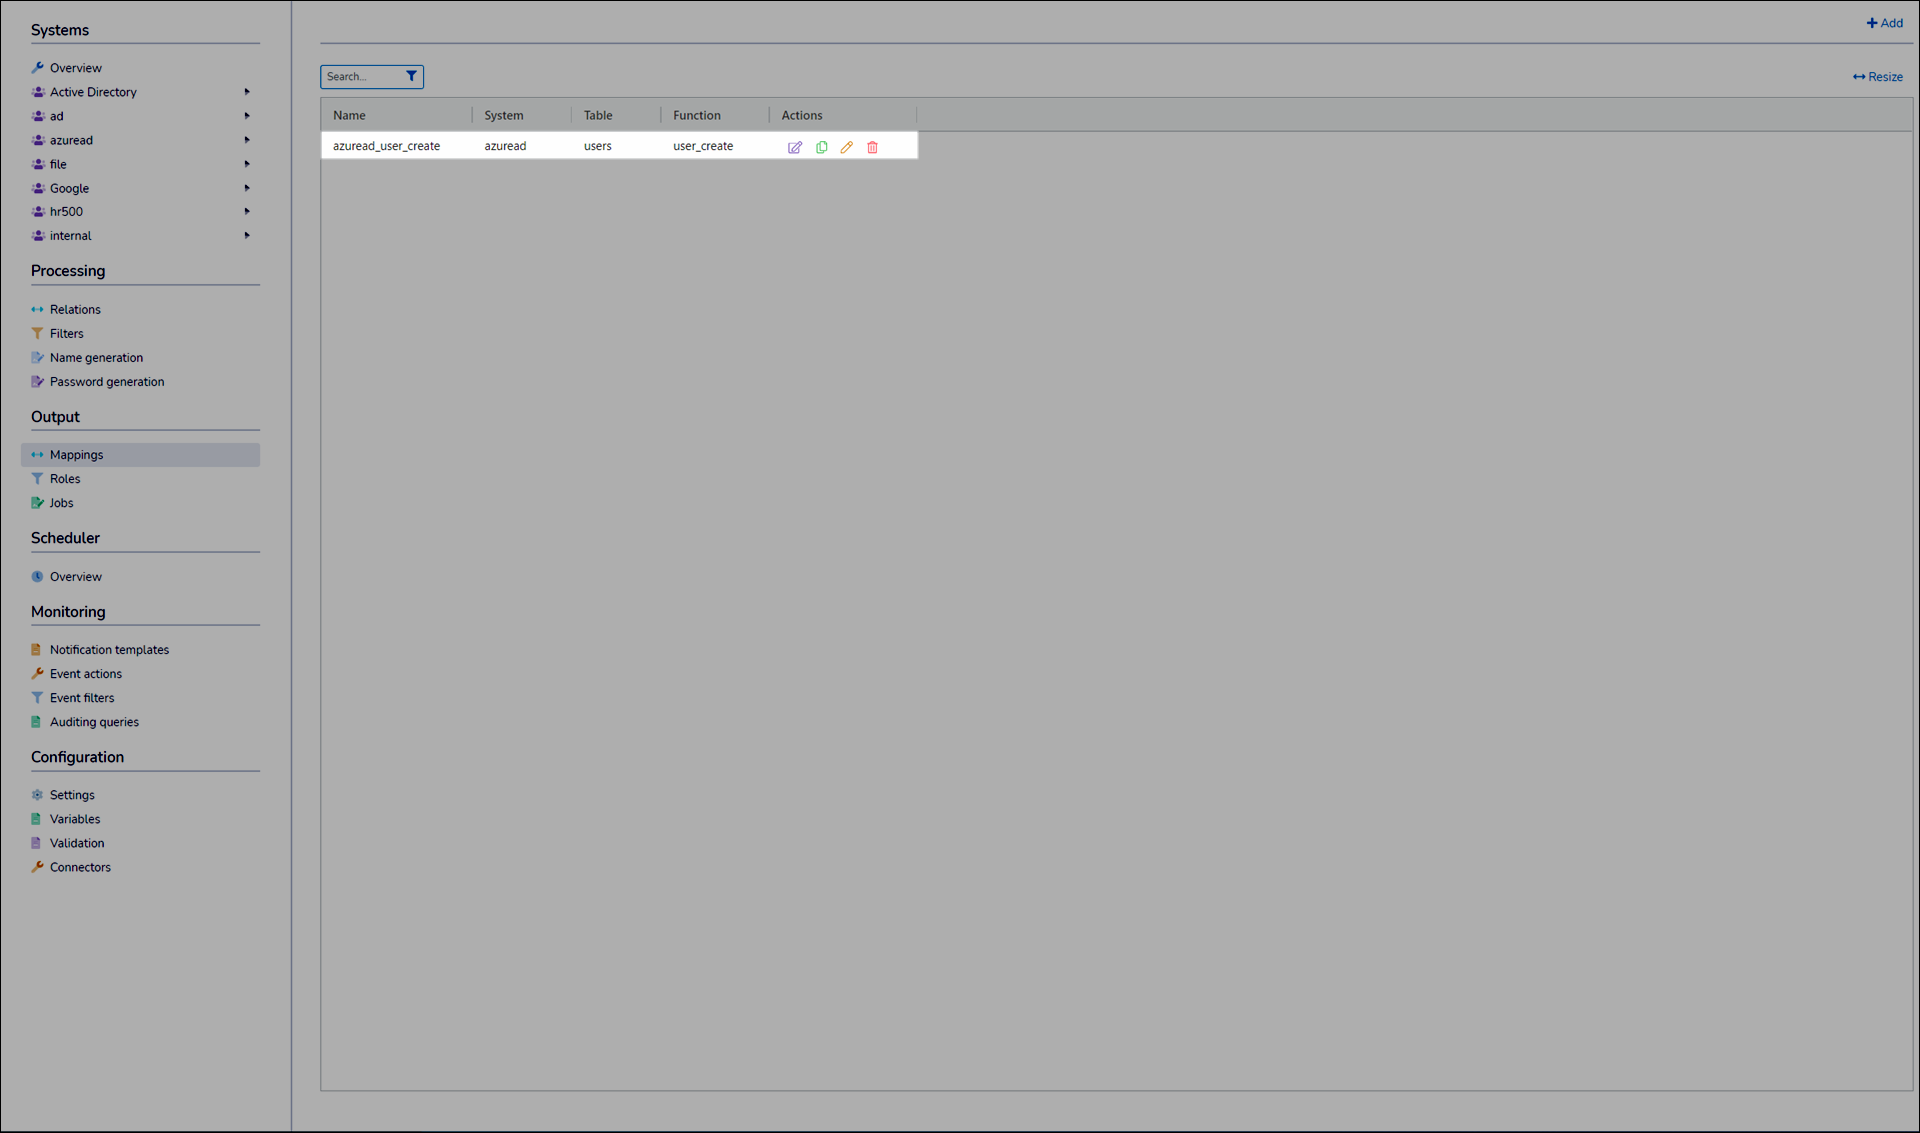
Continue by following the steps in Create a mapping.
Go to Output > Mappings.
Click
Remove Mapping for the relevant mapping.Click Yes.