Create an export task
For more information, see Export tasks.
Go to Scheduler > Overview.
Click Add.
Select
exportfor the Type.Enter a Name.

Click Save.
Select a Filter. Its output will provide the data for the export.
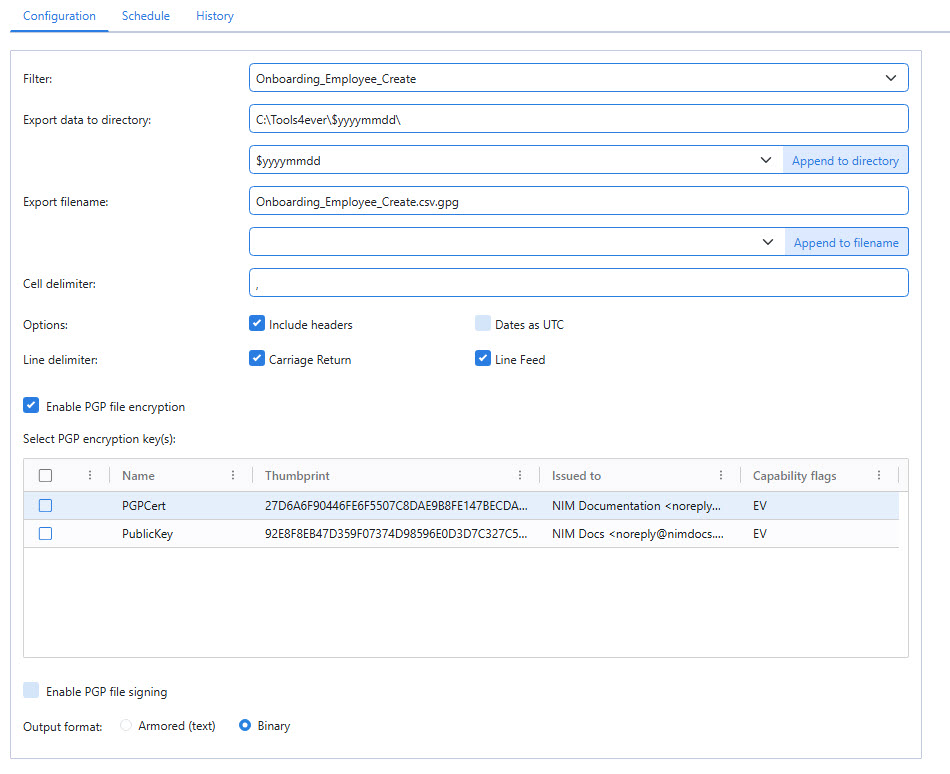
Specify a Directory in which to save the exported file.
Specify a Filename. For example,
$export_name_$yyyymmdd.csv.Tip
Use the dropdowns and Insert in Directory buttons to insert variables into these fields.
Specify a Delimiter. The recommended delimiter is
,.Set the necessary options, such as whether headers are included and dates are formatted as UTC.
Set the line delimiters are needed. By default, both carriage returns and line feeds appear at the end of the line.
Optionally, you can enable PGP file encryption and signing using a public/private key pair. As part of this, you may also choose whether the resulting file is formatted as armored (resulting in a
.ascfile extension) or binary (result in a.gpgfile extension)Click Save.
Go to the Schedule tab to set up a Scheduled run, then click Save. Or, perform a Manual run.