Step 12: Design a confirmation screen (tutorial)
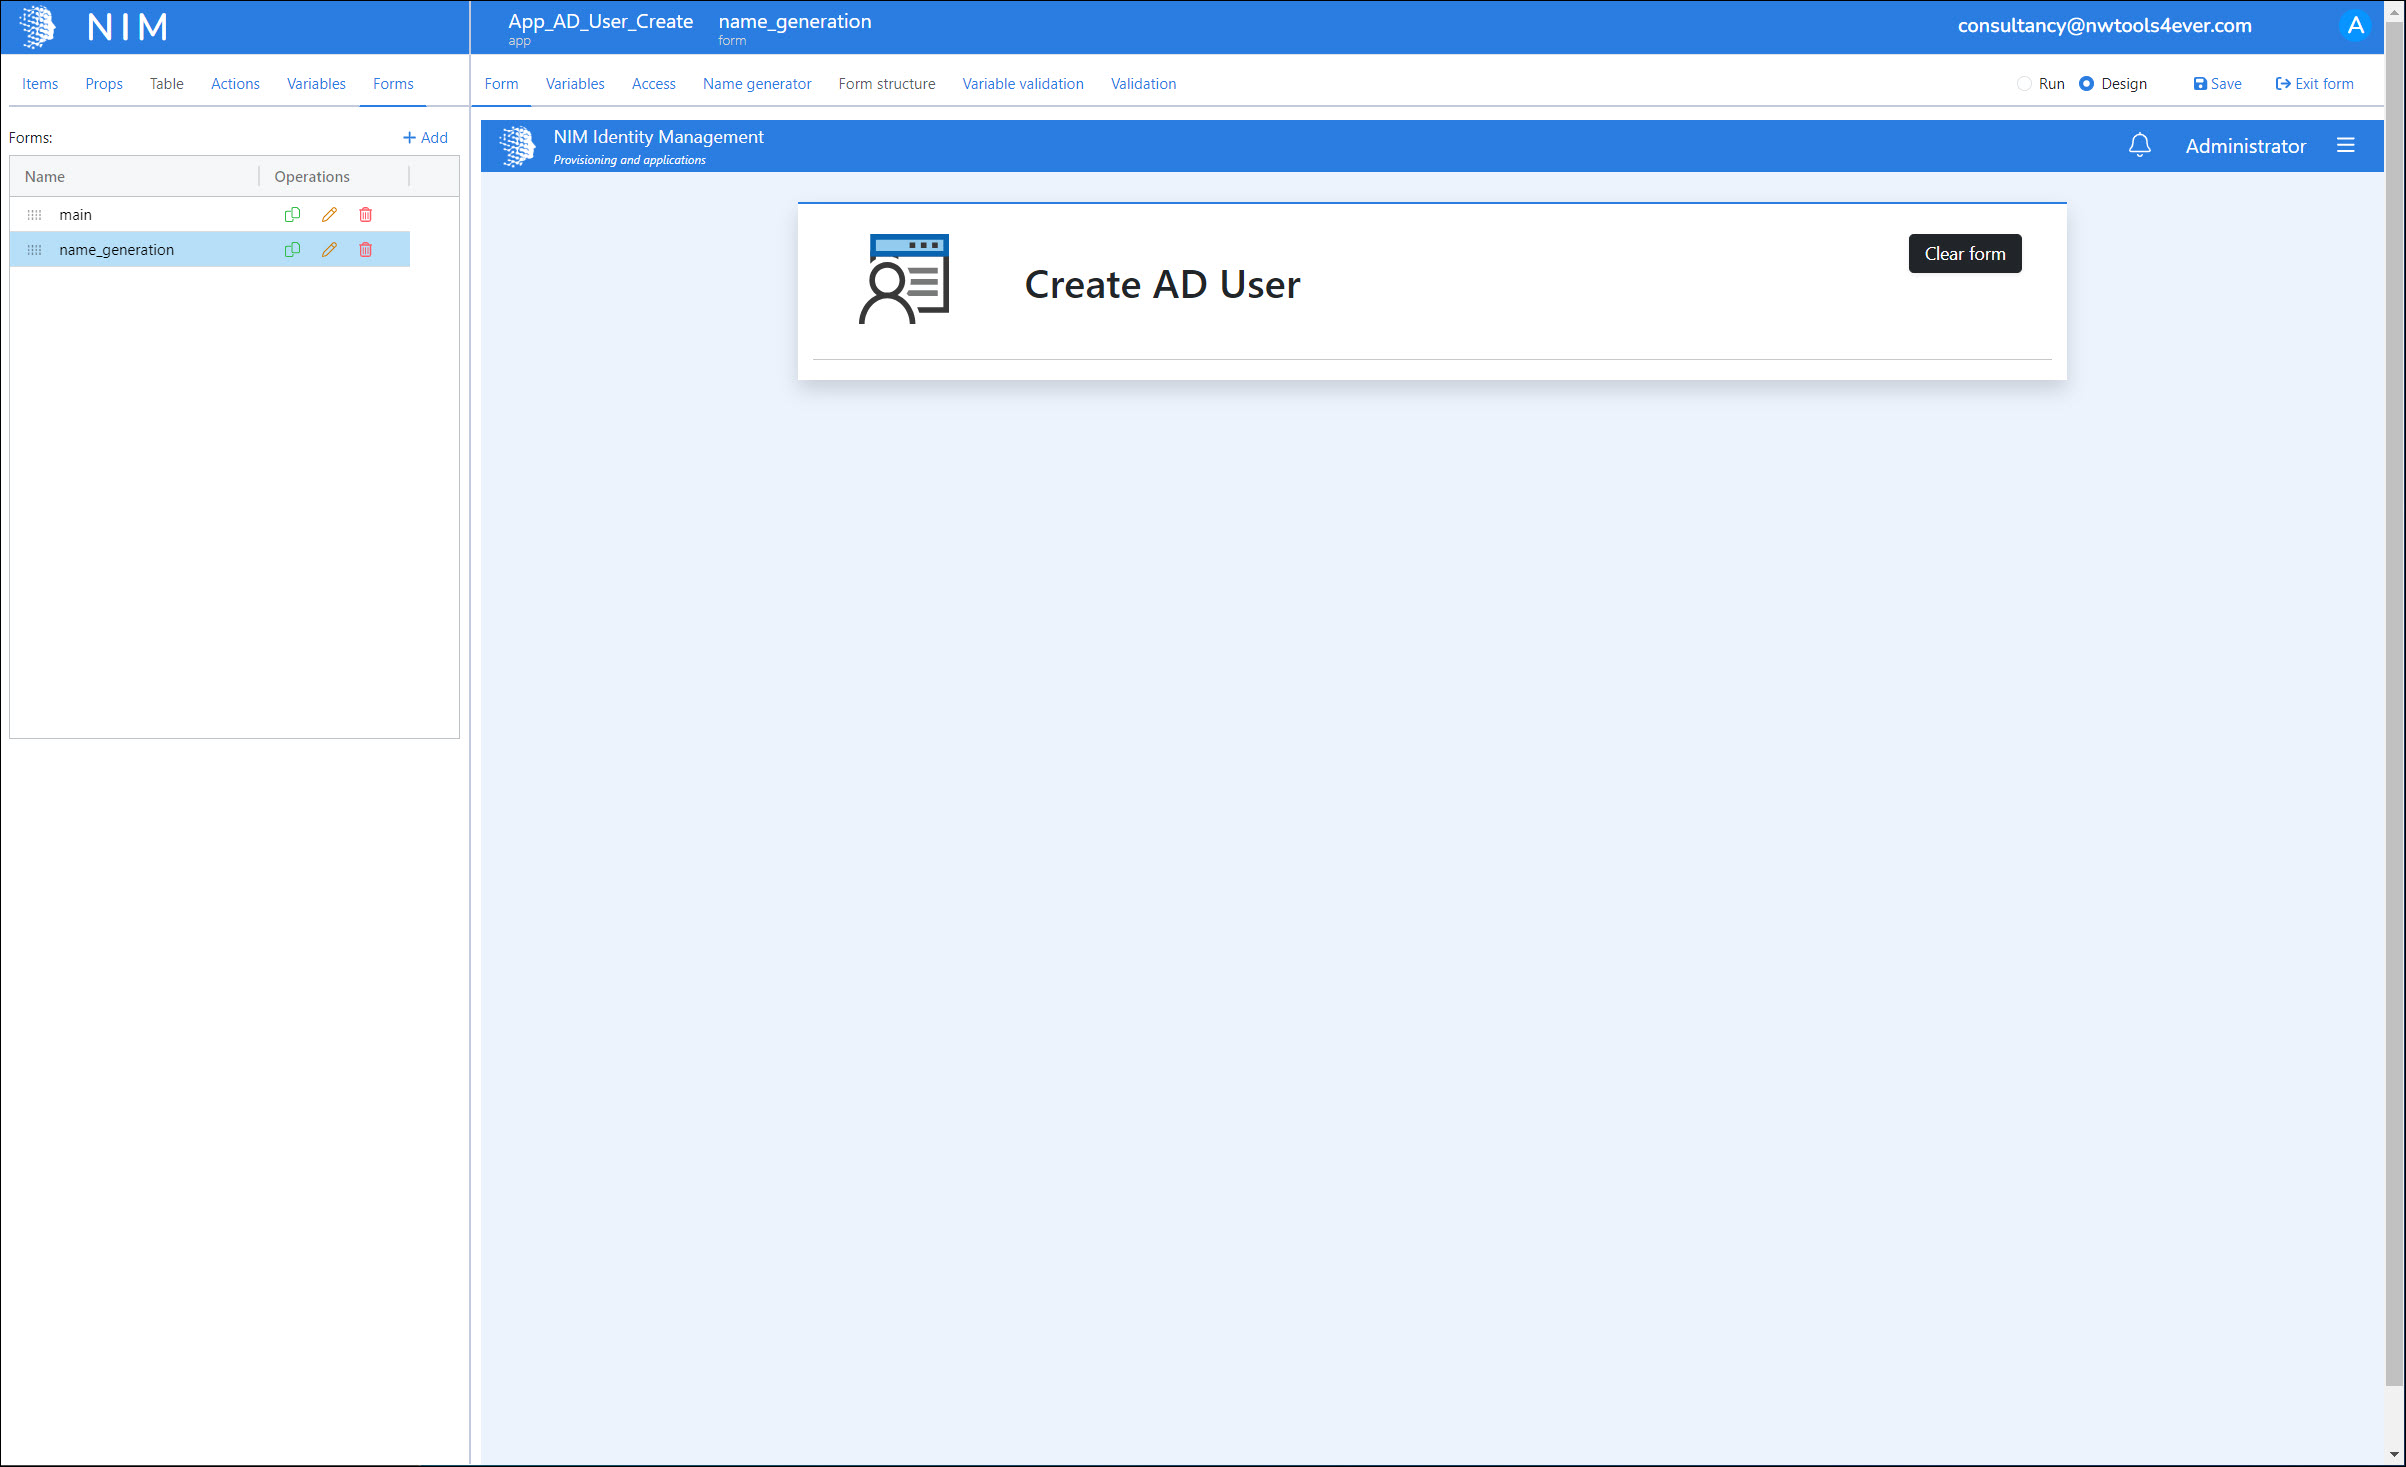
In this step, we'll work on our second form, which is essentially a confirmation screen for the user create portion of this app. This will involve an advanced item that we haven't seen yet: the Name-Value List.
Go back to the Forms tab and load the name_generation form.
Drag and drop a Static Text item beneath the separator. Set its properties as follows:

margin trbl: __2_
styles: font-weight:bold;
text: Name Generation
Drag and drop another Static Text item beneath the previous one, and set its properties as follows:
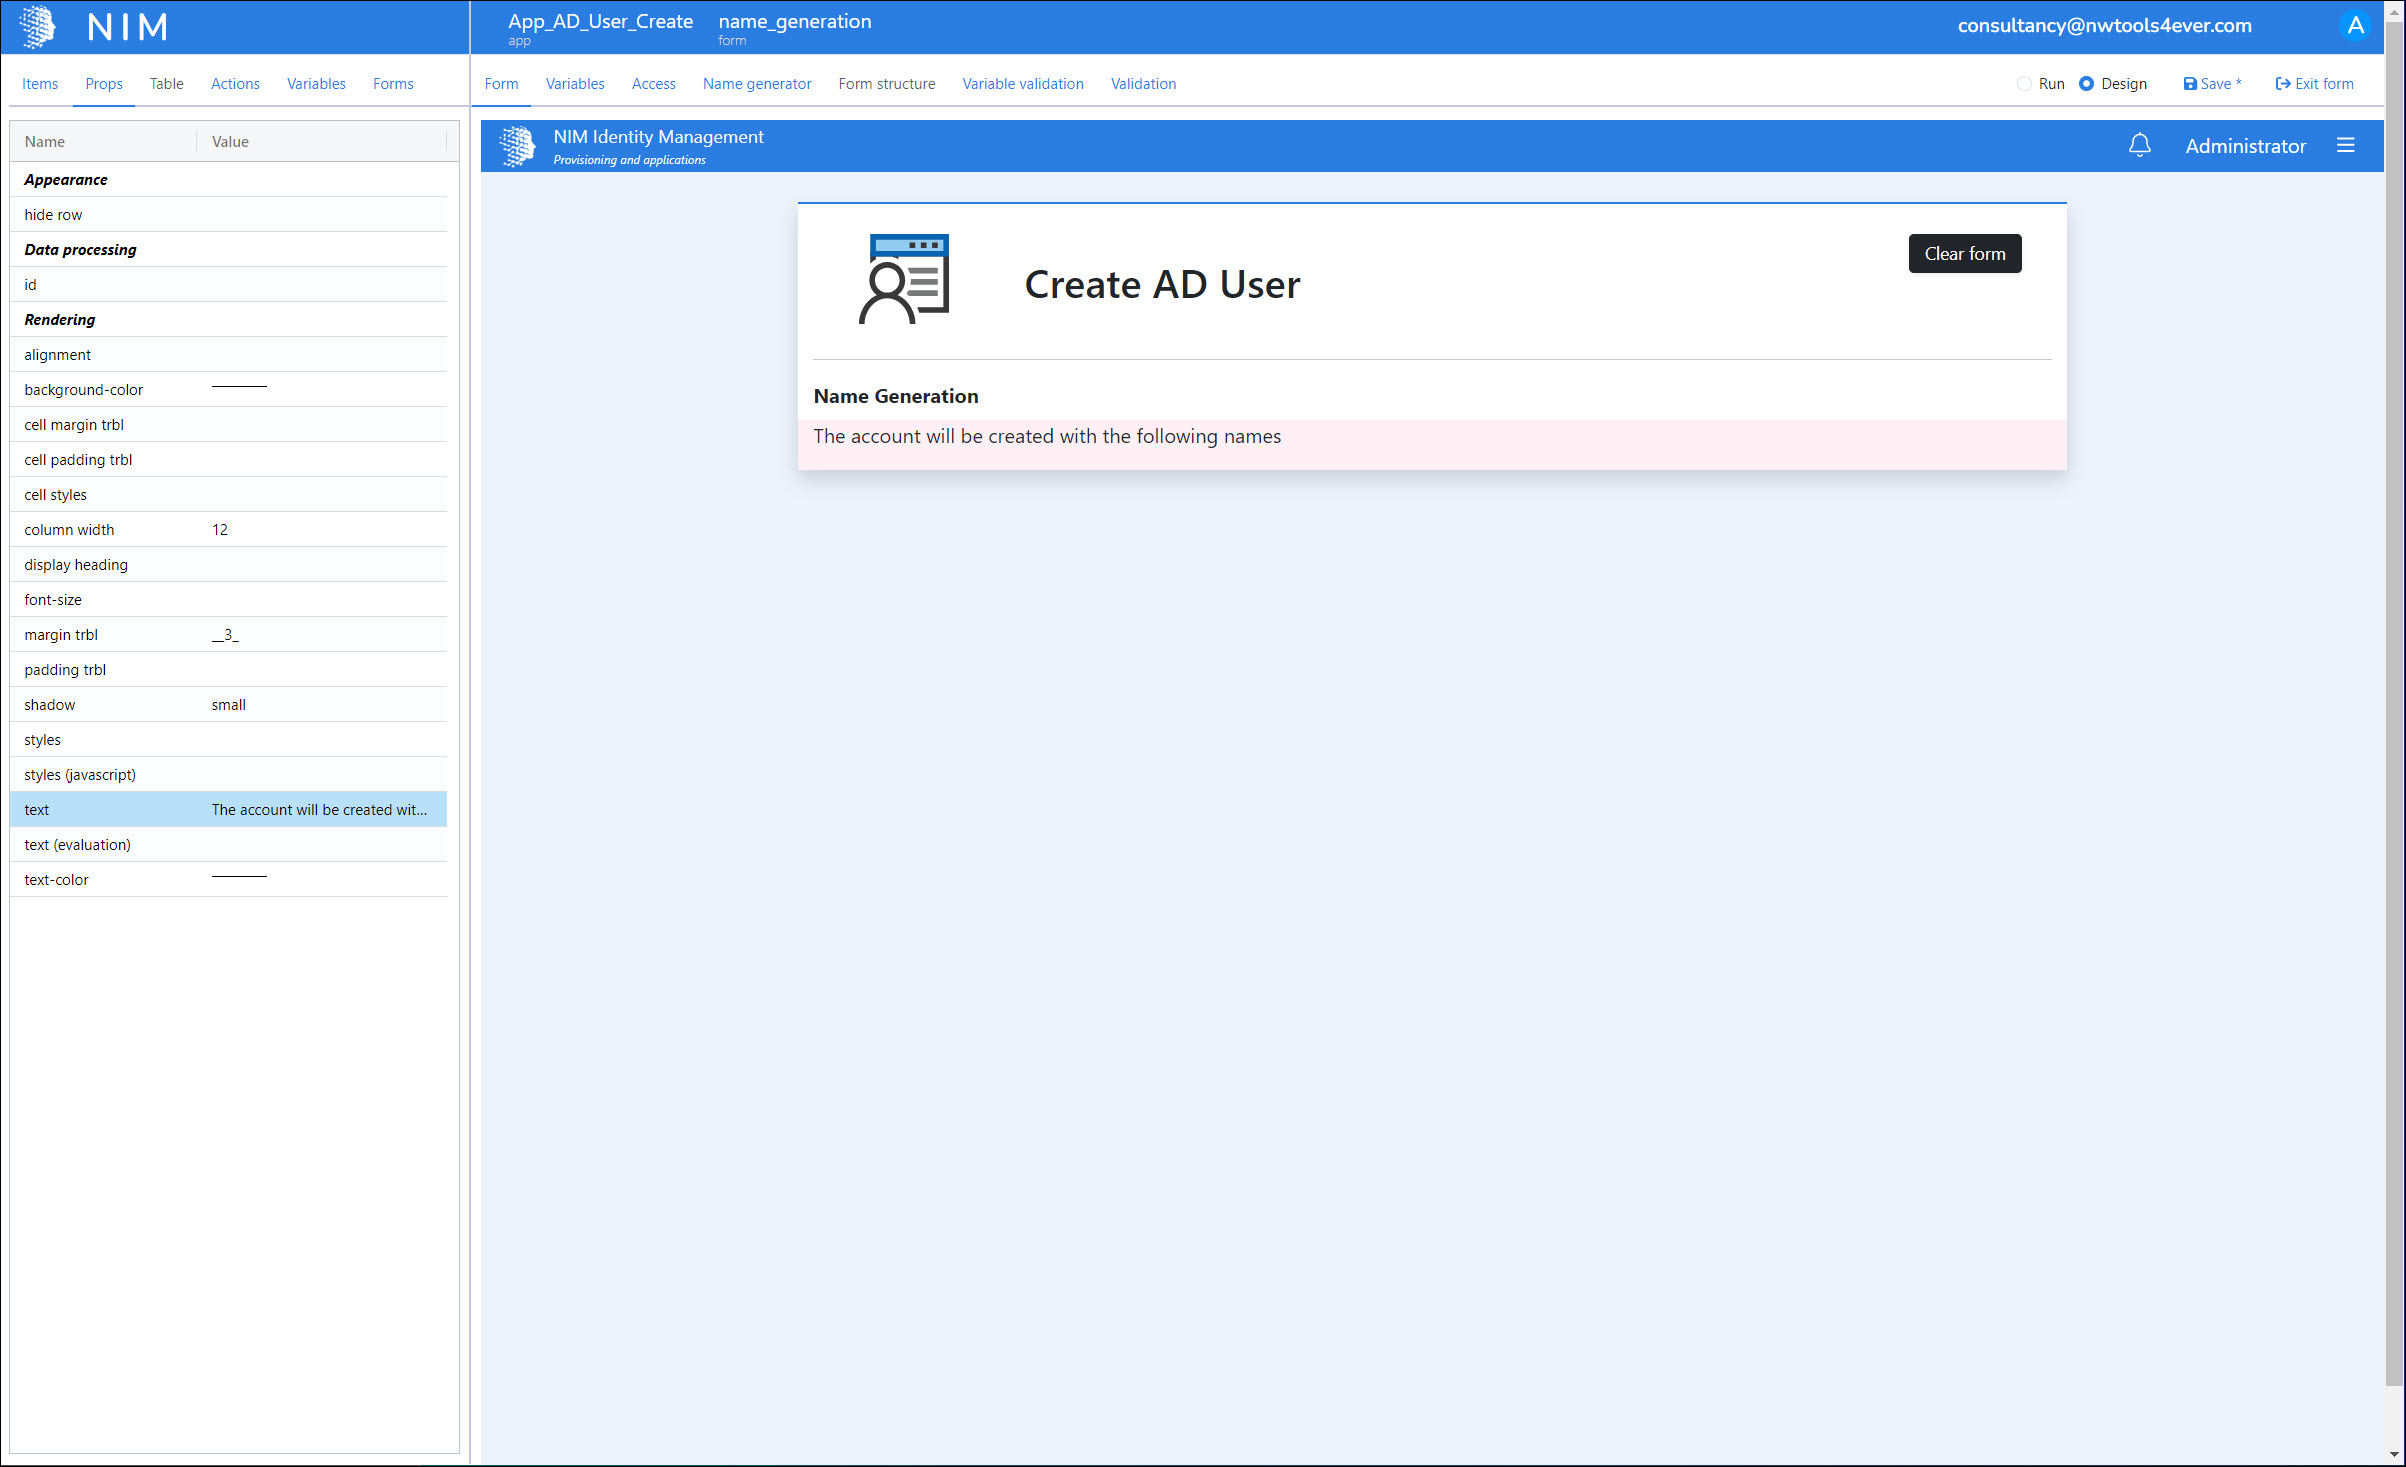
margin trbl: __3_
text: The account will be created with the following names
Drag and drop a Name-Value List beneath the static text item, and set its properties as follows:
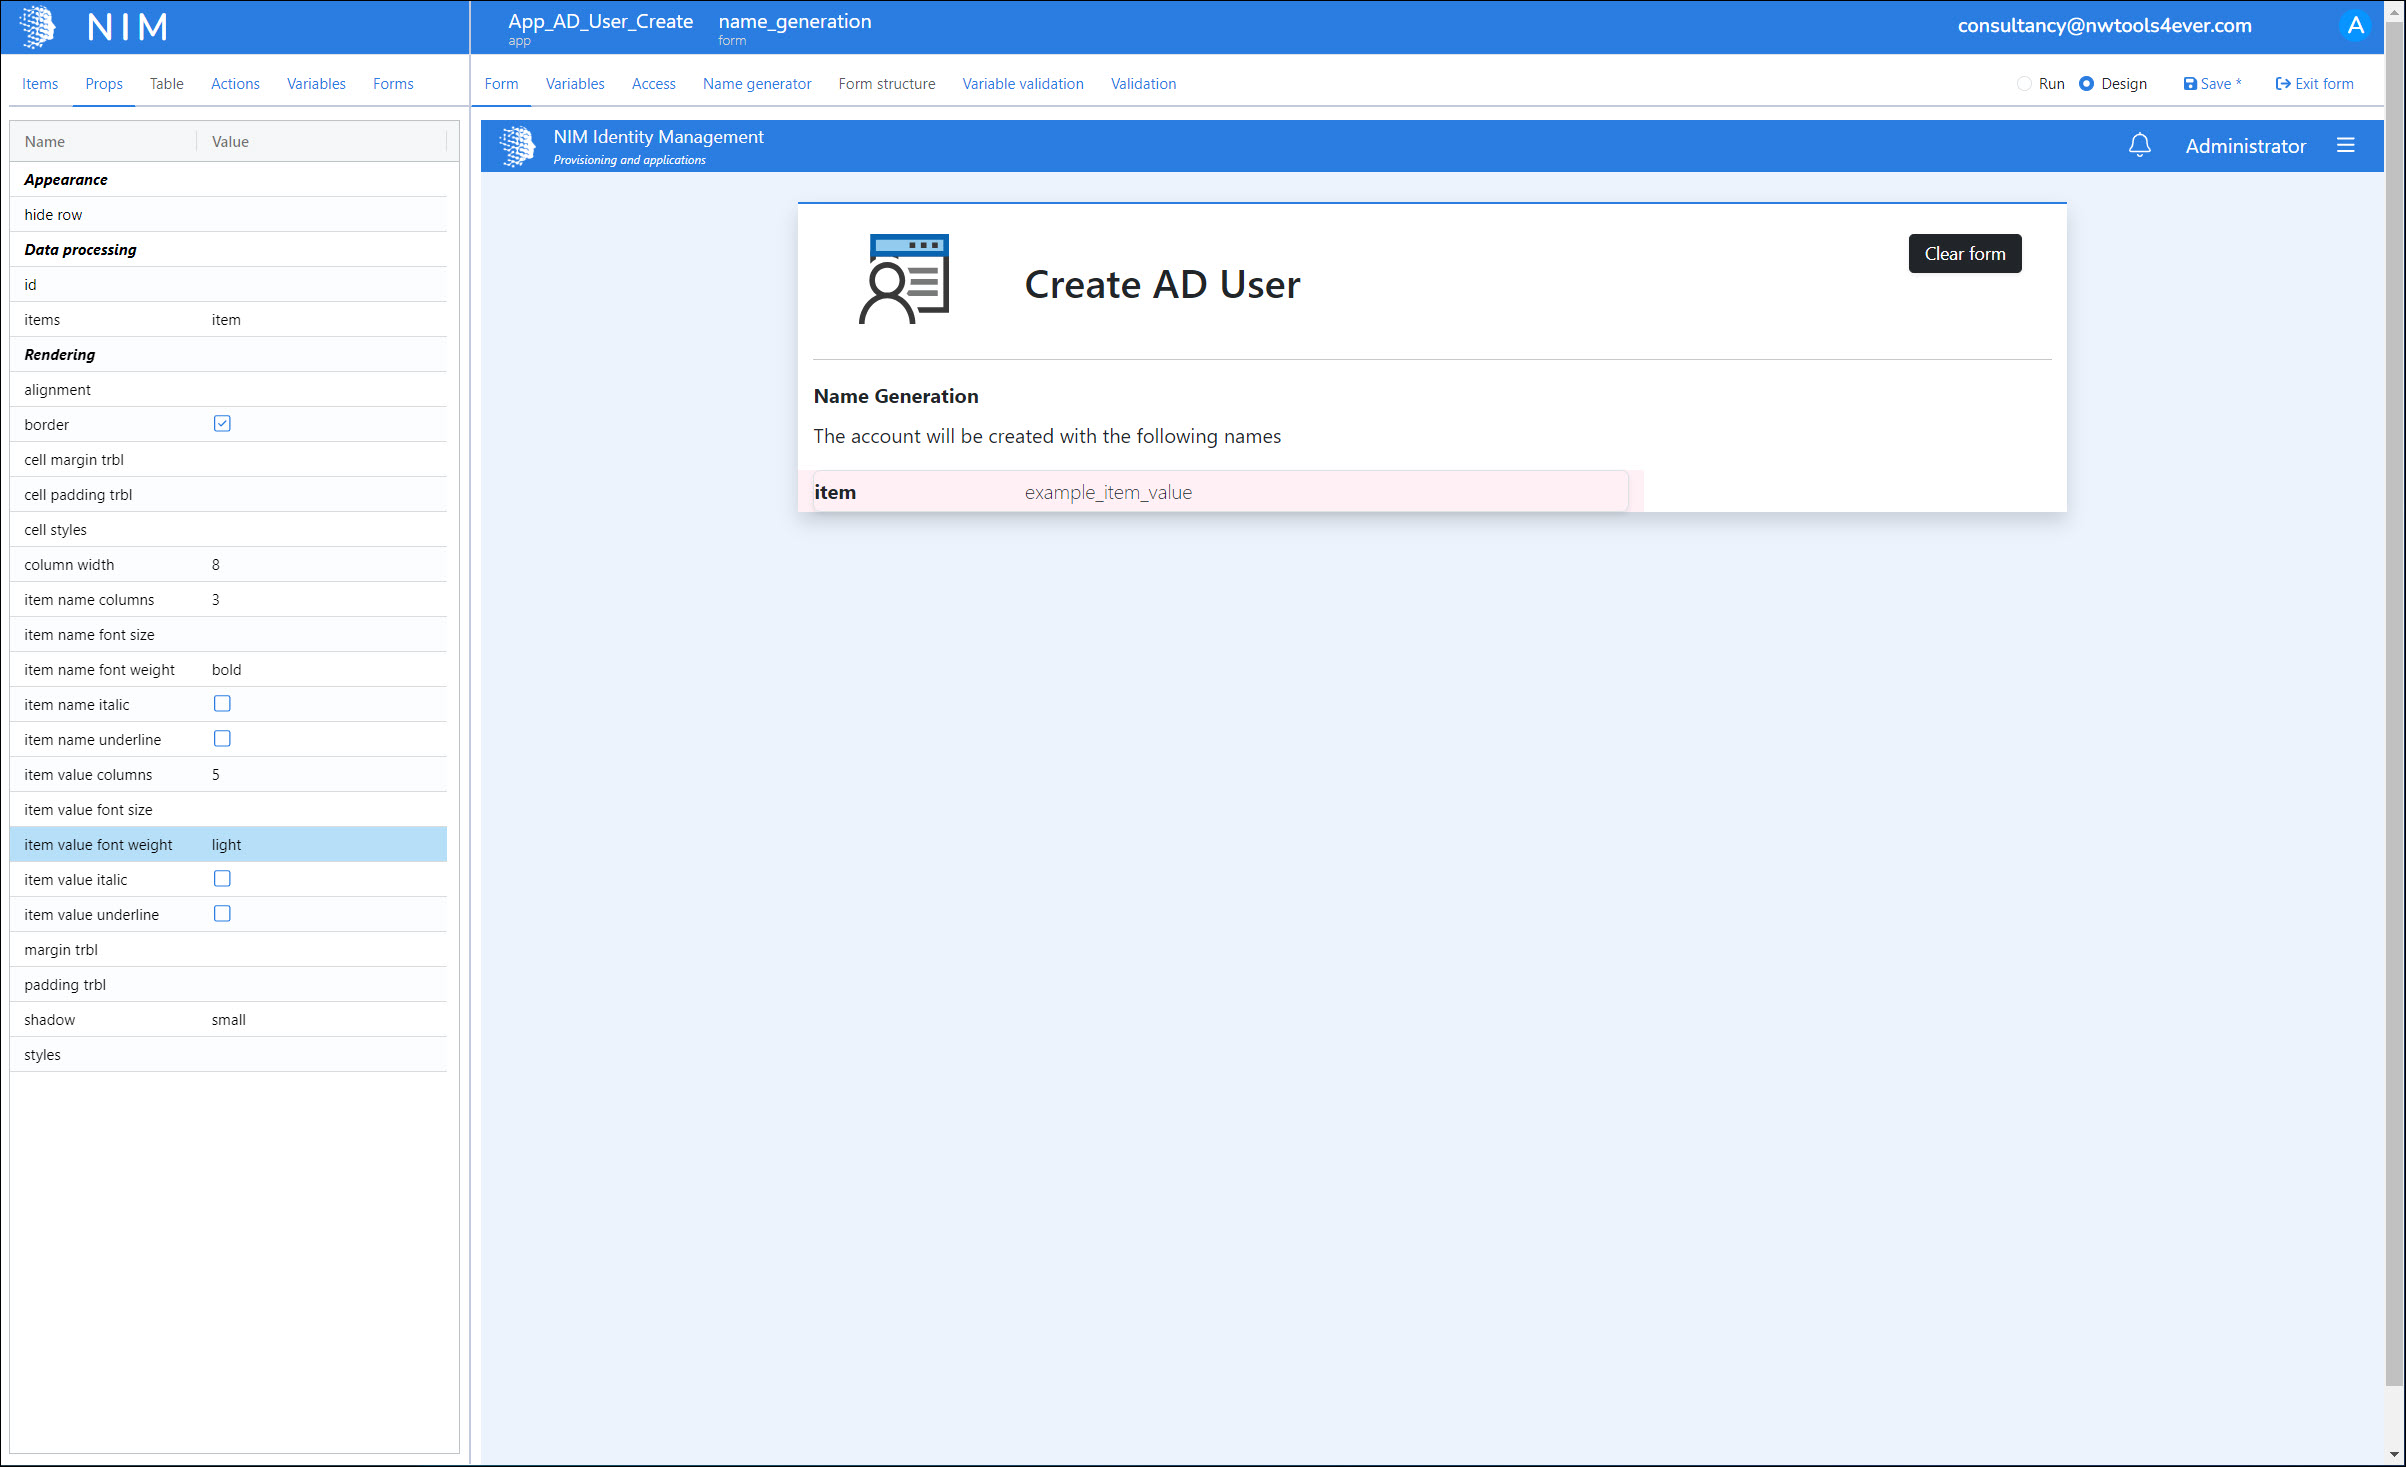
column width: 8
item name columns: 3
item name font weight: bold
item value columns: 5
item value font weight: light
Now, we have to set the list's items property, which is the tricky part.
Click the Value cell of the items property. The Configure Name-Value List dialog box is shown. By default, the list is populated with a single item (example_item_value).
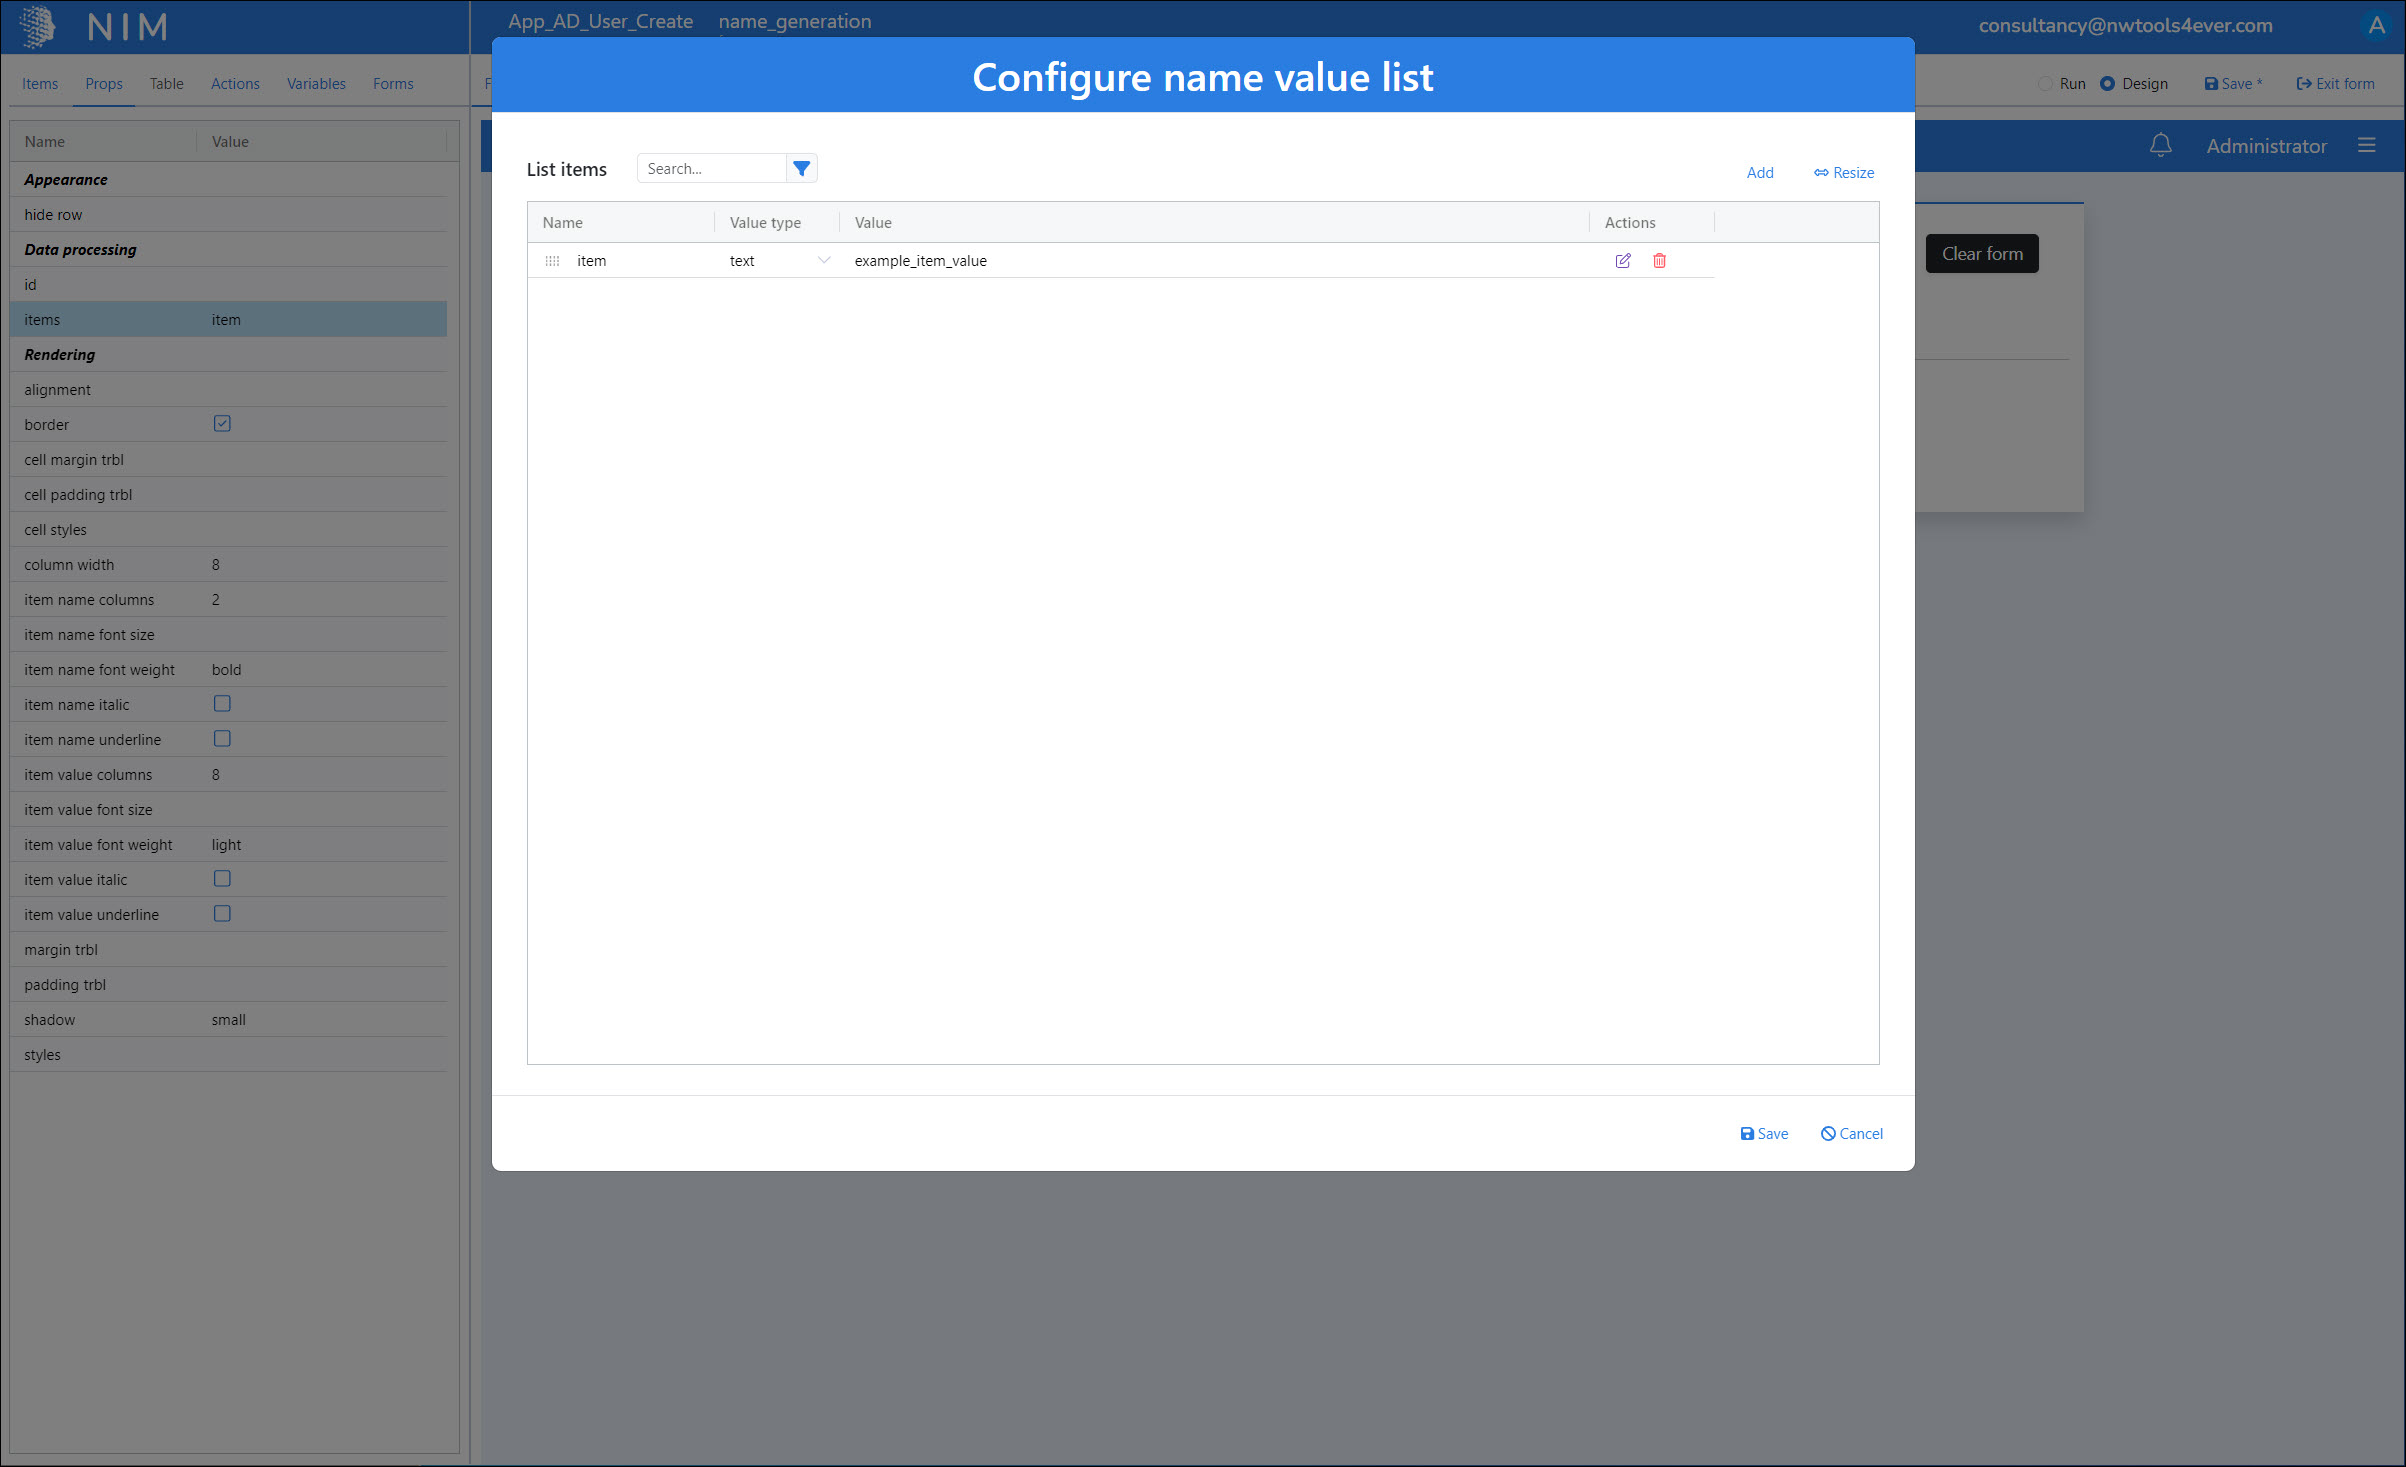
Click the default list item's Name cell and rename it to
Username.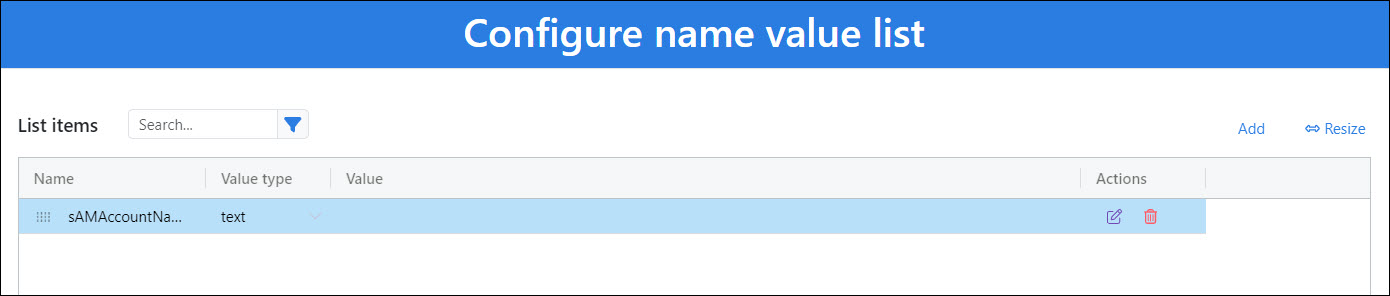
Change its Value Type to javascript.
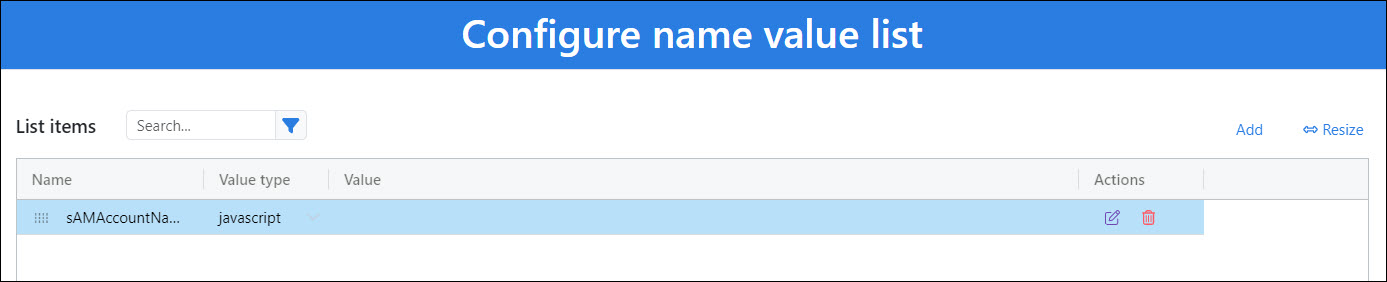
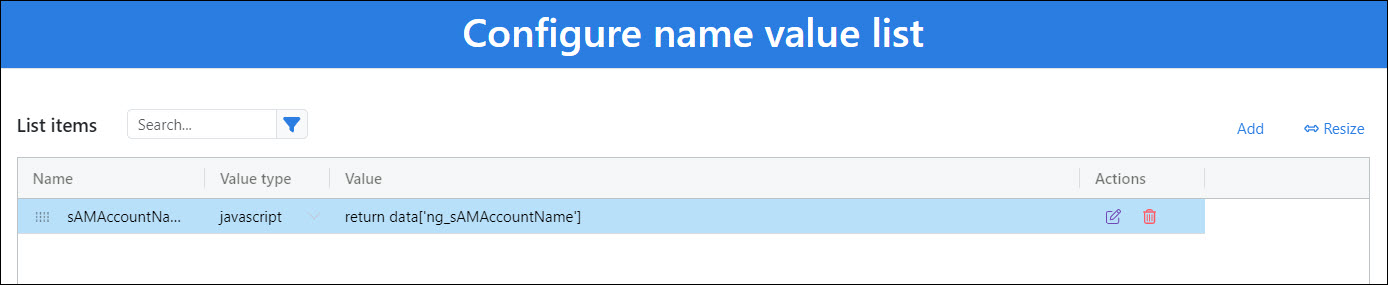
Click the list item's Value cell. The JavaScript Evaluation dialog box is shown.
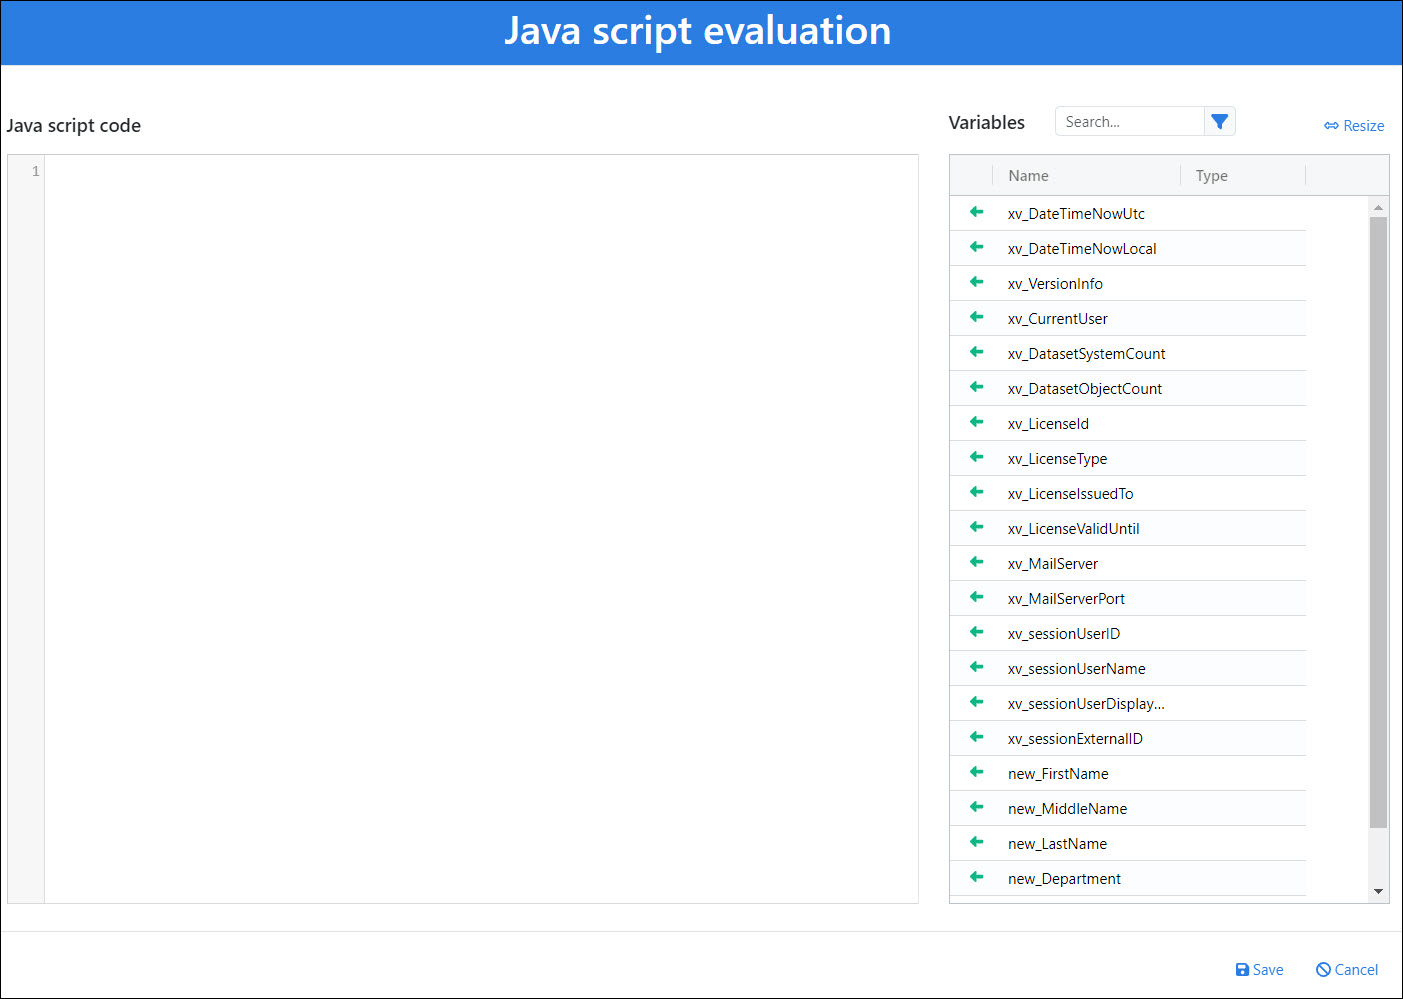
Enter
return data['ng_sAMAccountName']. This fetches the value of the name generator's ng_sAMAccountName output field.
Click Save.
Click Add to add a second list item, and repeat the above process to set its properties as follows:
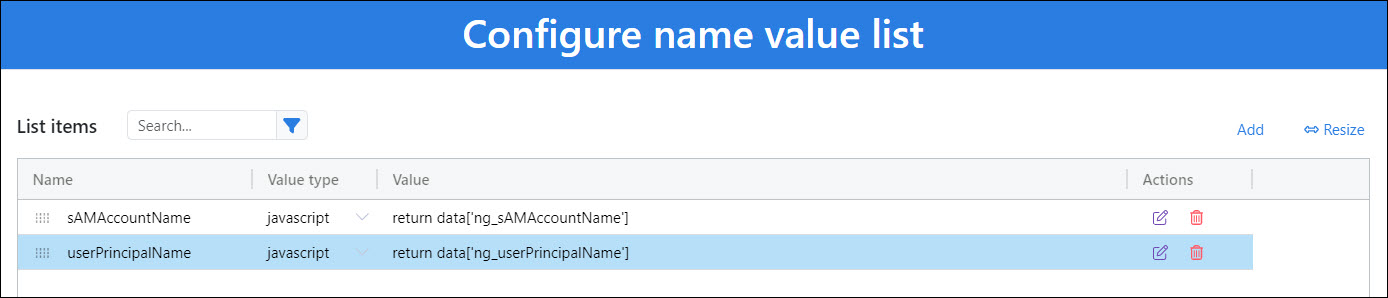
Name: userPrincipalName
Value Type: javascript
Value:
return data['ng_userPrincipalName']
Finally, click Add to add a third and final list item. Set its properties as follows:
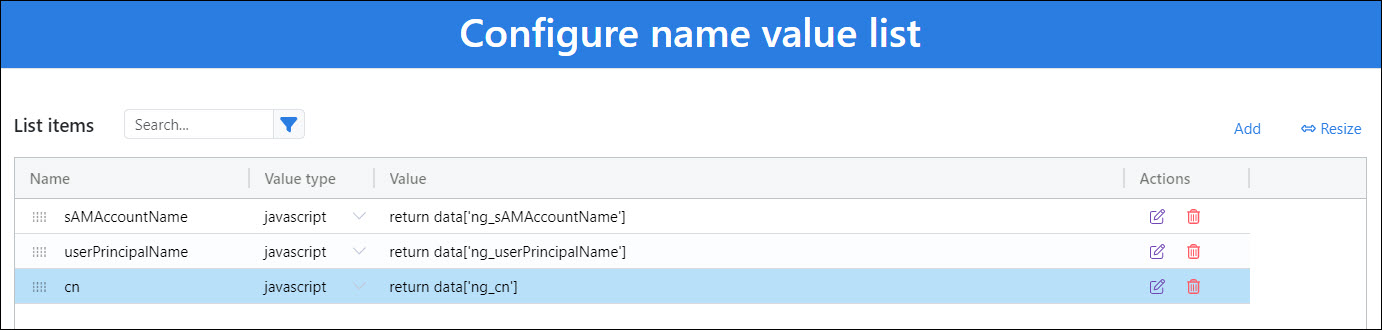
Name: cn
Value Type: javascript
Value:
return data['ng_cn']
Click Save.
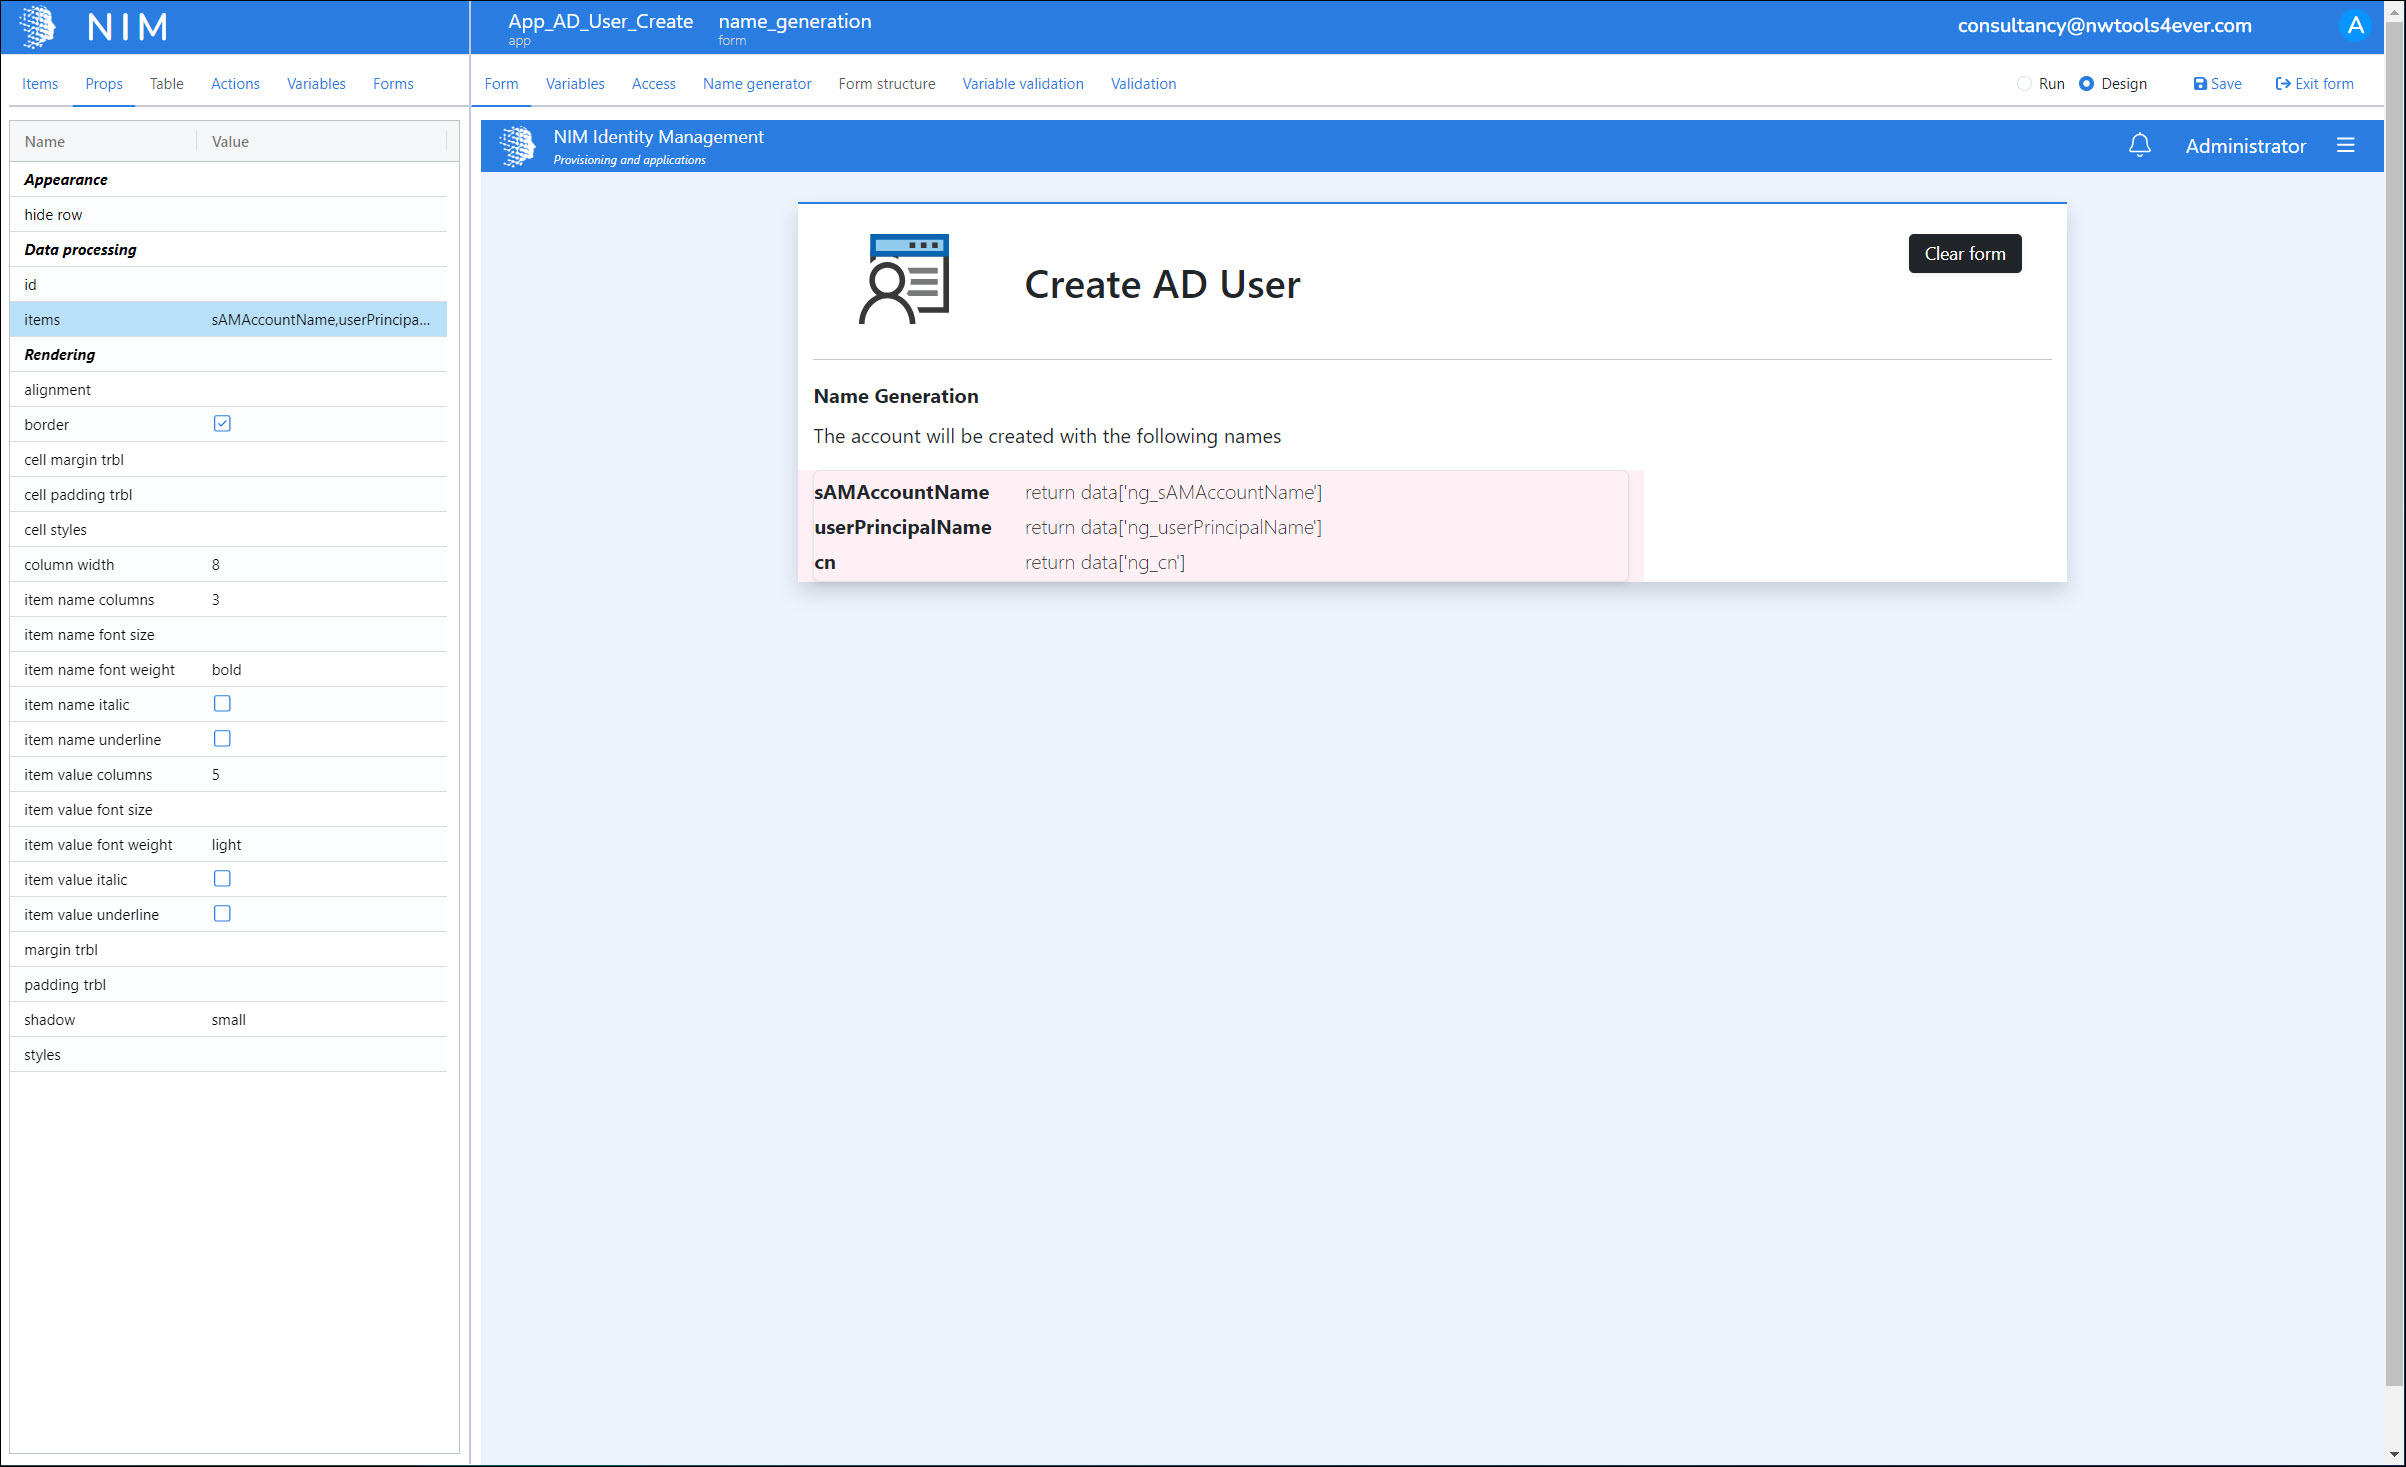
The name-value list now previews the generated names that this app will use to create an AD account.
We'll click Save to save our progress so far.