Customize the App Dashboard
The NIM dashboard can be customized to provide a user experience that is right for your organization. You can change an app's display name and description, assign categories and custom icons, and change their sorting order. The sections below will detail how to do all of these things.
Assign Categories to Apps
When apps are assigned to categories, those categories are displayed by the dashboard navigation form item. When a user clicks on one of those categories, the dashboard items are filtered down to only those apps within the selected category.
To assign categories to apps, follow these steps:
Navigate to Configuration > Apps
On the app list, click on the Categories column for the chosen app. If there are no existing categories, an empty text box will appear.
If there are no categories, an empty text box will appear. Type a category name and click the + button to assign it.

Existing categories show up as a list. You may assign any number of categories to an app.

Now, when a user launches the dashboard, the assigned categories will be displayed on the dashboard navigation form item, as shown below.

Customize App Names and Descriptions
The internal name of a NIM app cannot contain spaces, or it may be unsuitable for display to end users. Because of this, you can assign apps a custom display name that will show up on the dashboard (e.g., "Active Directory User Creation" versus "AD_User_Creation").
To give an app a custom display name, follow these steps:
Navigate to Configuration > Apps
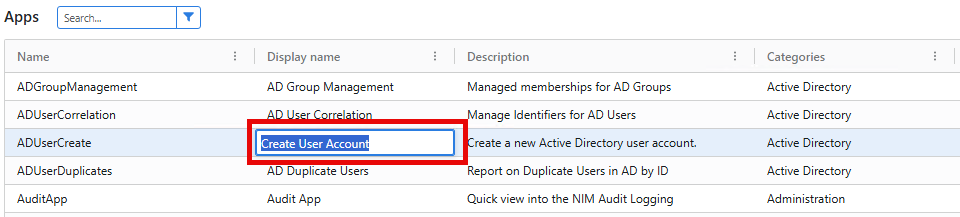
On the app list, click the Display Name column of the app you wish to rename. Provide the value you want to be displayed on the dashboard.
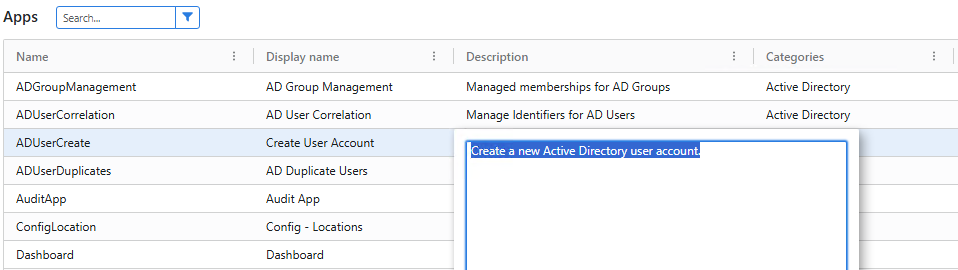
Click the Description column of the app to override or provide a custom description. This description is shown as a tooltip when users hover over the app's icon on the dashboard.
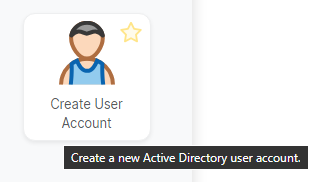
Now, when a user (who has access to that app) access the dashboard, they are shown the customized display name and description values.
Change App Sorting Order
On the dashboard, apps are sorted in descending order by their sort order property. Upon creation, each app is assigned a default sort order value of 1000. Apps with the same sorting value are sorted alphabetically. You may change the sort order value to affect where it is displayed in relation to other apps on the dashboard.
To change the sort order value, follow these steps:
Navigate to Configuration > Apps
Click the
 icon to edit the app whose icon you want to change.
Click on the app's header bar, where the NIM icon is located. This will select the entire application and expose its properties.

Click on the Props tab in the left-hand pane.
Click on the sort order value, as shown below. You may then provide a new numerical value.
Click Save.
When the dashboard is loaded, the application will be moved in relation to other apps based on its sort order value.
Customize App Icons
The icons displayed on the dashboard for each app can be customized. You may use either an icon that ships with NIM, or provide your own JPG, PNG, or SVG image file.
To customize an app's icon, follow these steps:
Navigate to Configuration > Apps
Click the
icon to edit the app whose icon you want to change.Click on the app's header bar, where the NIM icon is located. This will select the entire application and expose its properties.
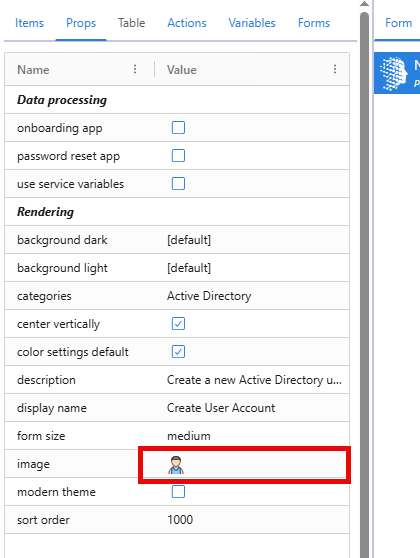
Click on the Props tab in the left-hand pane.
Click on the image icon, as shown below.
What displays is the image/icon selection window.
Under the Images tab is a selection of JPG, PNG, or SVG images. You can select one and click the Select button to apply it to the app. Alternatively, you can click the Add button to upload your own image.
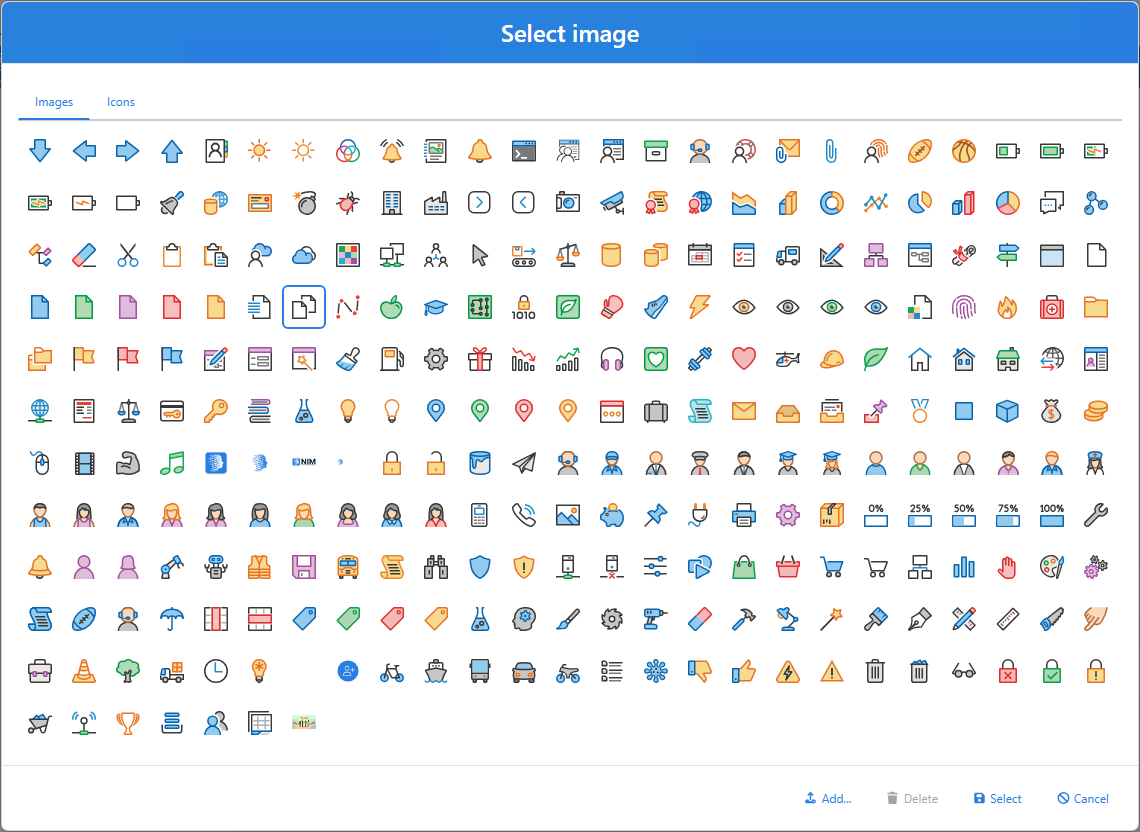
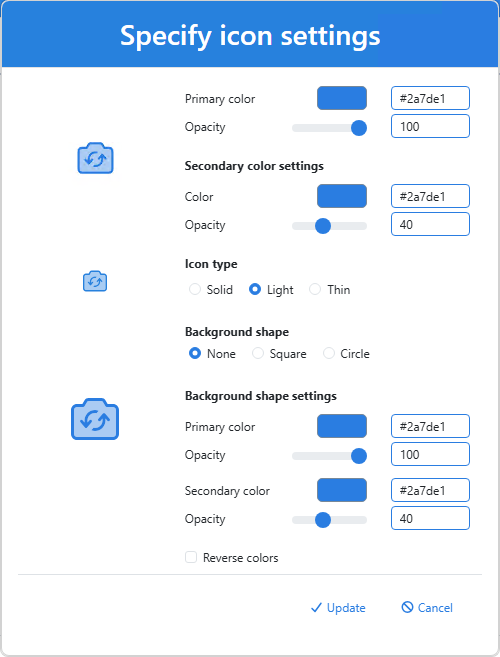
Under the Icons tab is a selection of customizable icons. The colors of these icons can be customized by selecting on and clicking the Settings button.
After selecting an image or an icon, click the Save button on the app to apply your changes.
Now, the new image or icon will be displayed on the dashboard to to users who have access to the app.