Create a multi-export task
For more information, see Multi-export tasks.
Go to Scheduler > Overview.
Click Add.
Select
multi-exportfor the Type.Enter a Name.
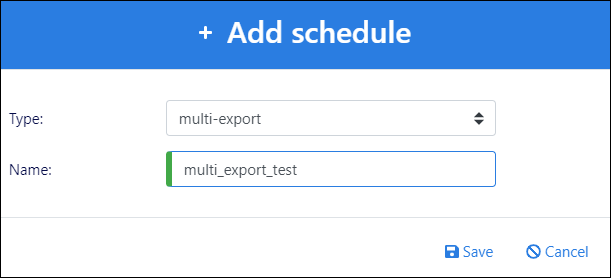
Click Save.
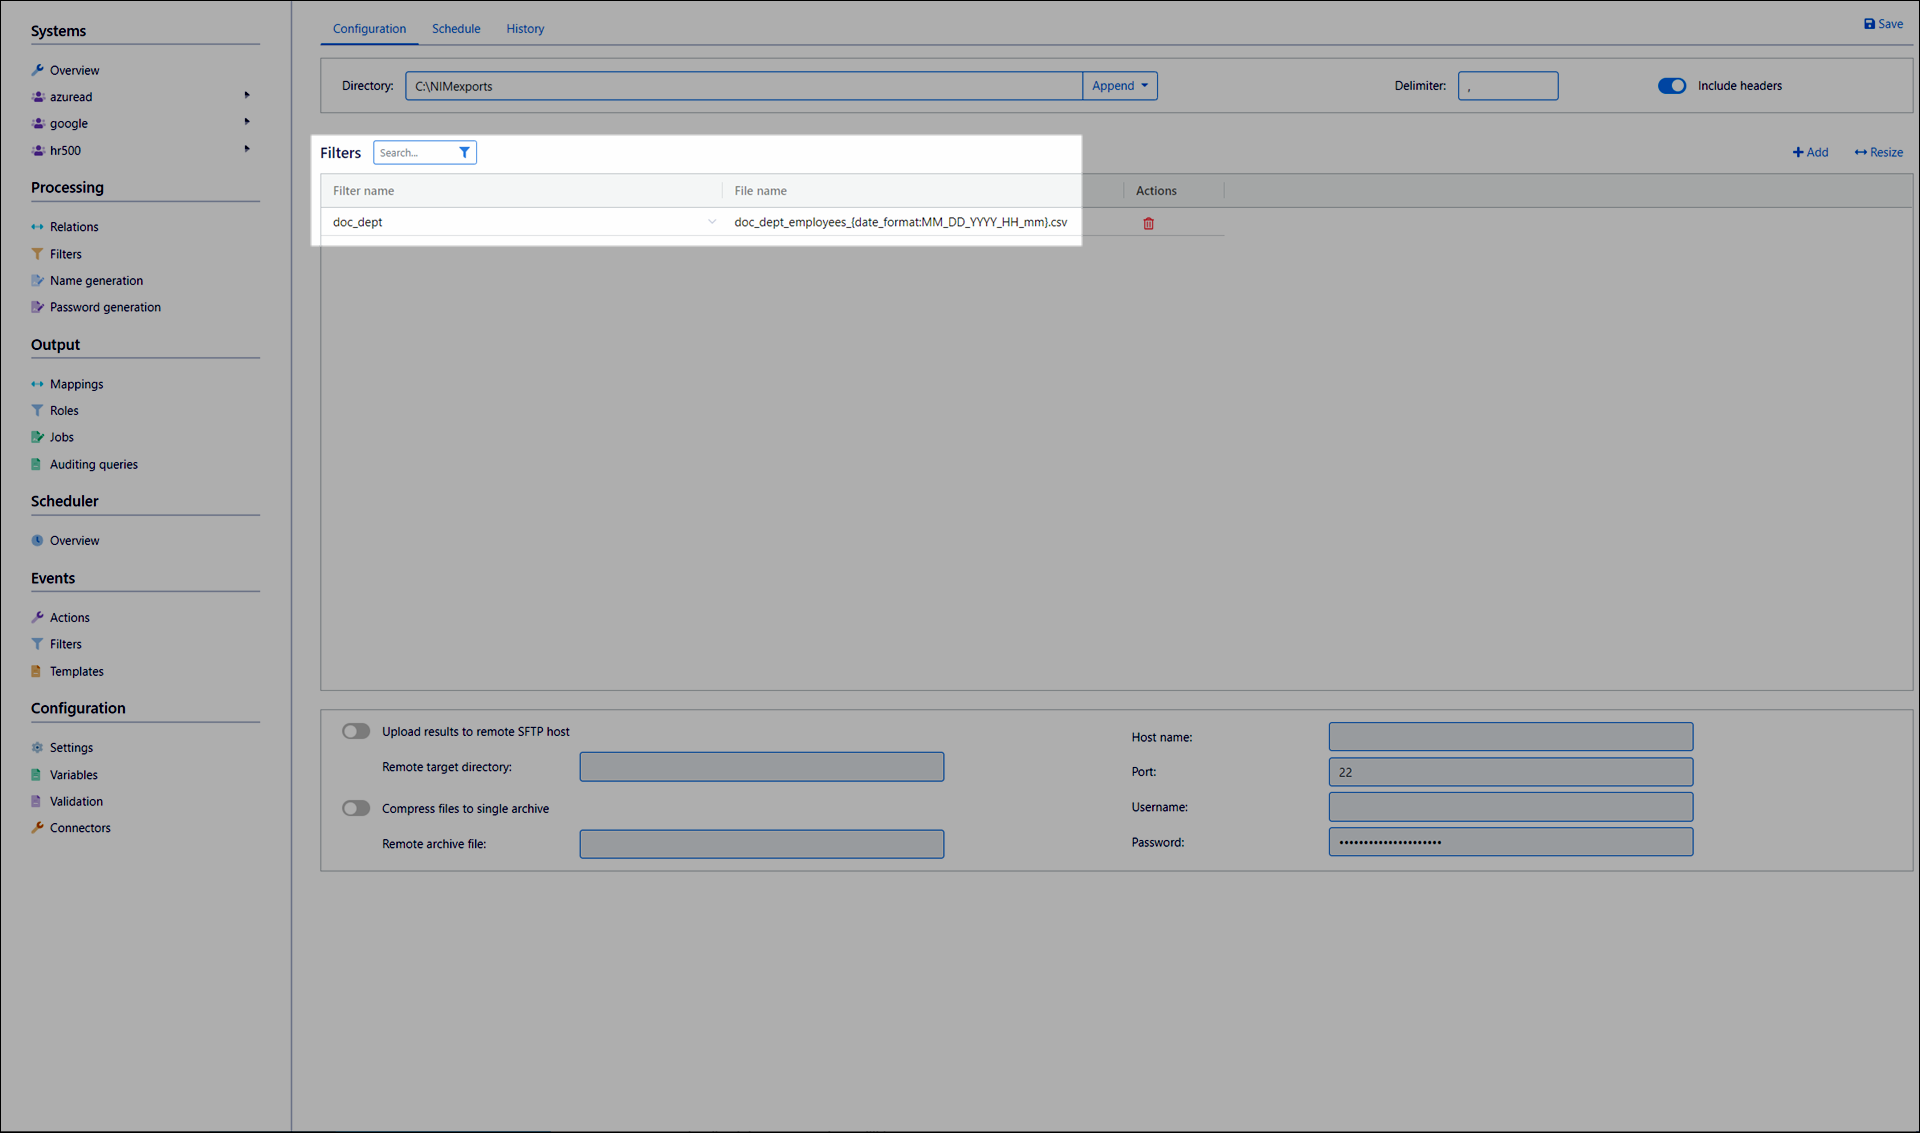
Specify a Directory in which to save the exported file.
Specify a Delimiter. The recommended delimiter is
,.(Optional) Click Enable PGP file encryption to show the options for encrypting and signing the resulting files. Available public keys are listed for encryption, and available private keys are listed for signing. You can also choose the output format (Armored or Binary), which will set the resulting file extensions to either
.ascor.gpg, respectively. See PGP Encryption for more information.Click the Add button for the Filters pane.
Select a Filter Name.
Optional: Double-click a cell in the File Name column to rename the output file.
To include the time & date in the file name, see Custom date format.
Repeat steps (8) - (9) to include additional filters in the export.
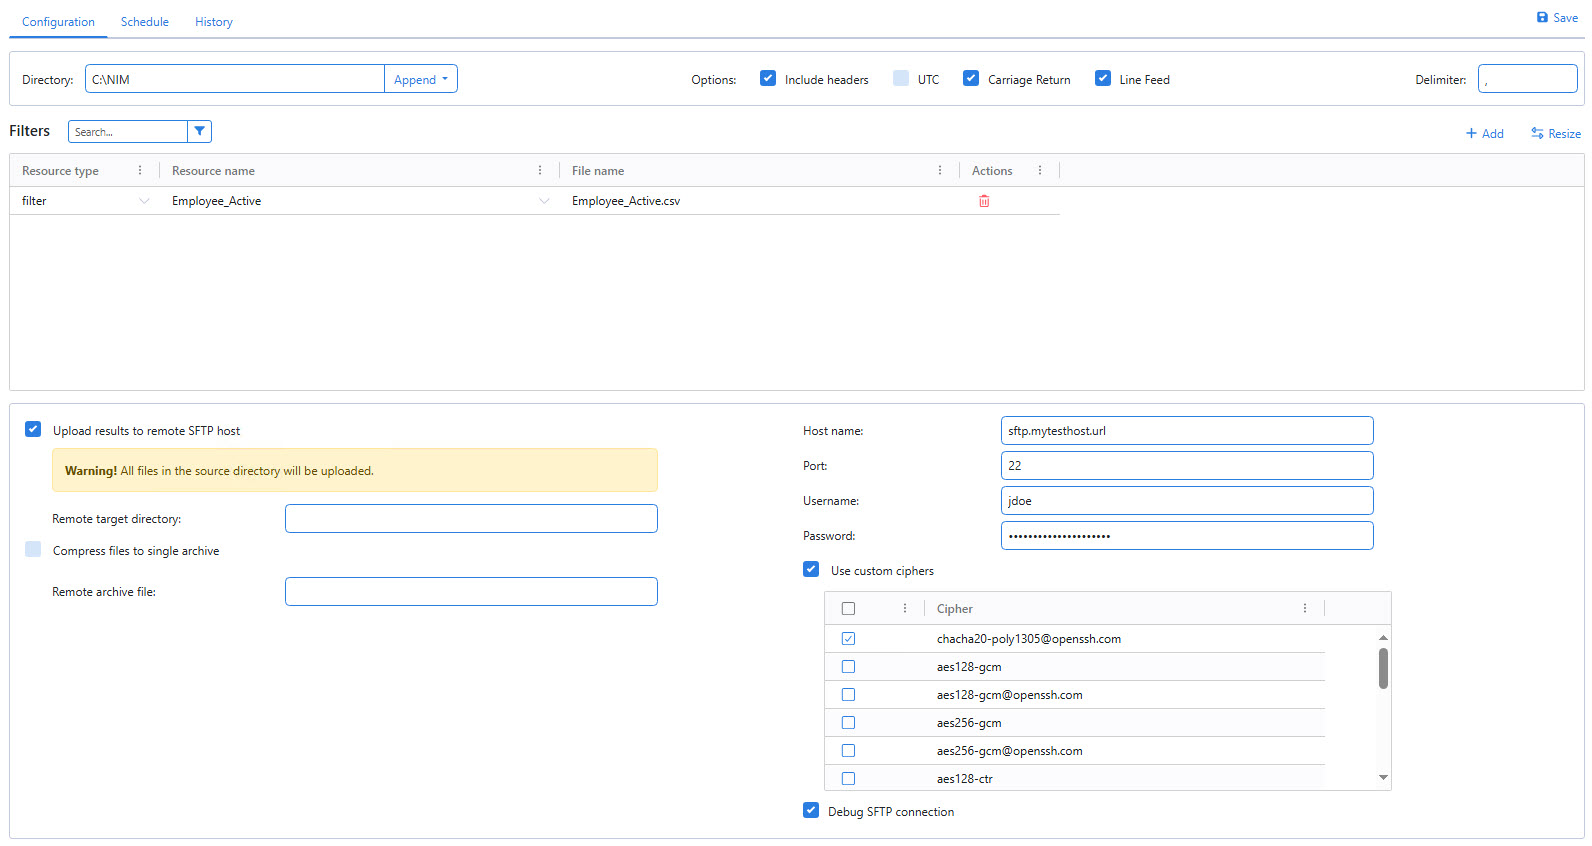
Optional: Enable the Upload Results to Remote SFTP Host toggle. Enter a Remote Target Directory, Host Name, Port, Username, and Password.
Enable the Compress Files To Single Archive toggle. Enter a filename for the Remote Archive File.
If necessary, enable Use custom ciphers to change the cipher used to encrypt the connection.
You may also enable Debug SFTP connection to log additional information for troubleshooting purposes.
Caution
NIM will compress and upload all files in the target directory, even if those files were not part of the export. If there are other files in your target directory that you do not wish to be part of the SFTP upload, configure the export to go to a different folder.
Click Save.
Go to the Schedule tab to set up a Scheduled run, then click Save. Or, perform a Manual run.
Custom date format
For the Directory and File Name fields of Multi-export tasks, you may use the {date_format:...} variable to specify a dynamic date & time:
For example, doc_dept_employees_{date_format:MM_DD_YYYY_HH_mm}.csv:
The MM_DD_YYYY_HH_mm portion (the format specification) can be customized using any of the tokens listed here: https://day.js.org/docs/en/display/format