Add, edit, or remove an App
Add an App
Navigate to Configuration > Apps.
Click the + Add button.
Specify the name of your new app and click Create.
You are now taken to the workspace of your new app and may begin building.
Rename or add notes or tags to an app
Navigate to Configuration > Apps.
Find the app you want to modify.
Click its
 pencil icon.
In the resulting dialog window, provide a new name, notes, or tags.
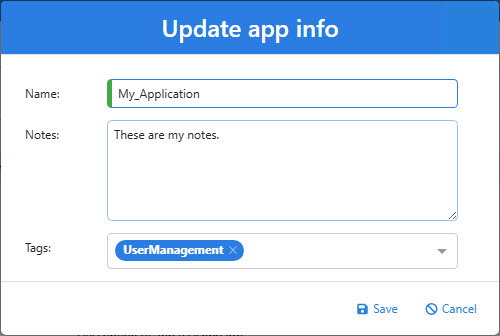
Click Save.
Modify app categories
Categories can be added to an app from an individual app's properties page, or from the app list. Follow the directions below to add or remove categories from the app list.
Navigate to Configuration > Apps.
Find the app whose categories you want to modify.
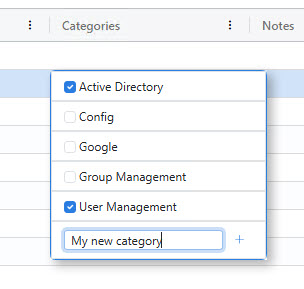
Click in the Categories box. A dropdown box is shown with all the available categories (there will be none if you have not added any categories yet).
From here, you may select one or more existing categories, or type the name of a new category and click the + button. Newly added categories will automatically be added to the selected app.
Note
Categories that are not assigned to any applications not show in the list.
Edit an app
Navigate to Configuration > Apps.
Find the app you want to edit.
Click its
 edit button.
You are taken to the form workspace, where you may edit the app's properties, layout, and actions.
Remove an app
Navigate to Configuration > Apps.
Find the app that you want to remove.
Click its
 delete icon.
Click Yes to confirm the operation.