Step 5: Testing
Before publishing NIM's onboarding system to your organization, you should test it to make sure it works properly and that the entire process goes smoothly. Before you begin testing, go through the following checklist:
Does your internal.onboarding table have records in it?
Is NIM able to successfully send emails and SMS messages?
Is HTTPS properly configured with a valid certificate?
If you answered "yes" to each of those questions, you can proceed to testing.
Validate the Presence of Onboarding Records
Follow these steps to test the onboarding process as one of the users inside the onboarding table. This can be your own record, or that of another user within the organization.
Important
If you are using the record of another user, ensure that it is A) a new user who has not logged into their account yet, or B) an existing user that is cooperating with you in the testing process. Their password will be reset during this process.
Navigate to Systems > internal > onboarding.
Search for the unique identifier of a user you want to test with (yourself or another user). This unique identifier should be in the
ExternalIDcolumn.
If you found the record, move on to the next steps. If not, choose a different one or revisit your filters in Part 1 of this tutorial.
Test the Question-Answer Filter
Follow these steps to test the question-answer filter. This is the filter that looks up an onboarding user's record after they enter their unique identifier (e.g., employee ID), or click on the secure onboarding link that is sent to them via email.
Navigate to Processing > Filters.
Open your Question-answer filter ("Onboarding_Employee_Lookup" from Part 1 of this tutorial).
Under the Parameters tab, provide the unique identifier of the user from previous steps into the Default Value field of the ExternalID parameter.
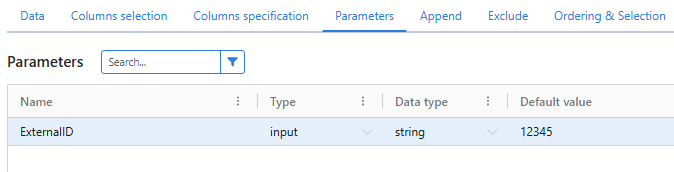
Click the Filter button.
If the filter returns a single result belonging to the person whose unique identifier you provided, then you can move on to the next steps. If not, you will need to troubleshoot the filter's logic and settings. If you need assistance, contact support.
Go Through the Onboarding Process
Follow these steps to access the onboarding profile and go through from start to finish.
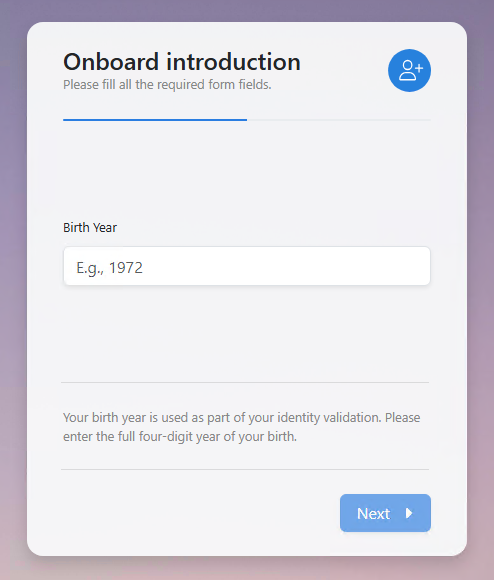
Open a web browser and navigate to https://<nim server>/onboarding/<onboarding profile>. You should see a screen like the one shown below.
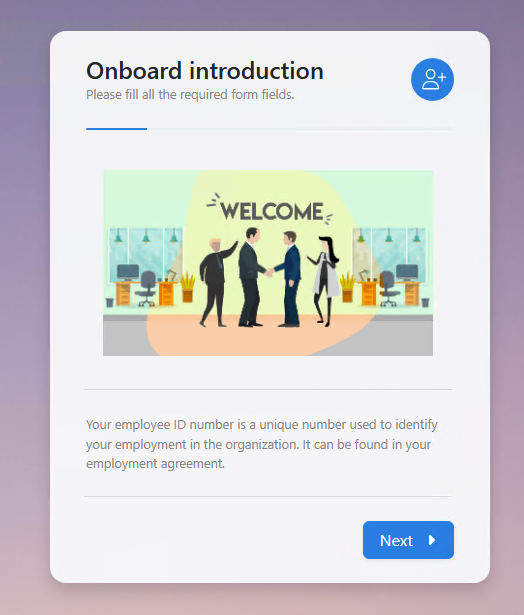
Note
<nim server> is the External Host URL value configured in system preferences.
<onboarding profile> is the name of the onboarding profile that you created in Part 2 of this tutorial. This value is case-sensitive.
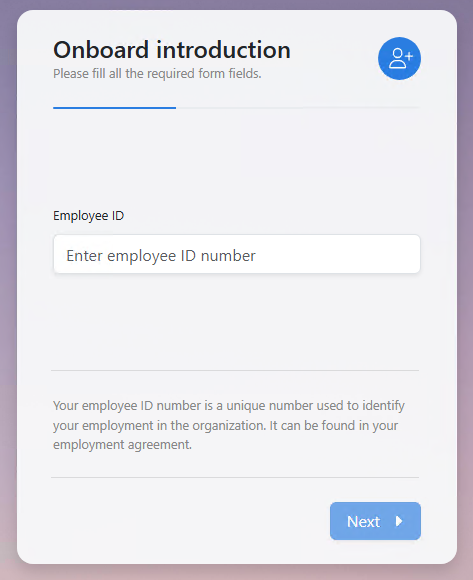
Click Next. You should be prompted for a unique identifier. Enter the unique identifier of the user from previous steps into the text box and click Next again.
The contents of the following screen depend on whether you chose to validate users' identities via OTP code or via a question/answer challenge. Either select a method to receive the OTP code (mobile or email), or answer the challenge question. Then, click Next.
Note
If you have configured more than one question in your onboarding profile, you will need to go through all configured questions before reaching the New Password prompt (step 5).
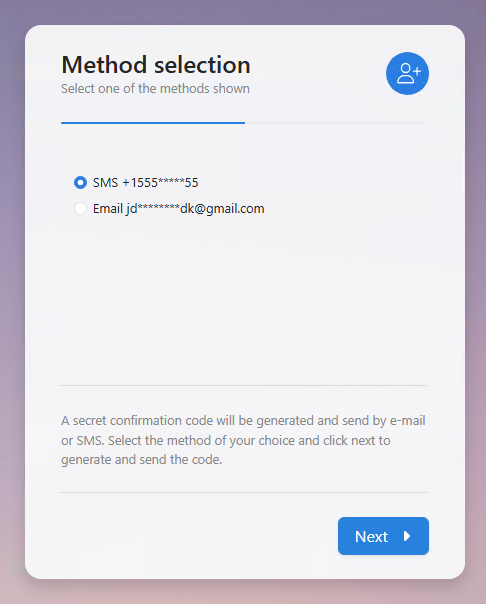
Left: The Method screen allows users to select a way to receive an OTP code. Right: Users are prompted to answer a question whose answer is held in the question-answer filter.
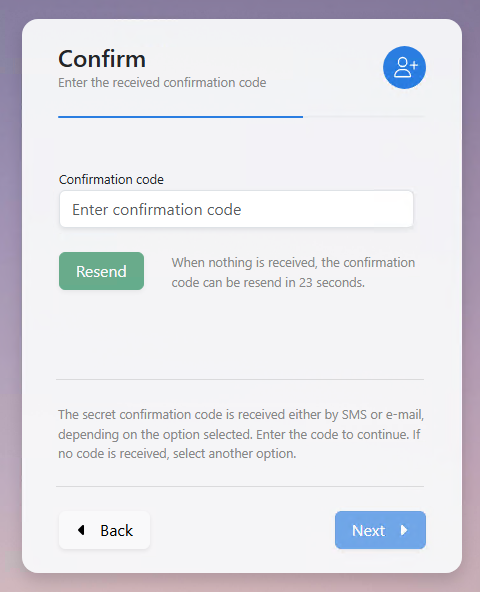
If the you are validating users through an OTP code, the next screen will prompt you to enter the code. If you have received the code through the chosen method, enter it into the confirmation box and click Next.
If you are validating through questions and answers, skip to the next step.
The next screen will prompt you for a new password. Type the new password into both boxes and click Next. NIM will then execute all onboarding actions that you configured in Part 3 of this tutorial.
If the actions are run successfully, you will see the summary screen, as shown below.
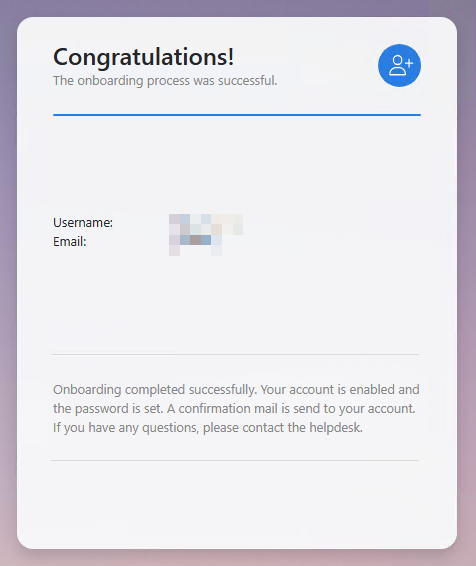
If you were able to go through all parts of the onboarding application without error, your next step is to log into the target user account with the password you provided in Step 5. If you are able to log in, then your onboarding process is properly configured and is now usable by your organization.
Optional: Allow External Access
NIM's onboarding process is most useful when it is accessible externally. This allows new users to onboard their accounts from their own home, or their own mobile devices. See this tutorial about allowing external access for more information.